
SNOOKER CUE CONDITION · JOINT CHECK
How to Check a Snooker Cue Joint Before You Buy or Play
Inspect the actual connection, assemble it only by hand and keep visible condition separate from claims about feel or performance.
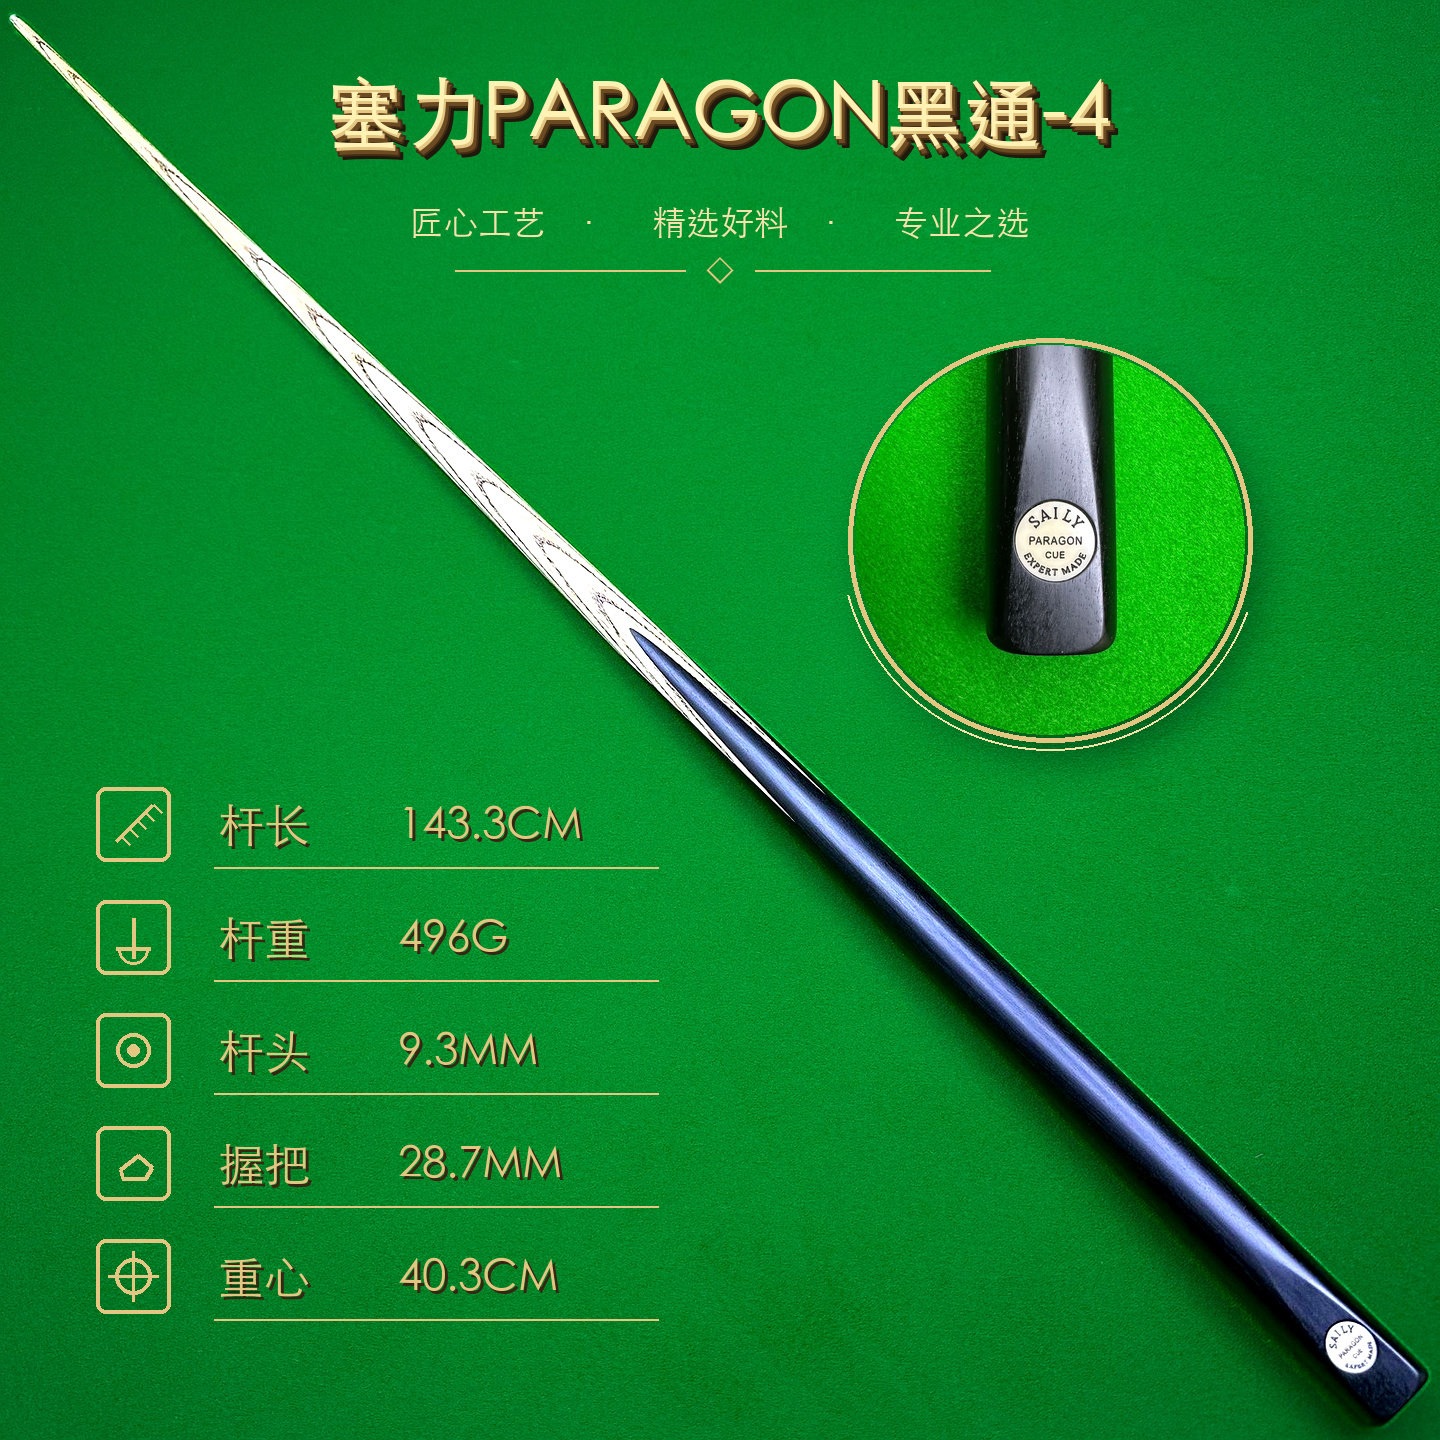
Short answer: confirm the exact cue and joint format, inspect both mating faces in good light, remove only loose dry dust, and connect the sections gently by hand. The joint should seat in its normal position without force, unexplained gaps or movement. Stop if resistance, damage, misalignment or looseness appears.
First identify what connection you are checking
A one-piece cue has no playing joint between shaft and butt. A three-quarter-jointed, centre-jointed or other sectional cue does. Some cues also accept a detachable extension at the butt. These connections answer different storage and reach needs, so do not assume that instructions for one joint apply to another.
Record the cue name or number, the number of sections and where each connection sits. Photograph the cue assembled and separated, but never infer the hidden thread, insert material or construction from appearance alone. If a seller or maker provides a joint specification, keep that statement with the photographs of the exact cue.
If you are deciding between physical formats, begin with the one-piece versus three-quarter-jointed cue guide. Joint position is one part of the choice; case length, transport and the complete cue still matter.
Inspect both sides before assembly
Work above a clean, padded surface where neither section can roll or fall. Use bright, even light. Look at the pin, socket and flat mating faces. Check for loose fibres, dents, cracks, corrosion, embedded chalk, damaged threads or an edge that appears crushed. A close photograph can preserve what you saw before anything is connected.
Remove only loose surface dust with a clean, dry, soft cloth or suitable soft brush. Do not push debris deeper into a socket. Do not scrape a thread with a metal point, sand a tight area or use a household cleaner. If the maker provides a different care method for the exact joint, follow that documented instruction instead.
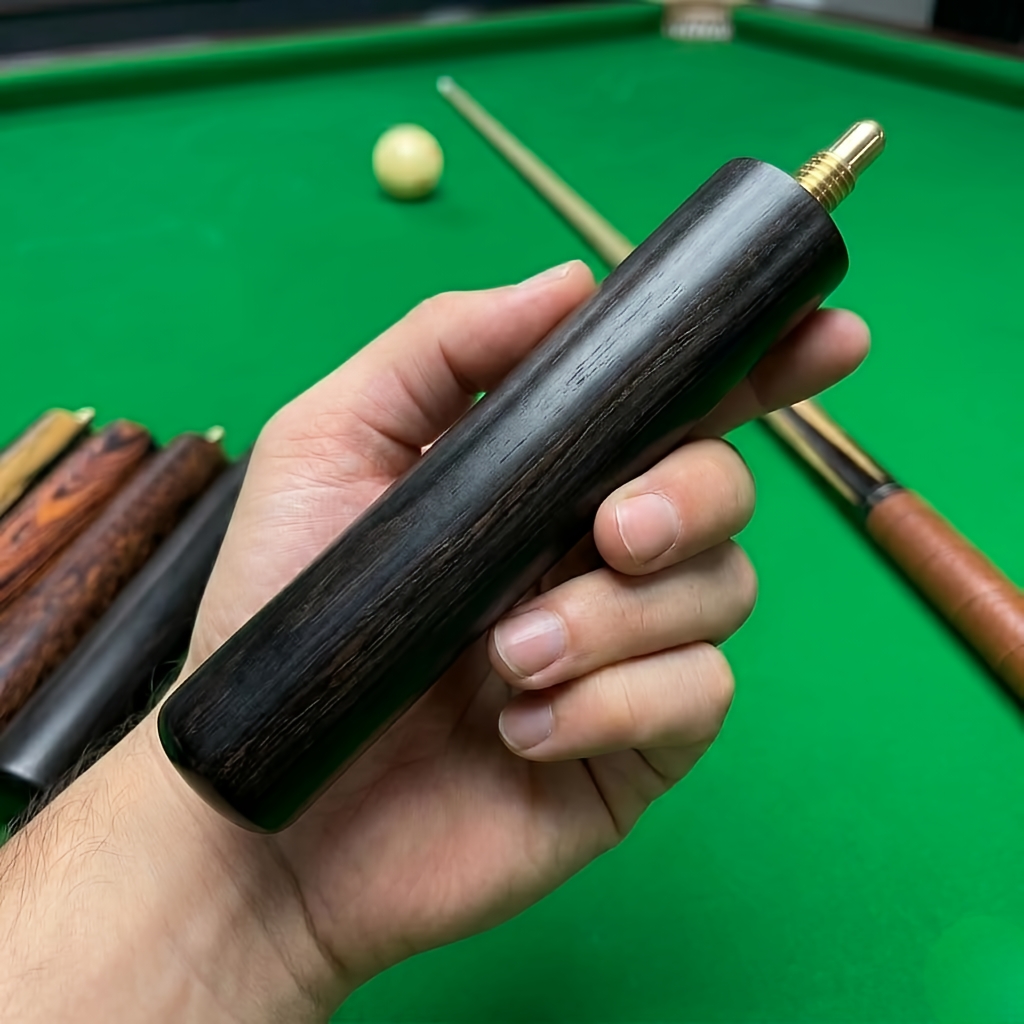
How to assemble the cue without forcing the joint
- Support both sections.Keep the shaft and butt aligned so their weight does not pull sideways on the connection.
- Start by hand.Bring the faces together gently and follow the cue’s normal connection method.
- Watch the first turn or fit.If a threaded joint catches immediately, backs away unevenly or needs unusual pressure, stop and separate it carefully.
- Seat normally, not aggressively.Use firm fingertips only; pliers and improvised leverage can damage the cue.
- Inspect the assembled line.Look for a stable connection, expected face contact and no unexplained gap or step.
Do not chase a universal torque or gap measurement. Joint designs differ, and the useful reference is the known normal fit for that exact cue. A connection that suddenly behaves differently deserves inspection rather than extra force.
Check stability in the normal playing configuration
After assembly, hold the cue normally and listen for a new click or rattle while making a few gentle practice movements away from balls and people. Do not twist the shaft and butt against each other as a stress test. If the sections show visible movement, repeatedly loosen, or no longer align as expected, stop using the cue and seek an experienced cue professional.
Joint fit alone does not prove that the cue is straight. View the complete assembled cue from more than one direction and use the separate online cue-buying checklist for straightness, tip, ferrule, shaft and condition evidence. A clean joint can belong to a cue with another issue, and a photograph of the joint cannot certify the whole cue.
What to request when buying a jointed cue online
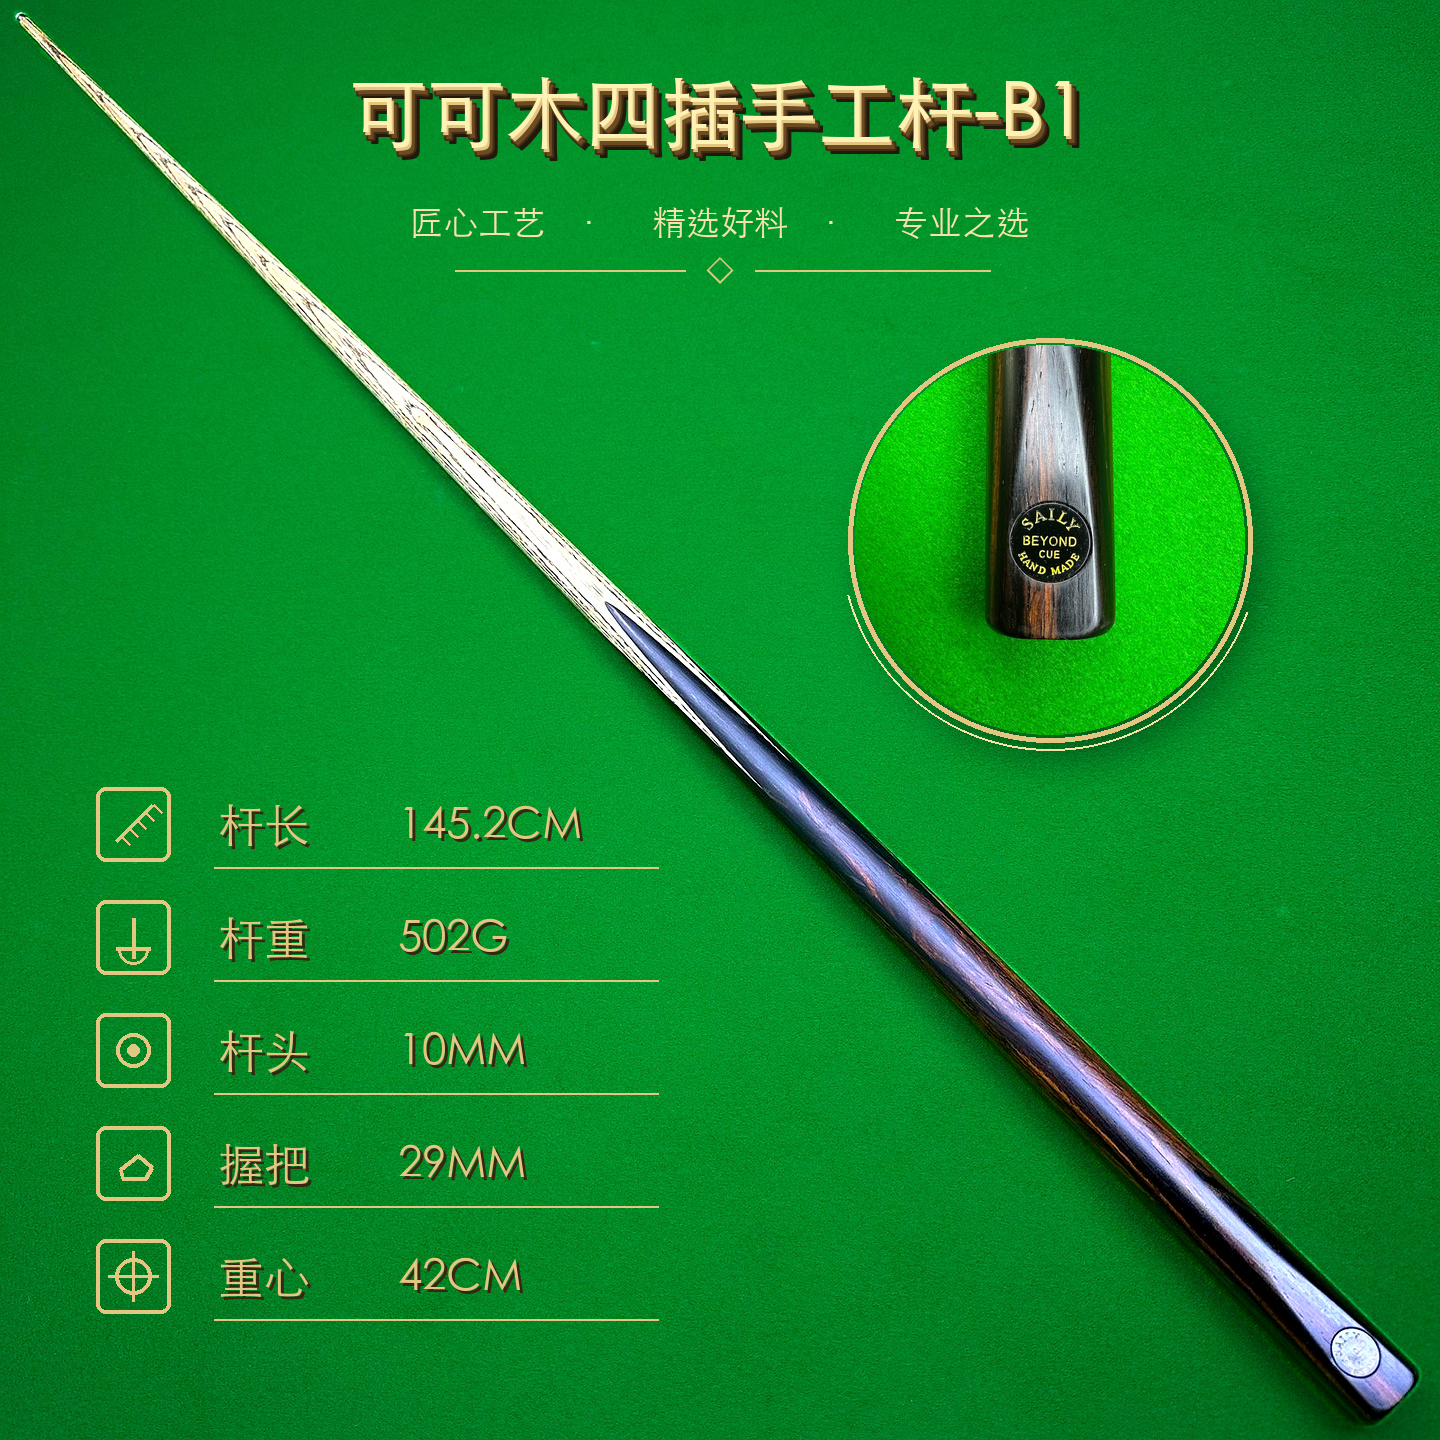
Ask for current close photographs of both separated faces, the assembled connection and the full cue. Confirm that every photograph shows the individual cue being sold, not a general series example. Request the joint position, section lengths, connection description, any disclosed repair history and whether a protector, extension or case is actually included.
Ask the seller to state whether the joint connects and seats normally by hand and whether there is any movement, unusual resistance or visible gap. Those answers remain seller evidence, not an independent inspection, so keep the return terms and shipping protection in the same record.
The cue-extension selection guide explains why a butt extension needs exact compatibility rather than a visual guess. Browse the SAILY CUE catalogue for real cue photographs and the documented specifications available for each item.
Conservative care and warning signs
Keep joint faces dry and protected from chalk, keys and loose tools. Separate or store the cue only as intended for its case, and never place pressure on an exposed pin or edge. The snooker cue care checklist covers supported storage, transport and routine inspection of the complete cue.
Do not add grease, oil, wax, polish, thread-locking compound or an improvised insert unless the maker specifically instructs it for that exact joint. Products that appear harmless can trap dust, affect fit or contact surrounding finishes and materials.
Stop assembly or play when you find a crack, bent pin, damaged thread, missing material, persistent gap, new looseness or resistance that was not previously present. Joint repair and alignment are not good trial-and-error jobs: a qualified cue professional can inspect the actual parts before more damage occurs.
Snooker cue joint FAQ
How should a snooker cue joint feel when assembled?
It should connect by hand in the normal way described for that exact cue and seat without unexpected resistance, wobble or a visible unexplained gap. Stop rather than forcing a connection that feels wrong.
Should I oil or grease a cue joint?
Do not apply oil, grease, polish or another product unless the cue maker gives a specific instruction for that exact joint. Added products can attract dirt or affect materials and fit.
Can a photograph prove that a cue joint fits correctly?
No. Clear close photographs can show the faces, pin or socket and visible condition, but they cannot prove how the two sections seat, align or remain stable in use.
Does a jointed cue play worse than a one-piece cue?
A joint format is a construction and storage choice, not a quality or accuracy score. Condition, fit, the complete cue and personal preference all need separate evidence.
SAILY CUE CATALOGUE
Review the exact cue record
Compare real photographs, cue format and available measurements, then request current close joint evidence when the connection matters to your choice.