
SNOOKER CUE CARE · JOINT ASSESSMENT
Can a Snooker Cue Joint Be Replaced? What to Check First
Treat joint replacement as a cue-specific alteration decision, not a universal repair recipe.
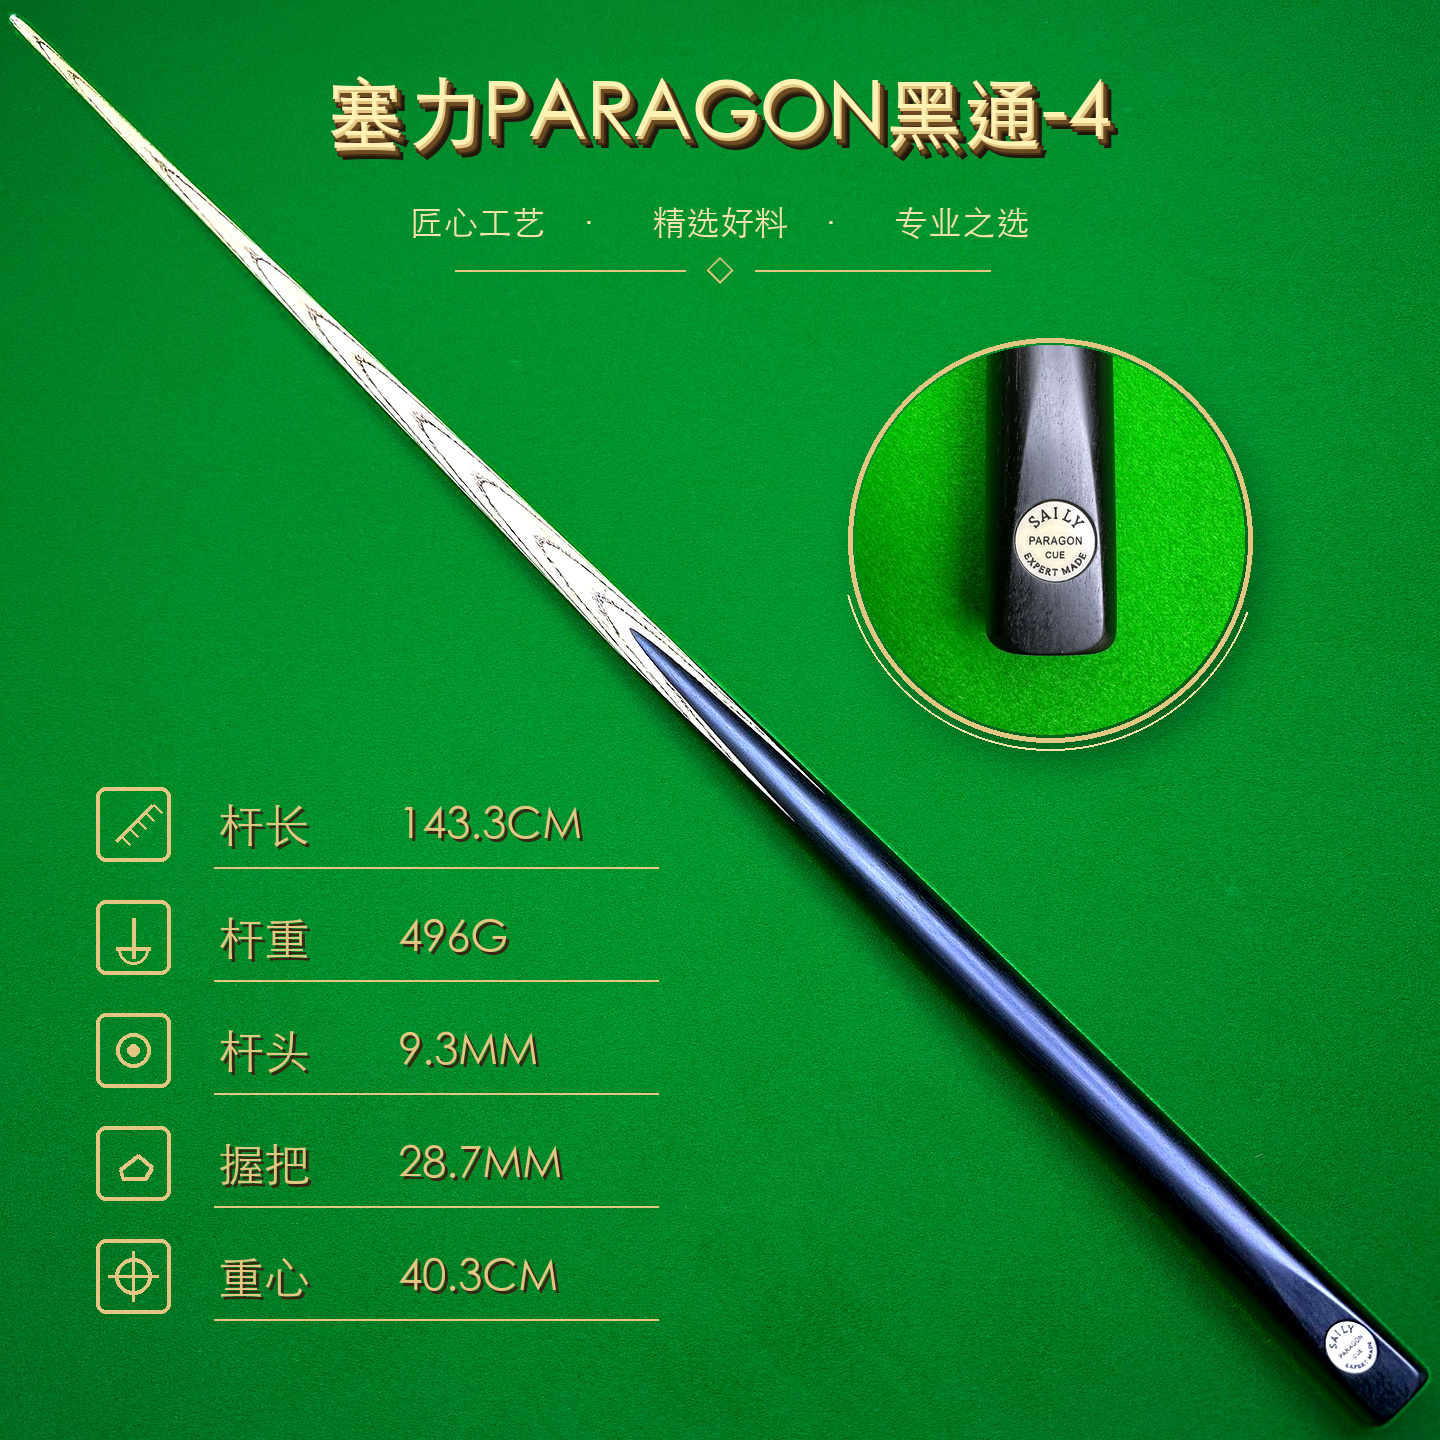
Short answer: a joint can sometimes be repaired or replaced, but no online answer can approve the work for every snooker cue. First identify the exact cue and the connection that is causing concern. Preserve current measurements, photographs, configuration and history. Then ask the maker or an experienced cue technician to inspect the actual shaft, butt and mating parts. Do not treat a replacement as a guaranteed route to a straighter cue, a different feel or better accuracy.
Identify which connection you mean
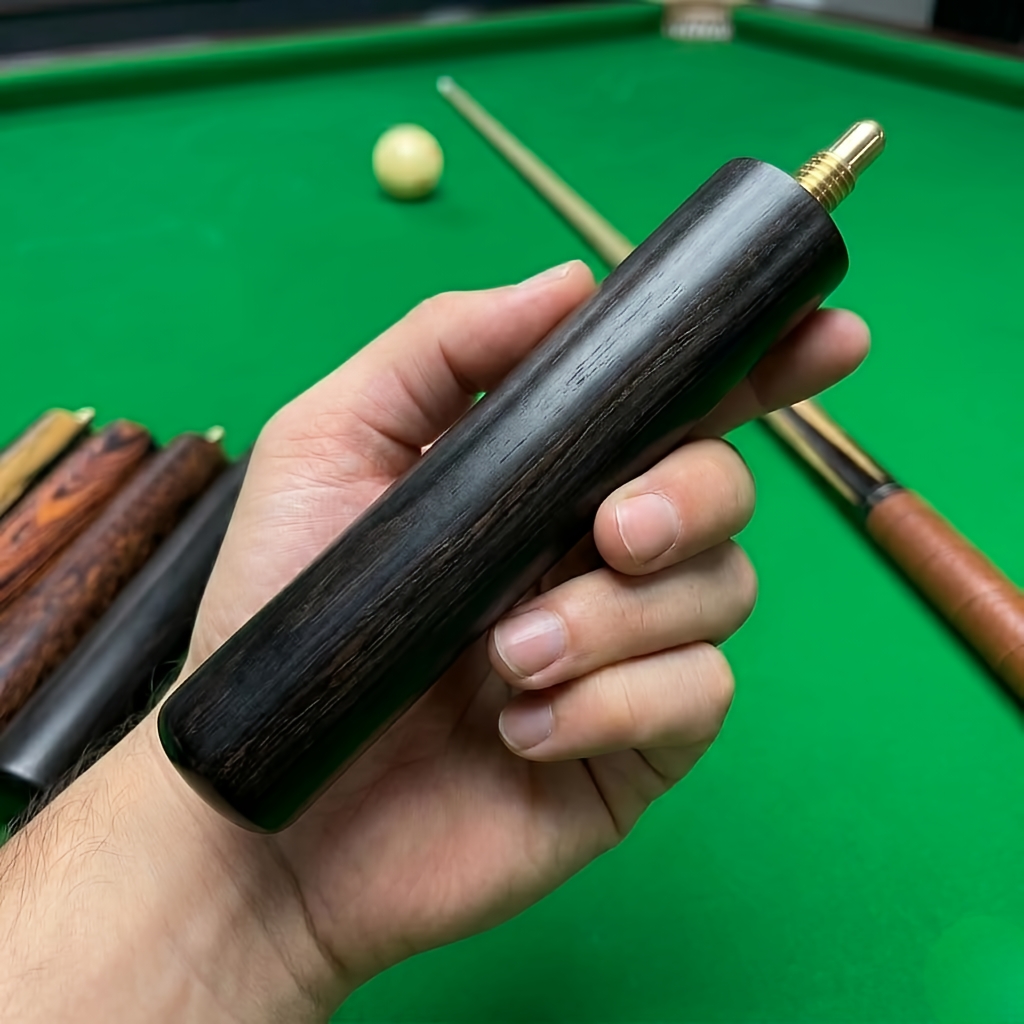
“The joint” can describe different interfaces. A one-piece cue has no shaft-to-butt playing joint. A three-quarter-jointed or centre-jointed cue has a connection between sections, while a separate butt extension has its own interface. These are different jobs with different fit and storage consequences.
Write down the cue name, reference or serial wording, number of sections and where the connection sits. If the question is really about format, read the one-piece versus three-quarter cue guide first. If it is about an extension, use the cue-extension selection guide rather than assuming that an extension thread can substitute for a playing joint.
Make a condition record before any alteration
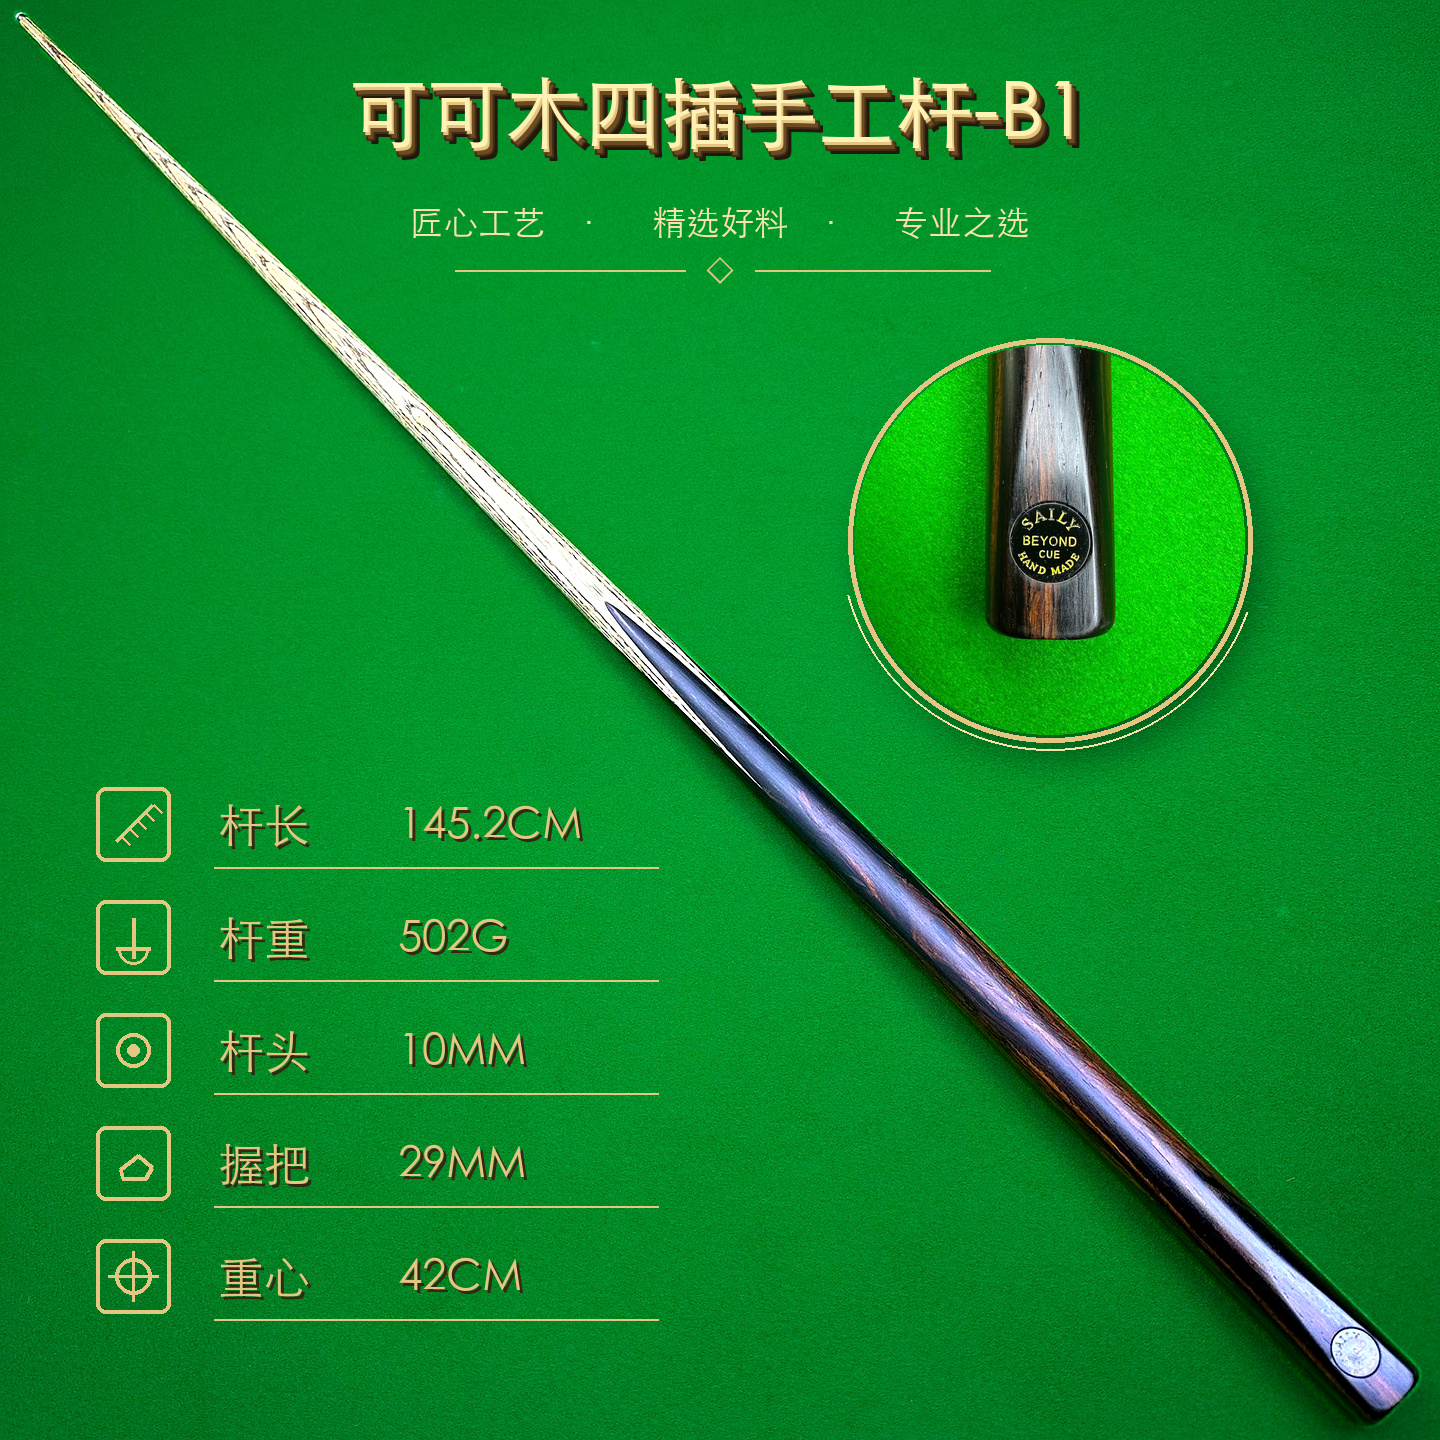
Photograph the complete cue, then the separated sections and both visible mating faces in even light. Record shaft and butt section lengths, current tip and ferrule condition, joint position, case, extension and joint protectors. Add the date, the known maker or seller wording and the reason you are considering a change.
Describe what you can observe: a gap, movement, damage, unusual resistance, a new sound, a mismatch with an extension or a storage problem. Do not turn the symptom into a diagnosis. The cue-joint inspection guide explains how to make a conservative normal-fit record; it does not authorise dismantling.
If the joint has recently become hard to start, turn or seat, stop forcing it and use the hard-to-tighten checklist. A changed fit may need inspection before anyone can say whether replacement is appropriate.
Understand what replacement could affect
A proposed joint change is not an isolated hardware swap. It may alter the location of the connection, the usable section lengths, the way the faces meet or the measurements you use to identify the cue. It can also change case fit, extension compatibility, joint-protector fit and the accuracy of older photographs or listings.
Those are possibilities, not a prediction for your cue. The result depends on the actual construction, the available material, the condition around the joint and the maker’s design. A new interface may look neat while the complete cue still needs separate checks for alignment, straightness, shaft condition, tip, ferrule and butt.
Do not infer hidden thread size, insert material or future playing feel from one photograph. Keep the original record with any quotation or service note so the cue’s identity remains traceable after inspection.
Check whether a reversible answer solves the real problem
Before considering an irreversible alteration, state the problem in one sentence. Is the cue difficult to transport, no longer fitting its case, incompatible with a documented extension, showing a changed joint fit or simply being compared with another format? The answer may point to a case, protector, extension or storage decision rather than joint replacement.
For a transport question, compare the complete cue format and case requirements. For a reach question, verify an extension against the exact cue and maker guidance. For a fit change, stop assembly and preserve evidence. A reversible accessory or a better record can be safer than modifying a cue whose construction is not fully documented.
When buying another cue instead, use the online cue-buying checklist to compare the exact configuration, current photographs, measurements, condition and seller terms.
Ask a maker or experienced cue technician
Send the professional one clear packet: exact cue reference, current photos, section lengths, configuration, condition notes, known history and the question you need answered. Keep the cue, case, extension and protectors together so fit can be checked in context.
Do not remove a joint, apply heat, drill, cut, sand, scrape or add glue before that assessment. A technician needs to see the original parts and evidence. Ask what would change, what could remain reversible, how the cue would be re-measured and which records should be updated. If the maker or seller covers support or returns, contact them first.
After any professional work, re-check the assembled cue, section lengths, case fit and extension compatibility against the updated record. A service decision should be documented; it should not be presented as a universal performance upgrade. Browse the SAILY CUE catalogue when you need real cue photographs and available specifications.
Snooker cue joint replacement FAQ
Can every snooker cue joint be replaced?
No. The answer depends on the exact cue, its construction, the condition of the sections and the reason for the proposed work. A one-piece cue has no shaft-to-butt playing joint, while a jointed cue may still have a connection that should not be altered without a cue-specific assessment.
Is replacing a cue joint the same as tightening a loose joint?
No. Tightening or troubleshooting a changed fit is a condition question. Replacing a joint changes a component or interface and may affect section length, alignment, fit and records. Stop using a joint that has changed and follow the separate resistance checklist before discussing replacement.
Can I replace a snooker cue joint at home?
Do not attempt to remove, heat, drill, cut, sand or glue a cue joint at home. Those actions can remove evidence and change the cue before a maker or experienced cue technician has inspected the actual shaft, butt and mating parts.
What should I send a cue technician before asking about replacement?
Send the cue reference, clear photos of the assembled and separated sections, section lengths, current configuration, visible condition, known history and the problem you are trying to solve. Keep the case, extension and any joint protectors available so compatibility can be checked with the complete record.
SAILY CUE CUE CARE
Preserve the exact cue record
Document the current connection first, then let a maker or experienced cue technician assess the physical parts.