
SNOOKER CUE TROUBLESHOOTING · JOINT FIT
Why Is My Snooker Cue Joint Hard to Tighten?
Stop forcing the connection, preserve what changed and make a cue-specific decision before the next attempt.
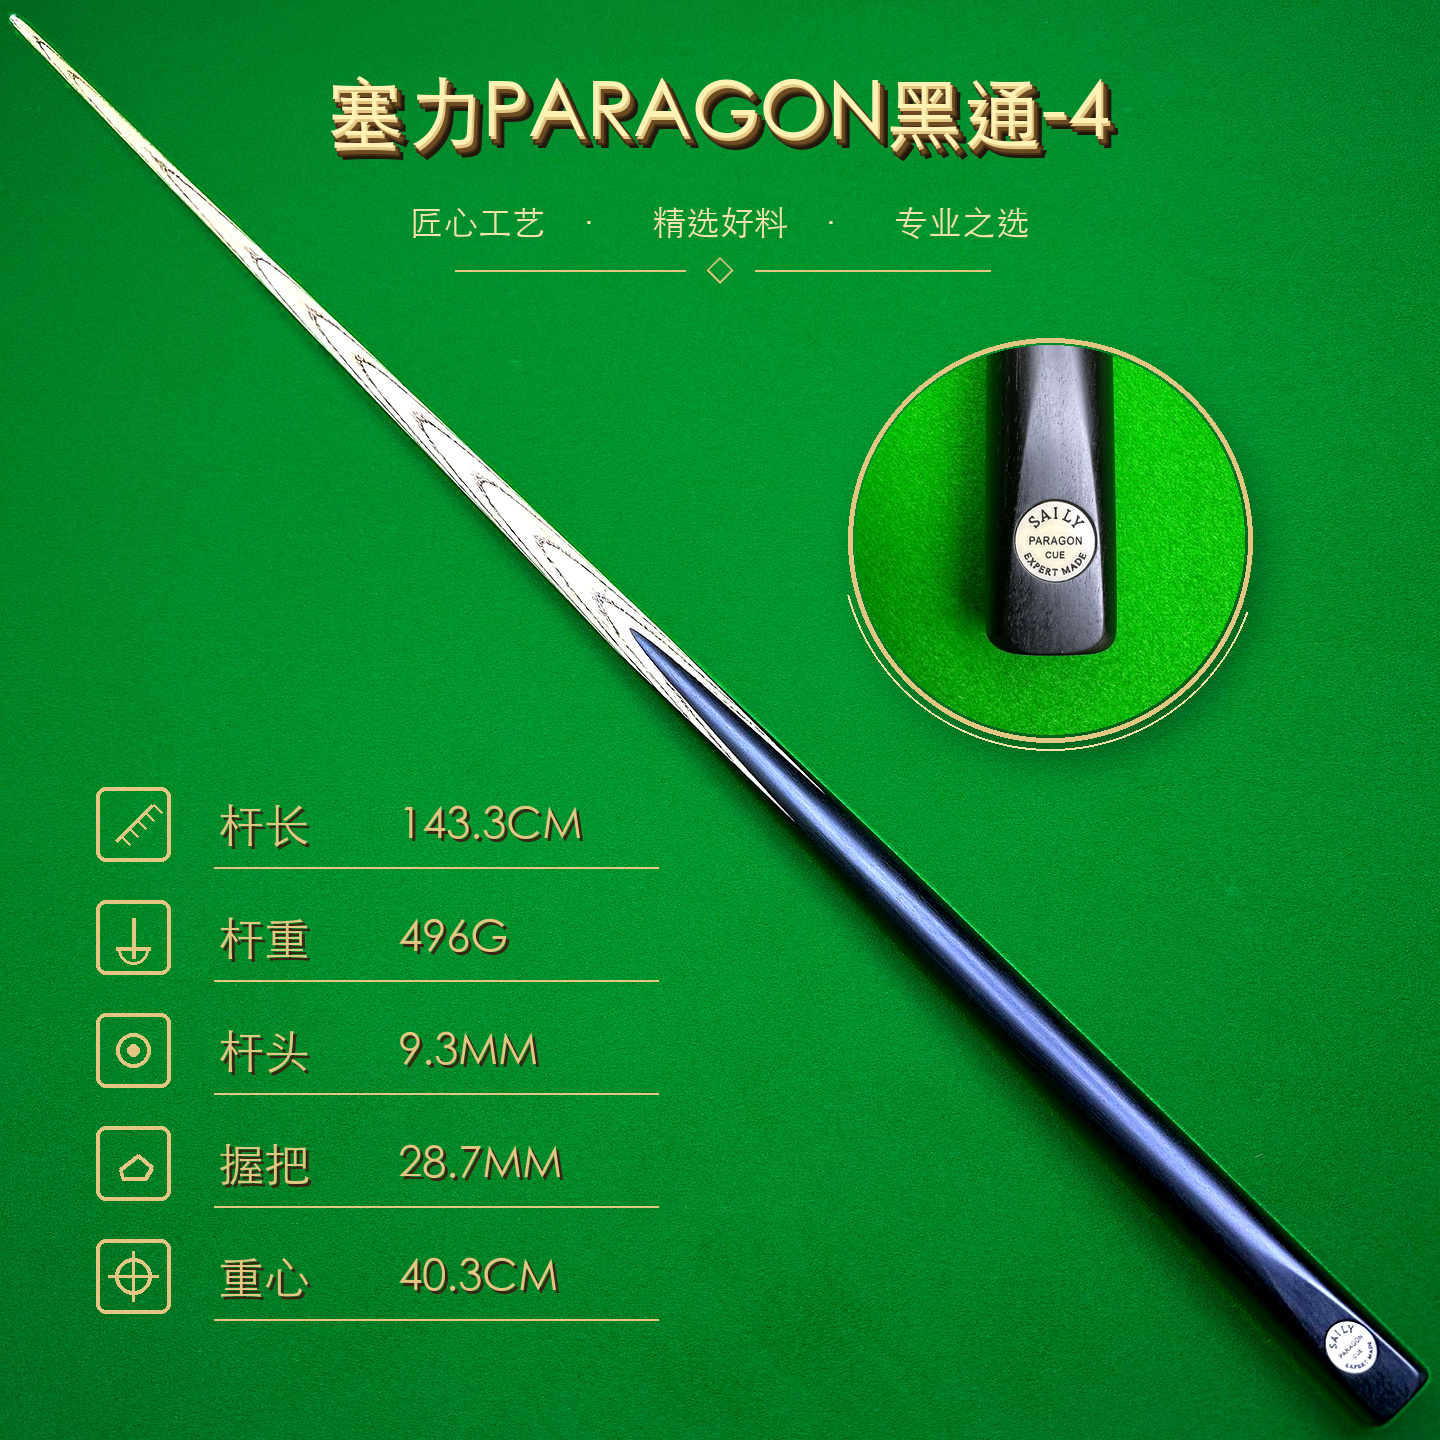
Short answer: if a snooker cue joint no longer starts, seats or turns normally, stop tightening it. Set the sections on a clean supported surface, photograph the exact condition, and make only a gentle dry visual inspection. Do not use tools, oil, grease, abrasives or improvised leverage. Compare the change with a known-normal record if you have one, then contact the maker, seller or an experienced cue technician.
Stop before the difficult turn becomes damage
“Hard to tighten” can describe several different changes: the thread will not start, the sections begin at an angle, the connection turns unevenly, the faces stop short of their usual position, or the joint becomes difficult only at the final part of assembly. Those are not the same symptom, but they share one first response: do not force the cue together.
Put the shaft and butt down on a clean, padded surface and keep the sections supported. Do not grip the thin shaft more tightly to gain leverage, clamp either section, or ask another person to twist harder. The jointed-cue assembly guide covers ordinary preparation; this guide is for a connection that has changed or does not behave normally.
Write down what happened before trying again: which sections were connected, where the resistance appeared, whether the cue had travelled, fallen or been knocked, and whether the joint was normal at the previous session. Preserve the original position of any loose dust or visible fragment in a photograph rather than wiping the evidence away.
Make a dry visual inspection only
Use bright, even light and look at both mating faces without inserting anything into the socket. Check the visible pin or opening, collar and shoulder for loose debris, a crack, a dent, missing material, a bent-looking part, corrosion or an edge that no longer appears even. Look for chalk or fibres, but do not assume that a visible speck explains the entire problem.
Remove only loose surface dust with a clean, dry, soft cloth or soft brush if it comes away without pressure. Do not scrape threads with a point, sand the faces, polish the collar, add solvent or introduce a cotton bud where it can leave fibres. The broader snooker cue joint inspection guide helps document a normal pre-play check; it does not authorise repair work on a resistant connection.
Compare with known-normal behaviour
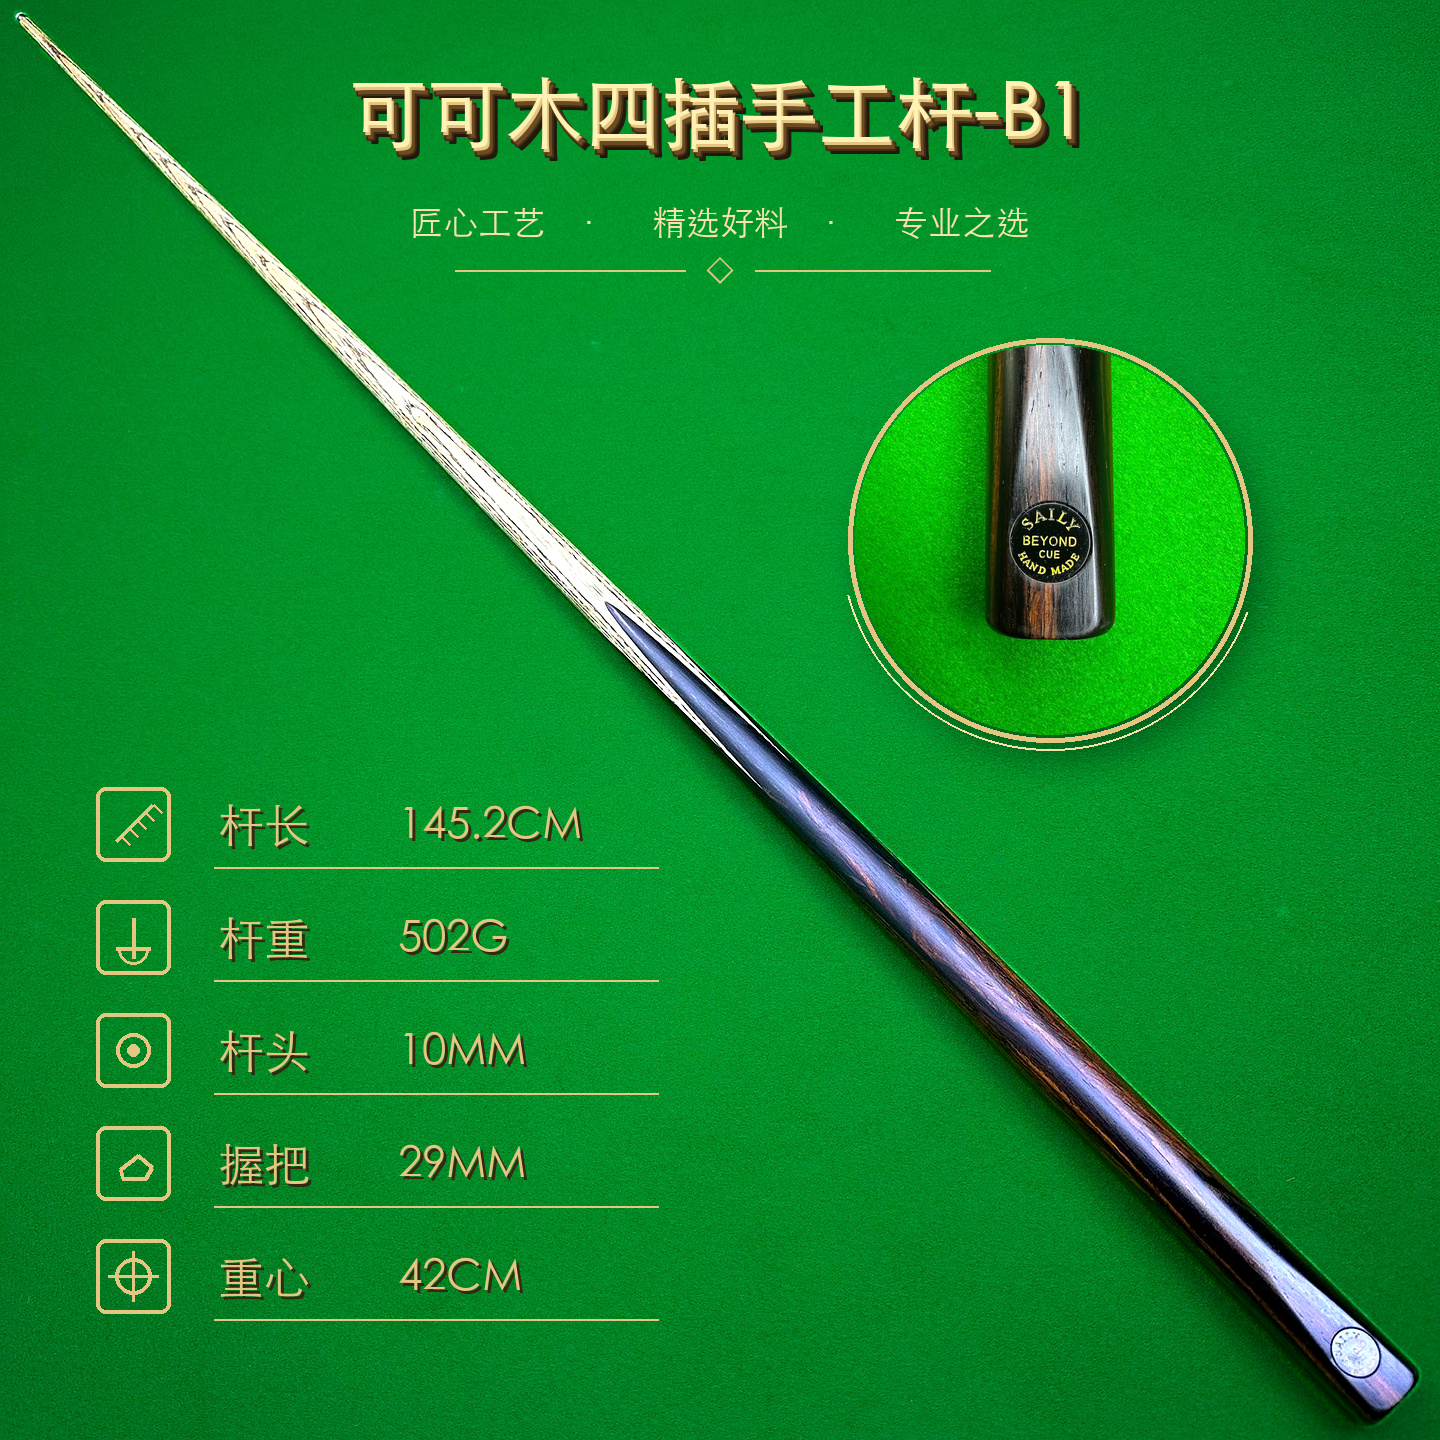
If you have a dated photograph, seller message or personal note from when the cue assembled normally, compare only what can be seen: the section orientation, visible gap, collar position and any obvious movement. A product photograph from another cue or series is not a measurement standard for yours. Joint formats and normal hand fit can vary, so do not chase a universal number of turns, torque or gap.
If the joint still connects without force, do not repeatedly cycle it as an experiment. One careful observation may preserve useful evidence; repeated attempts can change the condition. If it will not start or seat, leave the sections separated. If it is already partly connected and will not move normally, stop and obtain cue-specific advice rather than trying to “break it free” with a longer grip.
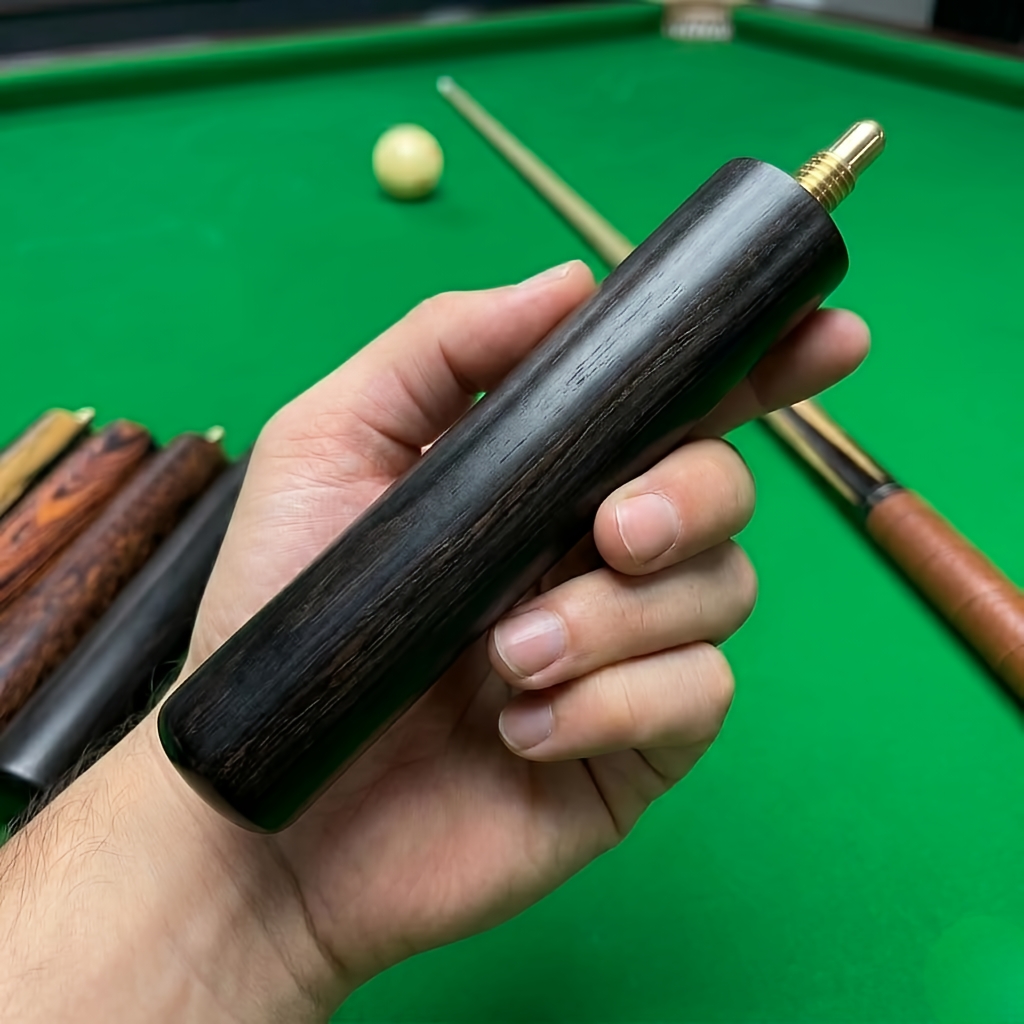
A detachable extension is another connection, not proof of how the shaft-to-butt joint should feel. The real extension photograph below illustrates a separate accessory; confirm compatibility from the exact cue record and maker guidance.
Check whether a recent event changed the evidence
Ask whether the cue was dropped, knocked against furniture, packed under pressure, exposed to moisture or heat, or assembled after a difficult transport journey. Do not turn that question into a diagnosis. It simply helps the maker or technician understand the sequence and decide what to inspect first.
Keep photographs of the separated sections, joint faces and full cue together with the date and a short description of the symptom. If the problem appeared after delivery, use the post-delivery inspection guide to keep packaging and condition records. Do not discard protective materials before the seller’s process is clear.
Choose the next safe step
Contact the maker or seller first when the cue is under a support, return or delivery process. Send the exact cue reference, current photographs, what changed, and whether the joint was previously normal. Ask for their documented handling instructions before applying any product or attempting another assembly.
If maker or seller support is unavailable, choose an experienced cue technician who can inspect the actual shaft, butt, mating faces and visible joint hardware. Do not request a generic “tightening fix” based only on a message or photograph. The technician needs to see the cue-specific condition before discussing repair. If the conversation turns to replacing the connection, use the separate cue-joint replacement assessment to preserve configuration and measurement evidence.
Until then, keep the sections separated, dry and supported in a suitable case or storage position. Include joint checks in a condition-based snooker cue maintenance schedule, but do not turn this incident into an invented service interval. Browse the SAILY CUE catalogue when you need the exact product record, current photographs and documented specifications.
Snooker cue joint hard-to-tighten FAQ
Why has my snooker cue joint suddenly become hard to tighten?
A changed fit can follow visible debris, impact, a damaged thread or collar, misalignment, or another cue-specific condition. The change itself is the useful warning; do not guess the cause or keep adding force.
Should I use oil, grease or a tool on a tight cue joint?
No. Do not use oil, grease, polish, abrasives, pliers, a wrench or improvised leverage unless the maker gives a written instruction for that exact joint. Added products and force can obscure evidence or cause further damage.
Can I keep playing if the joint is only slightly difficult to tighten?
Pause until the exact cue has been checked. A joint that no longer starts, seats or turns as it normally did should not be treated as a harmless adjustment, especially after a drop, knock, transport event or visible change.
Who should inspect a snooker cue joint that will not tighten normally?
Contact the maker or seller first when the cue is covered by their support or return process. Otherwise, ask an experienced cue technician who can inspect the actual sections, joint faces and visible hardware without relying on a photograph alone.
SAILY CUE CUE CARE
Preserve the exact cue evidence
Keep the sections supported and document the changed fit before asking the maker, seller or a cue technician for advice.