
SNOOKER CUE CARE · MAINTENANCE SCHEDULE
Snooker Cue Maintenance Schedule: What to Check Before, During and After Play
Use short condition checks and event-based triggers instead of inventing one service interval for every cue, surface and player.
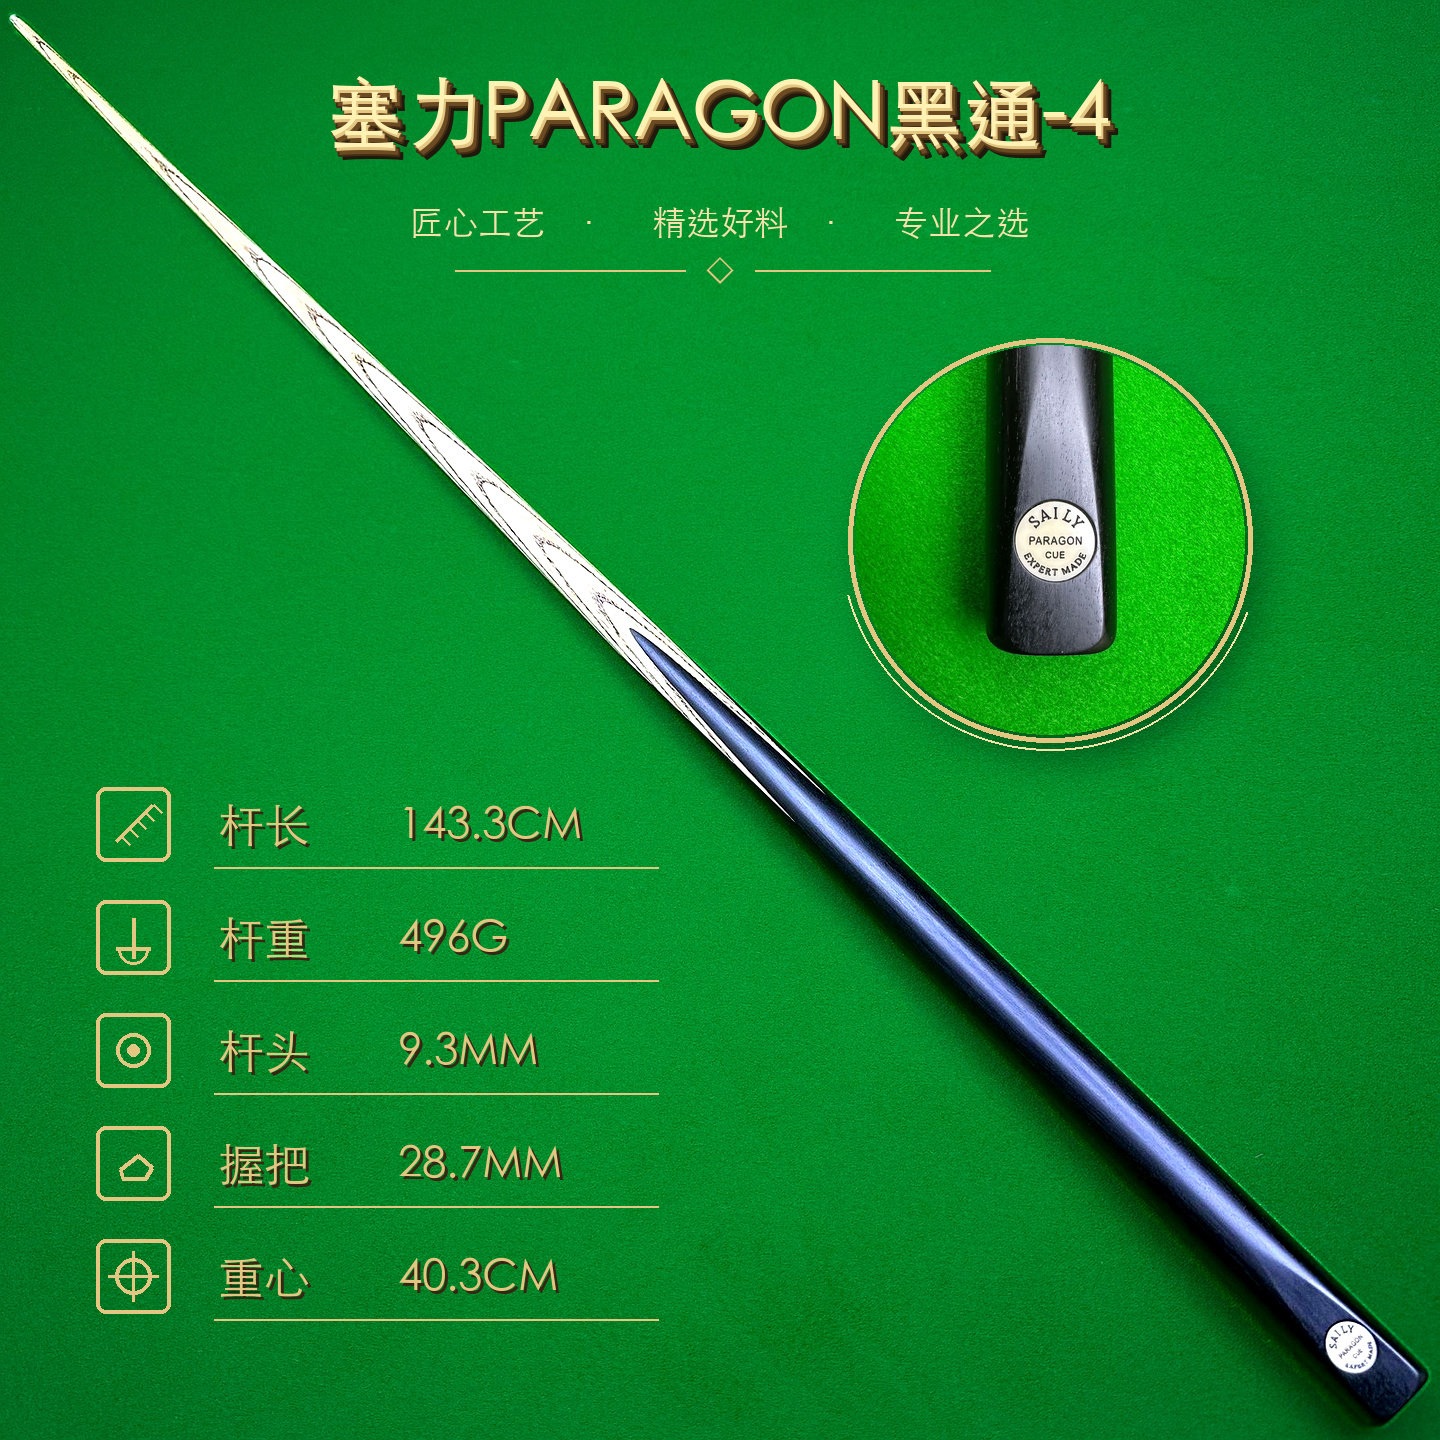
Short answer: give the cue a brief tip, ferrule, shaft, joint and butt check before play. During a session, respond only to a real change such as looseness, a new sound, a catch or damaged tip surface. After play, remove loose chalk and hand residue with a clean soft dry cloth and store the cue correctly. Add a documented full inspection after travel, impact, long storage, repair or any persistent change. Use maker guidance and the cue’s condition rather than a fixed polishing, oiling or replacement calendar.
Build the schedule around condition and triggers
A maintenance schedule should prevent small observations from being forgotten without encouraging unnecessary treatment. Cues differ in construction, surface history, joint type, tip, case and use. That makes “service every X months” an unreliable universal rule.
Create a simple dated record for the exact cue: maker or seller reference, normal assembled configuration, current photographs, known surface guidance and any previous repair or product use. The broader snooker cue storage and care checklist explains the everyday environment and handling basics.
Divide maintenance into four layers: a quick pre-play check, minimal attention during play, dry care after play and a deeper event-triggered review. Stop before cleaning becomes refinishing or inspection becomes destructive testing.
Before play: make a 60-second condition check
Work in even light with clean, dry hands. Look at the tip from above and from the side. Check that it is attached, has no obvious missing section or deep split and still has usable material above the ferrule. The cue-tip inspection guide shows how to separate normal profile preference from a real condition concern.
Inspect the ferrule for a crack, chip, unexplained gap or new colour transfer. Run your eyes along the shaft and lightly pass a clean dry cloth lengthwise to find loose residue or a catch. Do not use bare fingers as a licence to squeeze, bend or twist a suspicious area.
On a jointed cue, inspect clean mating faces and assemble the sections only in the normal straight alignment. Stop if the thread will not start naturally, suddenly becomes hard to turn or leaves an unexplained gap. Use the snooker cue joint checklist before forcing any connection.
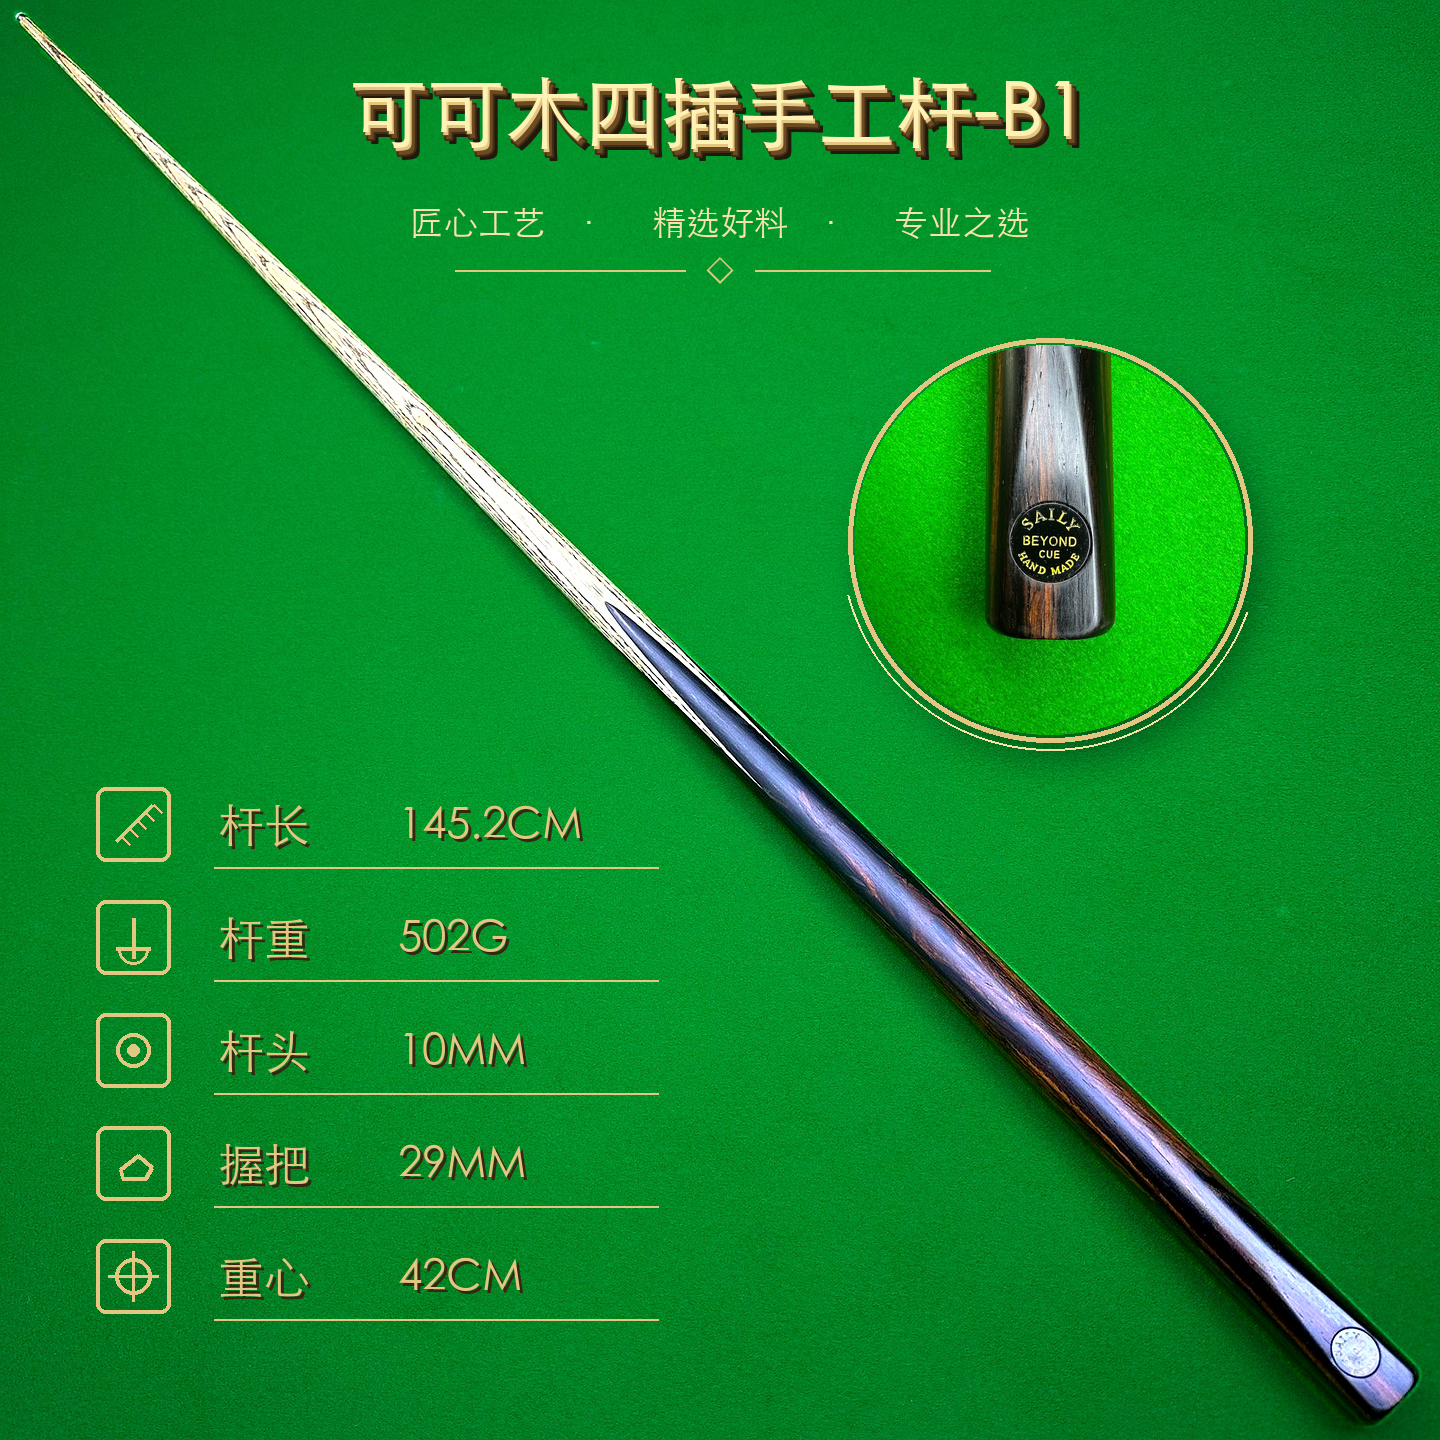
During play: respond to changes, not a timer
Routine play should not be interrupted for constant checking. Pause only when something changes: the tip edge lifts, the ferrule shows a new mark, the shaft catches, the joint loosens, the cue develops a click or rattle, or the grip and butt feel different.
Move away from balls and other players before inspecting. If the cause is loose surface chalk, use a clean dry cloth. Do not add oil, wax, glue, abrasive paper, steam or household cleaner at the table. Products and repairs need cue-specific evidence, not urgency.
Stop using the cue for movement, cracking, a sharp catch, missing material, abnormal joint fit or a new structural sound. Photograph the exact area and note what happened. Continuing to play can make the original condition harder for a cue technician to assess.
After play: use a dry, low-intervention routine
- Remove loose residue.With clean hands, use a fresh soft dry cloth for loose chalk and hand residue. Wipe lengthwise with light pressure.
- Check the five zones.Look briefly at the tip, ferrule, shaft, joint and butt so a new condition is recorded before storage.
- Separate accessories.Keep chalk, files, coins, tools and damp cloths in their own compartments so they cannot strike or stain the cue.
- Store securely.Use a clean correctly sized case or supported storage position in a suitable indoor place. Do not leave the cue in a vehicle as routine storage.
The shaft-cleaning guide gives the dry-first method in detail. Do not turn “after every session” into a schedule for sanding, burnishing, oiling or waxing. Those actions can alter a surface and are not universally appropriate.
Periodic review: compare the record, not the calendar alone
Choose a practical reminder—such as the start of a month or every several sessions—to compare the cue with its own baseline photographs. The reminder exists so you remember to look; it does not mean the cue must receive a treatment.
Photograph the full cue and any area you monitor under similar diffuse light. Confirm the cue identity and normal configuration. Review the tip attachment, ferrule boundary, shaft surface, joint fit, butt finish, inlays or badge, and case supports. Record “no change” when that is what the evidence shows.
Do not replace a tip by age alone, polish a butt to match a photograph or oil a shaft because a month has passed. If the maker gives an exact instruction for this cue and surface, follow it. Otherwise, ask an experienced cue maker or technician before an irreversible step.
Reset the schedule after travel, storage, impact or repair
Inspect the cue after air travel, shipping, an unusually humid journey, long storage, a drop or any hard case impact. Let a closed case reach a suitable indoor environment before opening if it has experienced a rapid environmental change. Then document the package or case, the separated sections and the assembled cue without forcing anything.
If the cue has fallen, follow the post-drop damage checklist before playing. Preserve what happened, inspect each section and stop for looseness, cracks, gaps, sharp catches, abnormal fit or sound. Do not try to “test through” the concern with hard shots.
After a professional repair, keep the maker’s instructions and establish new baseline photographs. The repaired cue may have a different surface or care requirement from its earlier record. Future maintenance should follow the documented current condition.
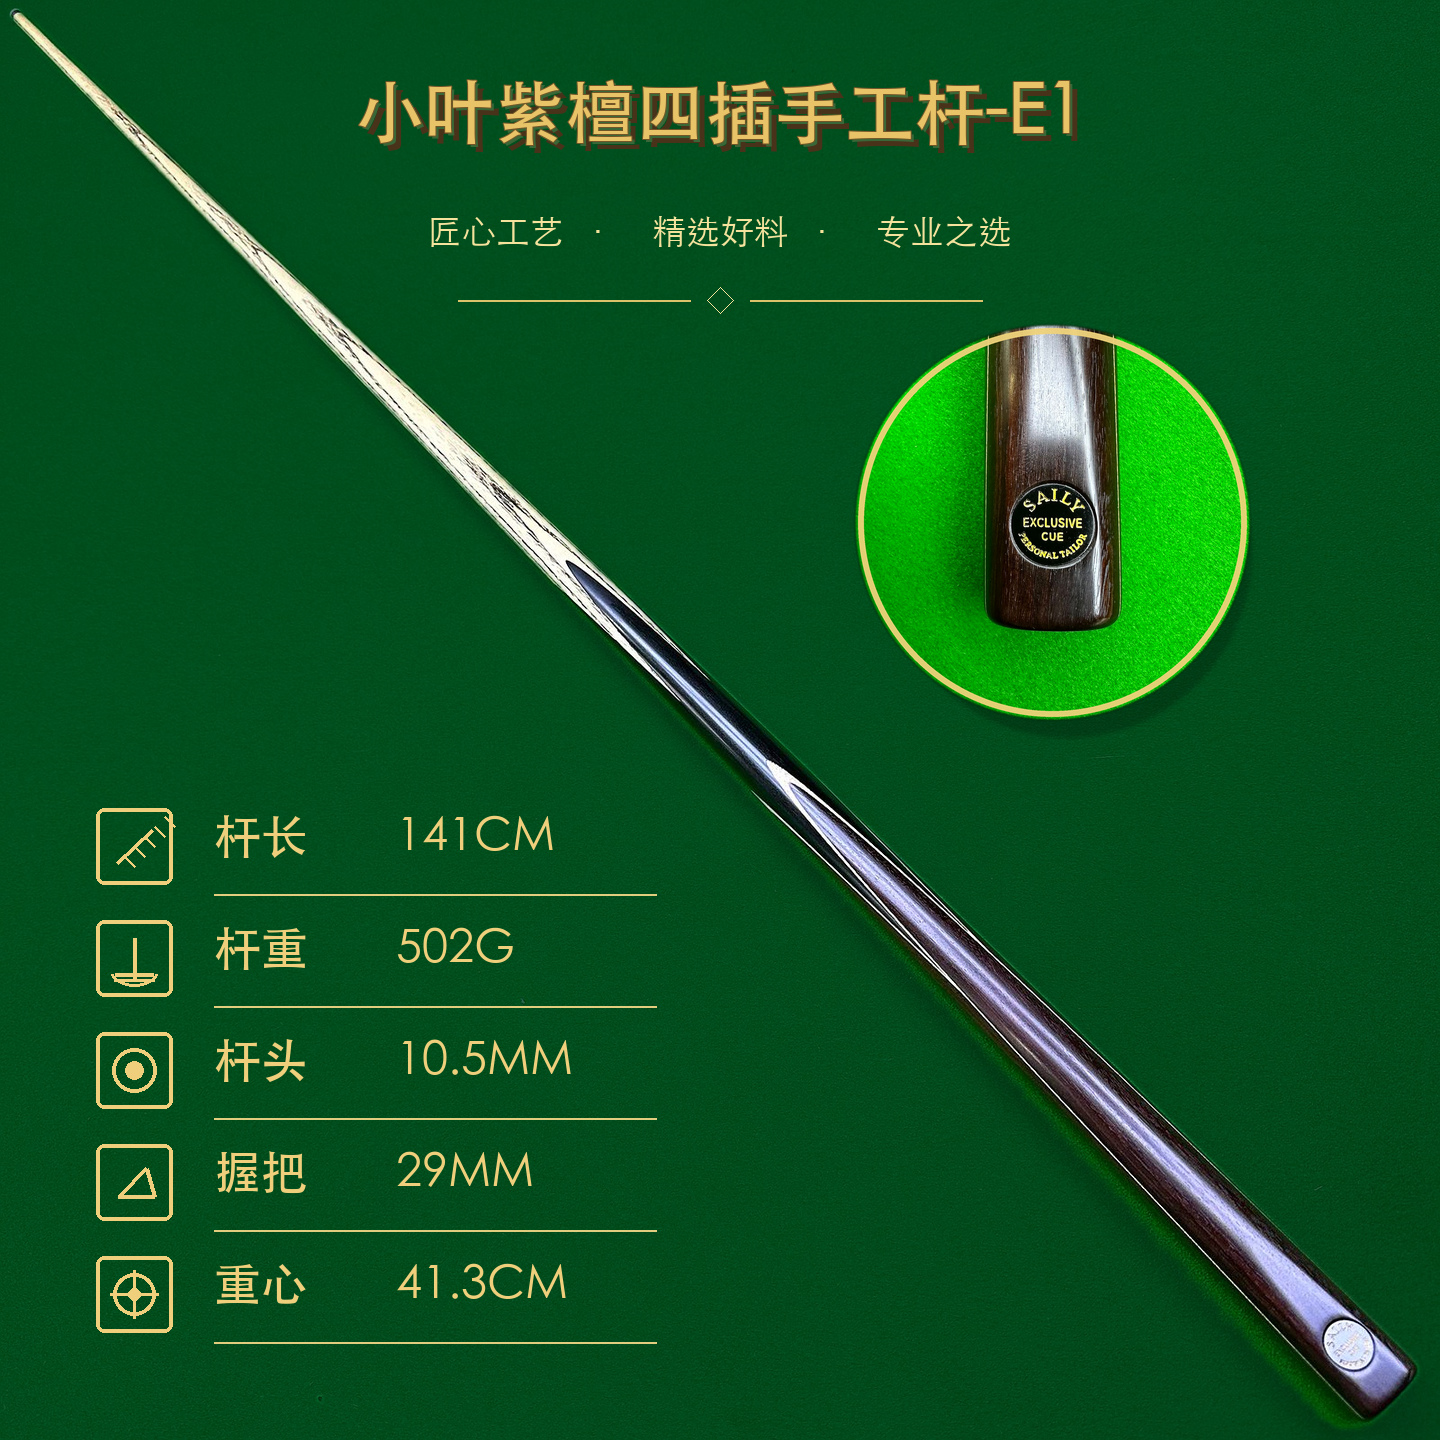
When choosing another cue, use the real photographs and measured records in the SAILY CUE catalogue. A listing helps identify an exact cue, but no photograph or schedule can guarantee lifespan, straightness or playing performance.
Snooker cue maintenance schedule FAQ
How often should I maintain a snooker cue?
Use condition and events rather than one universal calendar. Make a quick check before and after play, inspect more closely when the cue changes, and repeat the full record after travel, storage, impact or a repair.
Should I clean the shaft after every session?
Remove loose chalk and hand residue with a clean, soft, dry cloth when needed. Do not turn every session into polishing, sanding or liquid treatment, and follow the maker’s exact guidance for the surface.
How often should a snooker cue tip be replaced?
There is no honest fixed interval for every tip. Inspect the attachment, surface, edge and remaining sound material. Looseness, deep cracking, missing material or insufficient safe working depth needs qualified assessment.
Do I need a professional cue service every year?
Not automatically. A fixed annual service is not a universal requirement. Seek an experienced cue maker or technician when the exact cue shows a condition that routine dry care cannot safely address.
SAILY CUE COLLECTION
Maintain the exact cue, not a generic timetable
Compare real product photographs and documented measurements when building a cue-specific condition record.