
SNOOKER CUE CARE · JOINT ASSEMBLY
How to Assemble a Jointed Snooker Cue Without Damaging the Joint
A calm, repeatable way to support, align and check a sectional cue before play, with clear stop points when the connection does not feel normal.
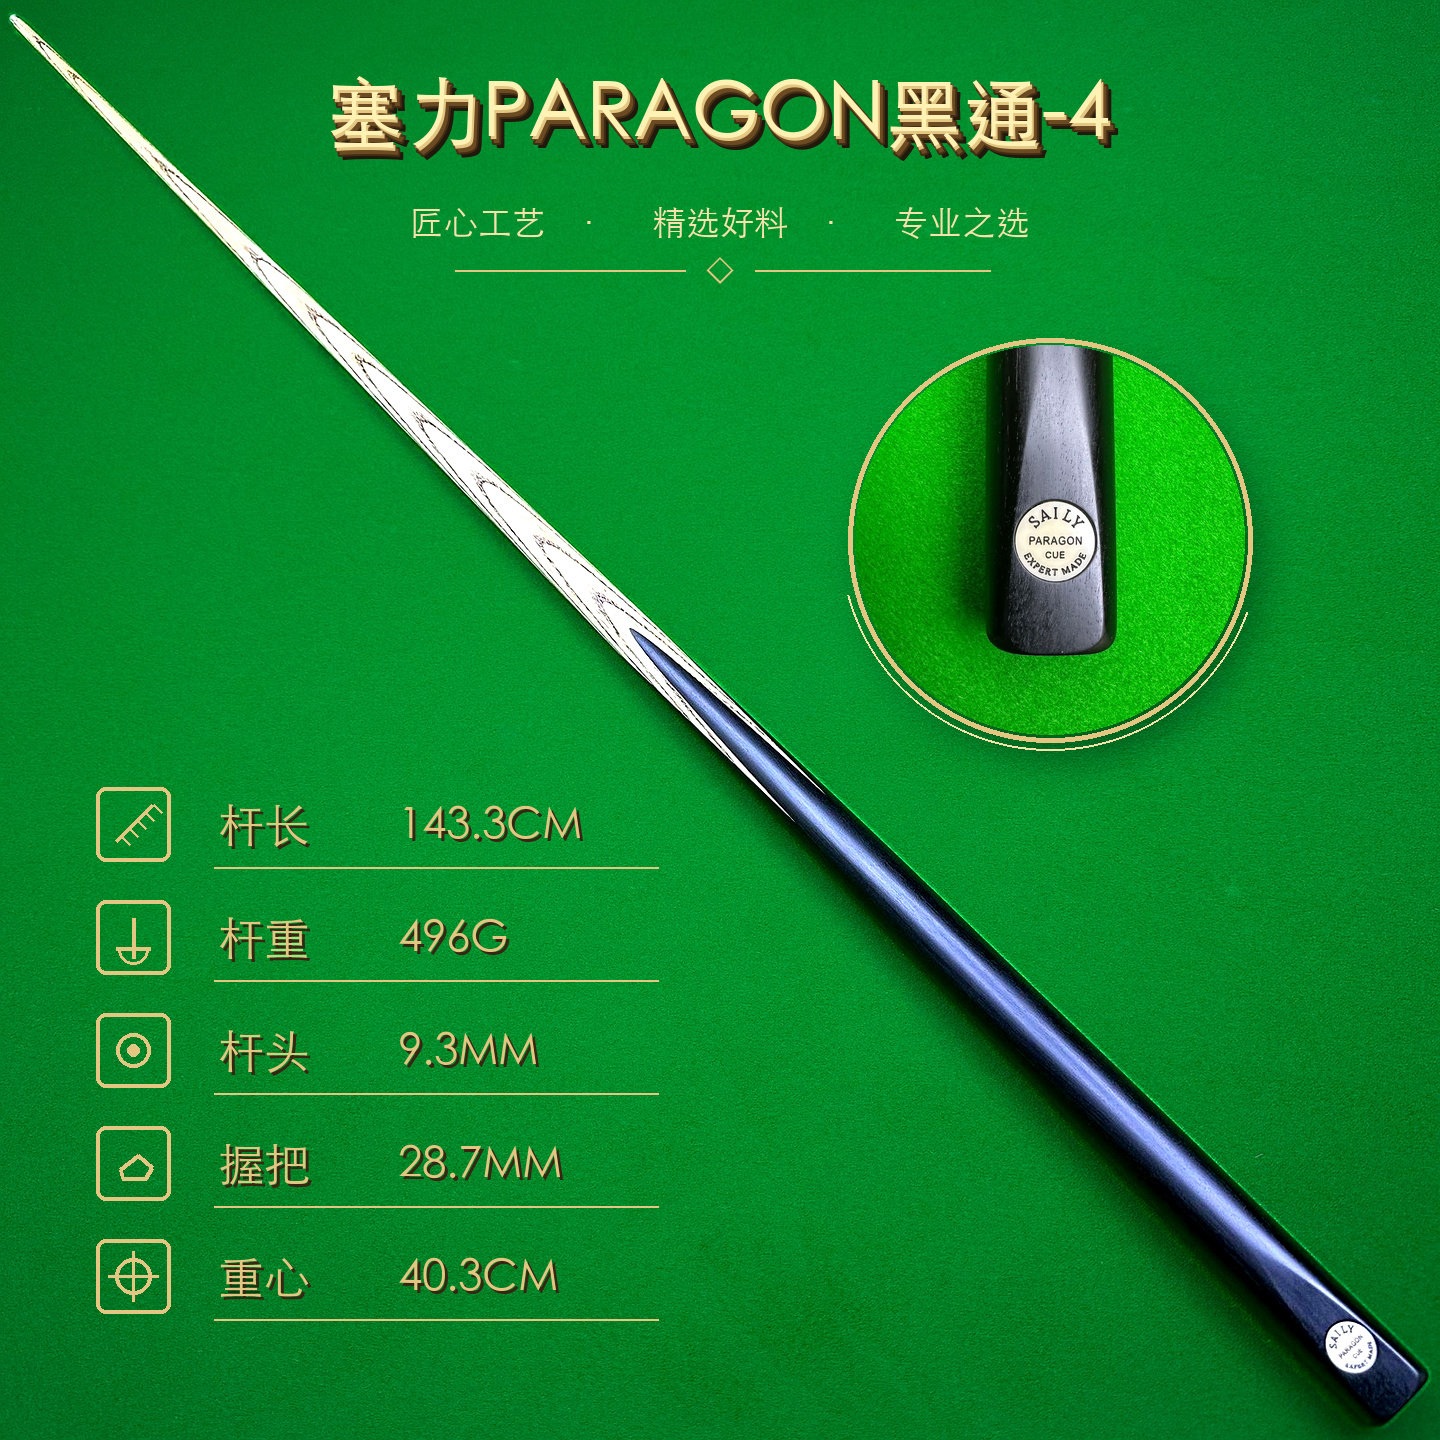
Short answer: place both cue sections on a clean, supported surface, keep the shaft and butt aligned, inspect the mating faces and threads, then connect using only the normal hand method for that cue. Do not force a resistant fit, cross-thread the connection, grip the thin shaft tightly or add unknown lubricant.
Prepare a safe assembly area
Choose a clean, dry, well-lit table or another stable surface with enough room for the complete cue. A folded towel or cue mat can stop the sections rolling, but it should not hide the joint or put the cue under a bend. Keep chalk, keys, tools and drinks away from the connection.
Wash and dry your hands. Identify the shaft and butt, and check the cue’s instructions if they are available. Joint hardware and normal fit can differ between cues, so a general picture cannot tell you the correct tightening position. The parts of a snooker cue guide can help identify the sections without guessing at hidden construction.
Inspect the faces, threads and shoulder
Before bringing the sections together, look at both mating faces in even light. Check the visible pin or socket, any thread entrance, the collar and the shoulder where the faces meet. Look for chalk, loose dust, dents, cracks, corrosion, missing material or a thread that appears flattened. Do not scrape inside a socket with a point.
Remove only loose surface dust with a clean, dry, soft cloth or brush. Do not sand, file or polish the joint. Do not apply grease, oil, wax or thread-locking compound unless the maker has documented that product for this exact joint. If you can see damage, photograph it and pause. The snooker cue joint inspection checklist gives a separate condition-first review.
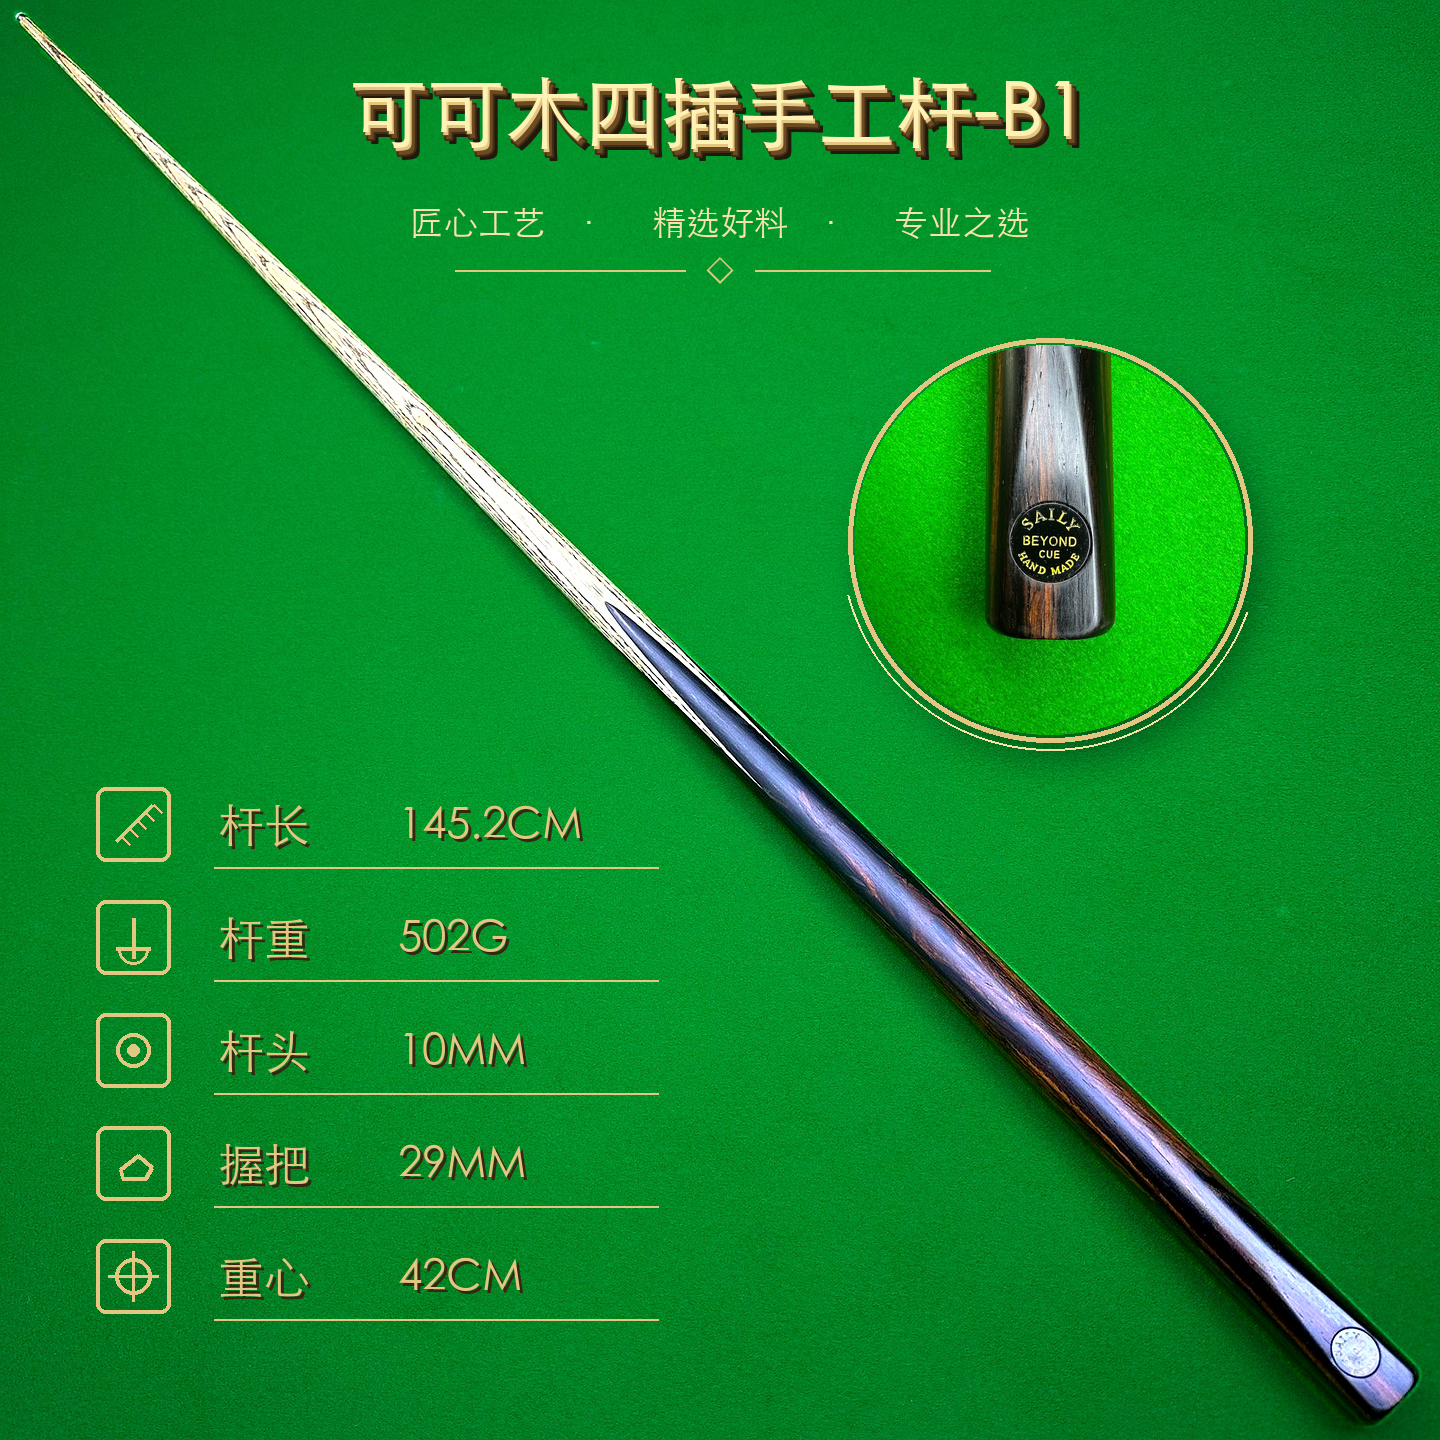
How to assemble a jointed snooker cue
- Support both sections.Rest the butt and shaft so their weight cannot pull sideways on the connection. Never clamp the shaft or hold its narrow end in a vise.
- Align before contact.Bring the sections together in the cue’s intended straight line. Let the faces meet squarely rather than starting at an angle.
- Start gently by hand.Follow the exact normal connection method. For a threaded joint, begin with light fingertips and watch that the thread engages evenly; never start by force.
- Seat to the normal position.Use steady hand pressure only. Stop immediately if the parts catch, wobble, turn unevenly or need more force than usual.
- Keep your grip sensible.Hold the butt where it is supported. Do not squeeze, twist or lever against the thin shaft to gain torque.
There is no universal number of turns, torque or acceptable gap that applies to every joint. The correct reference is the cue maker’s documented method and the known normal fit of that specific cue. Pliers, adjustable wrenches and improvised extensions can crush edges or damage threads.
Check the assembled connection before play
Look around the joint for expected face contact and a stable, even shoulder. There should be no unexplained gap, step, rocking or visible misalignment. Hold the cue normally and make a few gentle practice movements away from balls and people. Do not deliberately twist the sections as a stress test. A new click, rattle or movement is a reason to stop.
Joint assembly does not certify that the whole cue is straight or suitable for play. View the complete cue from more than one direction and check the tip, ferrule and shaft as appropriate. Browse the SAILY CUE product catalogue for the documented record of individual cues, rather than inferring materials or performance from a photograph.
Separate the cue without stressing it
When the session is over, support both sections again. Reverse the normal hand connection with the same straight alignment; do not bend the shaft away from the butt while the joint is engaged. Keep fingers clear of edges and never drop one section onto the other.
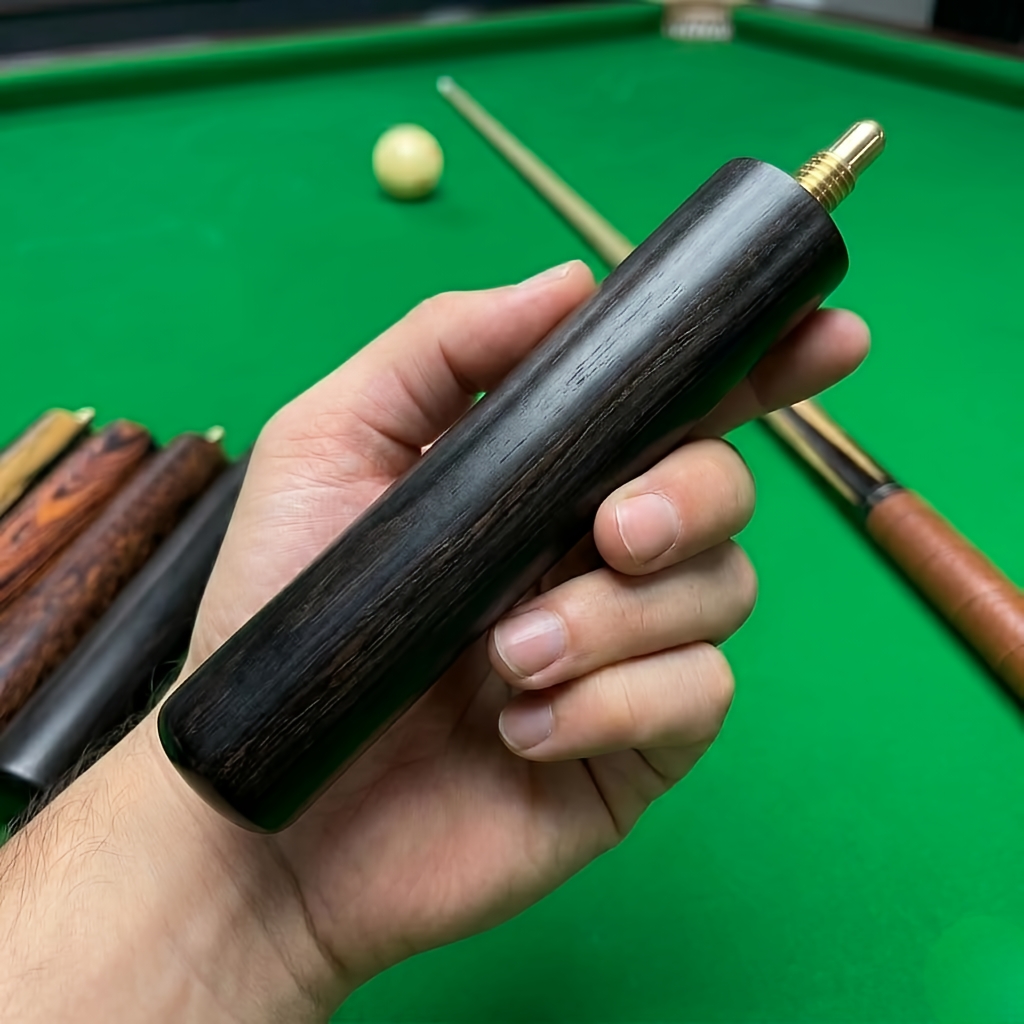
After separation, keep the joint faces dry and protected from loose items. Place each section in a case or supported storage position suited to that cue. Follow the snooker cue storage and care guide for transport, temperature and routine checks.
When to stop and ask a professional
Stop if the thread will not start cleanly, the connection cross-engages, the joint suddenly becomes hard to turn, the faces no longer meet normally or a gap remains. Also stop for a bent pin, crack, damaged collar, missing material, persistent looseness or a new rattle. Do not try to correct alignment with sandpaper or lubricant.
Separate the sections only if you can do so without force. Keep photographs and note what changed. A qualified cue maker or repair technician can inspect the actual parts and advise on repair; continued assembly can turn a small issue into permanent damage.
Jointed snooker cue assembly FAQ
How do I start assembling a jointed snooker cue?
Support both sections on a clean, padded surface, align them without sideways pressure and begin the maker’s normal hand connection gently. If the first fit or turn feels abnormal, stop and separate the sections carefully.
Should I lubricate a snooker cue joint?
Do not oil, grease, wax or polish a joint unless the maker gives a specific instruction for that exact connection. Unknown products can trap dust or affect fit and surrounding materials.
What should I do if a cue joint is hard to turn?
Stop. Do not use pliers, a wrench or extra leverage. Inspect for visible debris or damage without scraping, and ask a cue maker or repair technician to examine persistent resistance.
How tight should a jointed snooker cue be?
Use the exact cue’s normal hand-tight position rather than a universal torque or gap measurement. It should seat as intended without unusual force, rocking, an unexplained gap or cross-threading.
SAILY CUE CATALOGUE
Review the exact cue record
Compare real product photographs and documented specifications, then ask for help when a joint does not fit normally.