
SNOOKER CUE BUYING · JOINT FORMAT
Centre-Jointed vs 3/4-Jointed Snooker Cue: What Should You Compare?
Read the format as a storage and handling fact, then compare the exact cue, its section lengths, case fit and joint condition.
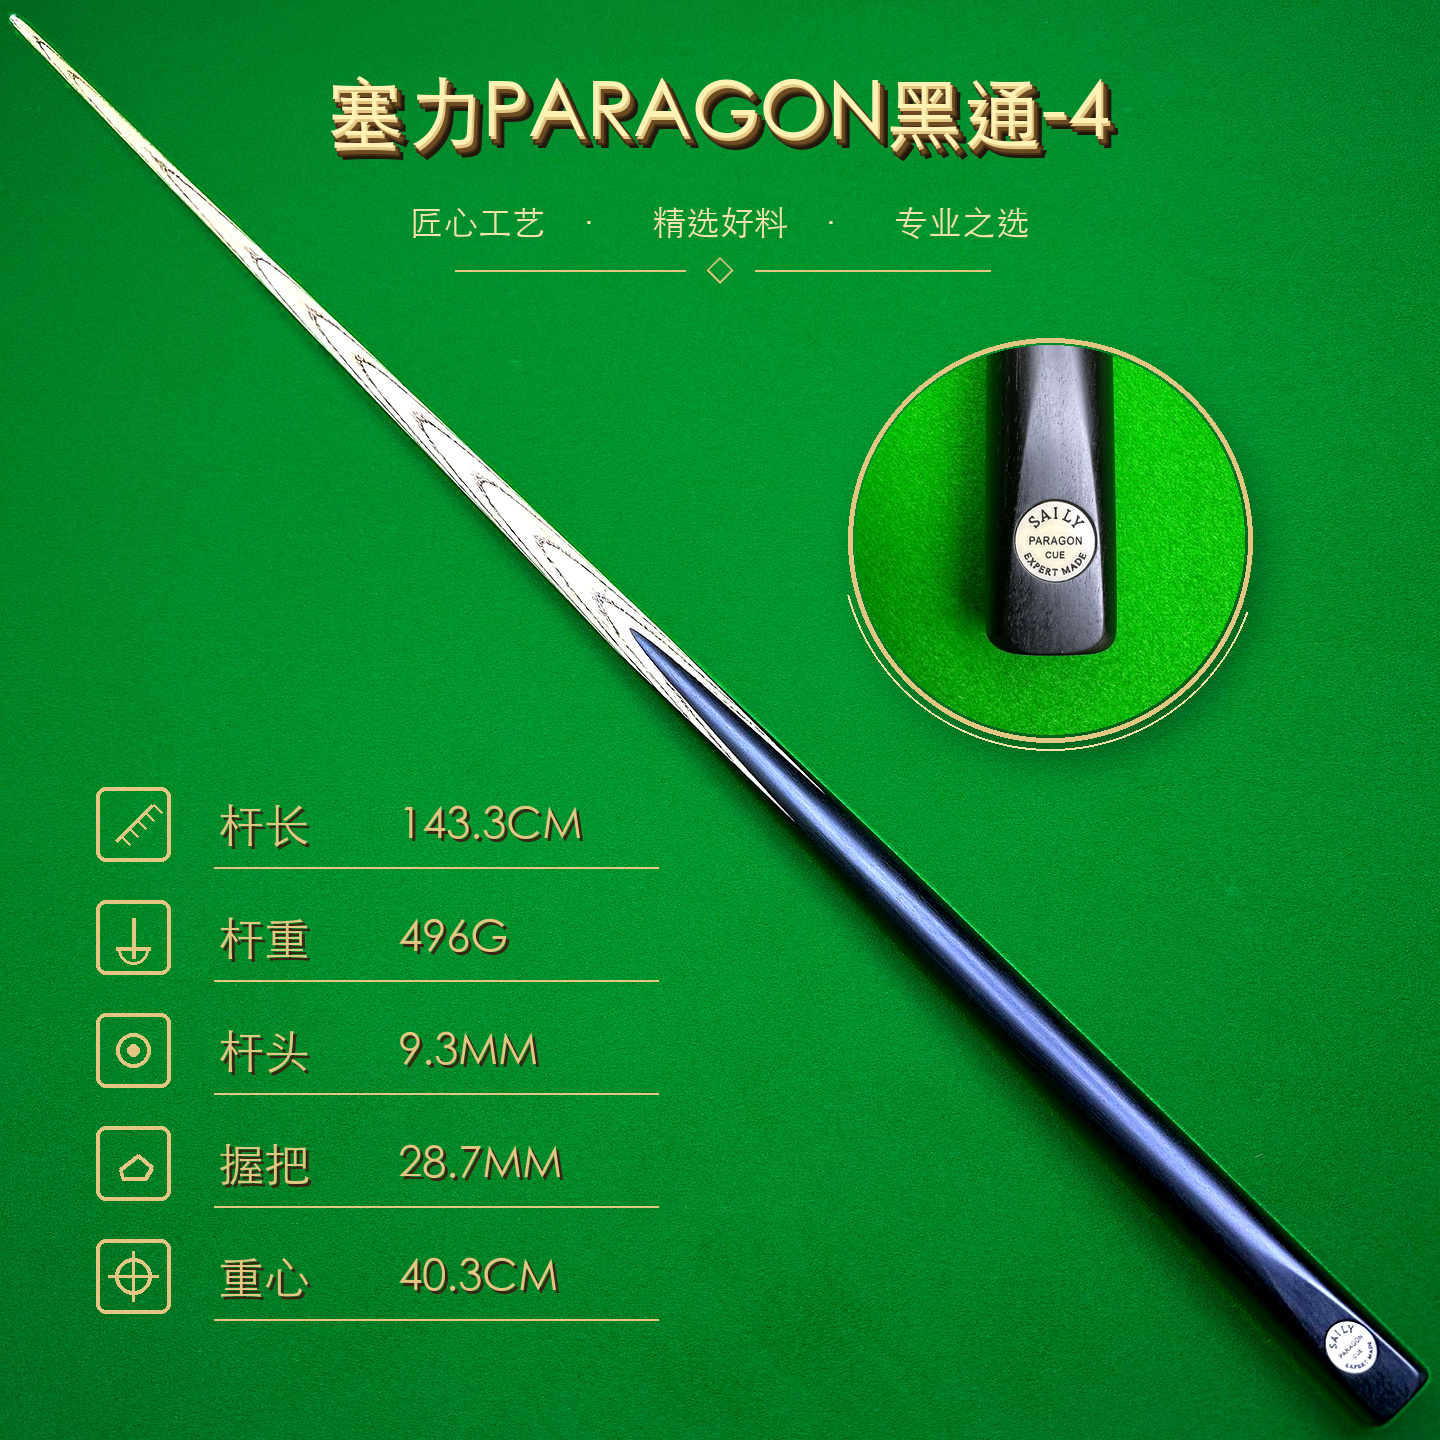
Short answer: a centre-jointed cue separates around the middle of its playing length, while a 3/4-jointed cue separates nearer the butt and normally leaves a much longer front section. That difference mainly changes the section lengths you carry, the case you need and where you assemble the cue. It does not prove quality, straightness, feel or accuracy. Confirm the exact cue’s configuration and measurements before comparing listings.
Understand what the two labels describe
Centre-jointed and 3/4-jointed describe the approximate position of a playing joint. They are not universal engineering specifications. Makers and sellers can use different hardware, collars, section proportions and naming conventions, so the label should lead to a measurement—not replace one.
A centre joint generally divides the cue into two sections that are closer in length. A 3/4 joint sits farther toward the butt, leaving a long shaft section and a shorter butt section. The complete assembled cue can still be a similar playing length in either format. If you are also considering a cue with no playing joint, use the separate one-piece versus 3/4-jointed cue guide.
Do not treat joint position as a grade. It cannot establish the wood, splice construction, straightness, balance, finish, workmanship or playing response. Those need their own product evidence and, where relevant, an in-person assessment.
Measure the actual sections before comparing cases
Ask for the assembled length first, measured in the normal playing configuration without an optional extension unless the listing clearly says otherwise. Then separate the cue normally and record each section on its own. Do not add the loose section lengths to calculate assembled length because joint parts can overlap when connected.
- Identify the exact cue.Write down the product name, individual code and seller’s stated joint format.
- Photograph both configurations.Keep one full assembled view and one clear view of all separated sections.
- Measure each stored section.State the endpoints and units, including a normally fitted joint protector if it will remain attached in the case.
- Find the longest piece.This is the first length to compare with a case’s usable internal compartment, not its outside shell.
- Record accessories separately.An extension, mini-butt or spare shaft needs its own protected space and should not be counted as part of the cue unless specified.
The snooker cue specifications guide explains why units, reference points and configuration belong beside every measurement. A bare number is not enough for an overseas buyer deciding between two cases or shipping options.
Case fit is often the clearest practical difference
A centre-jointed cue may fit a shorter two-piece case because neither section is close to the full playing length. A 3/4-jointed cue normally needs a longer compartment for its front section, even though its butt section is compact. These are useful expectations, not guarantees: the actual longest section decides.
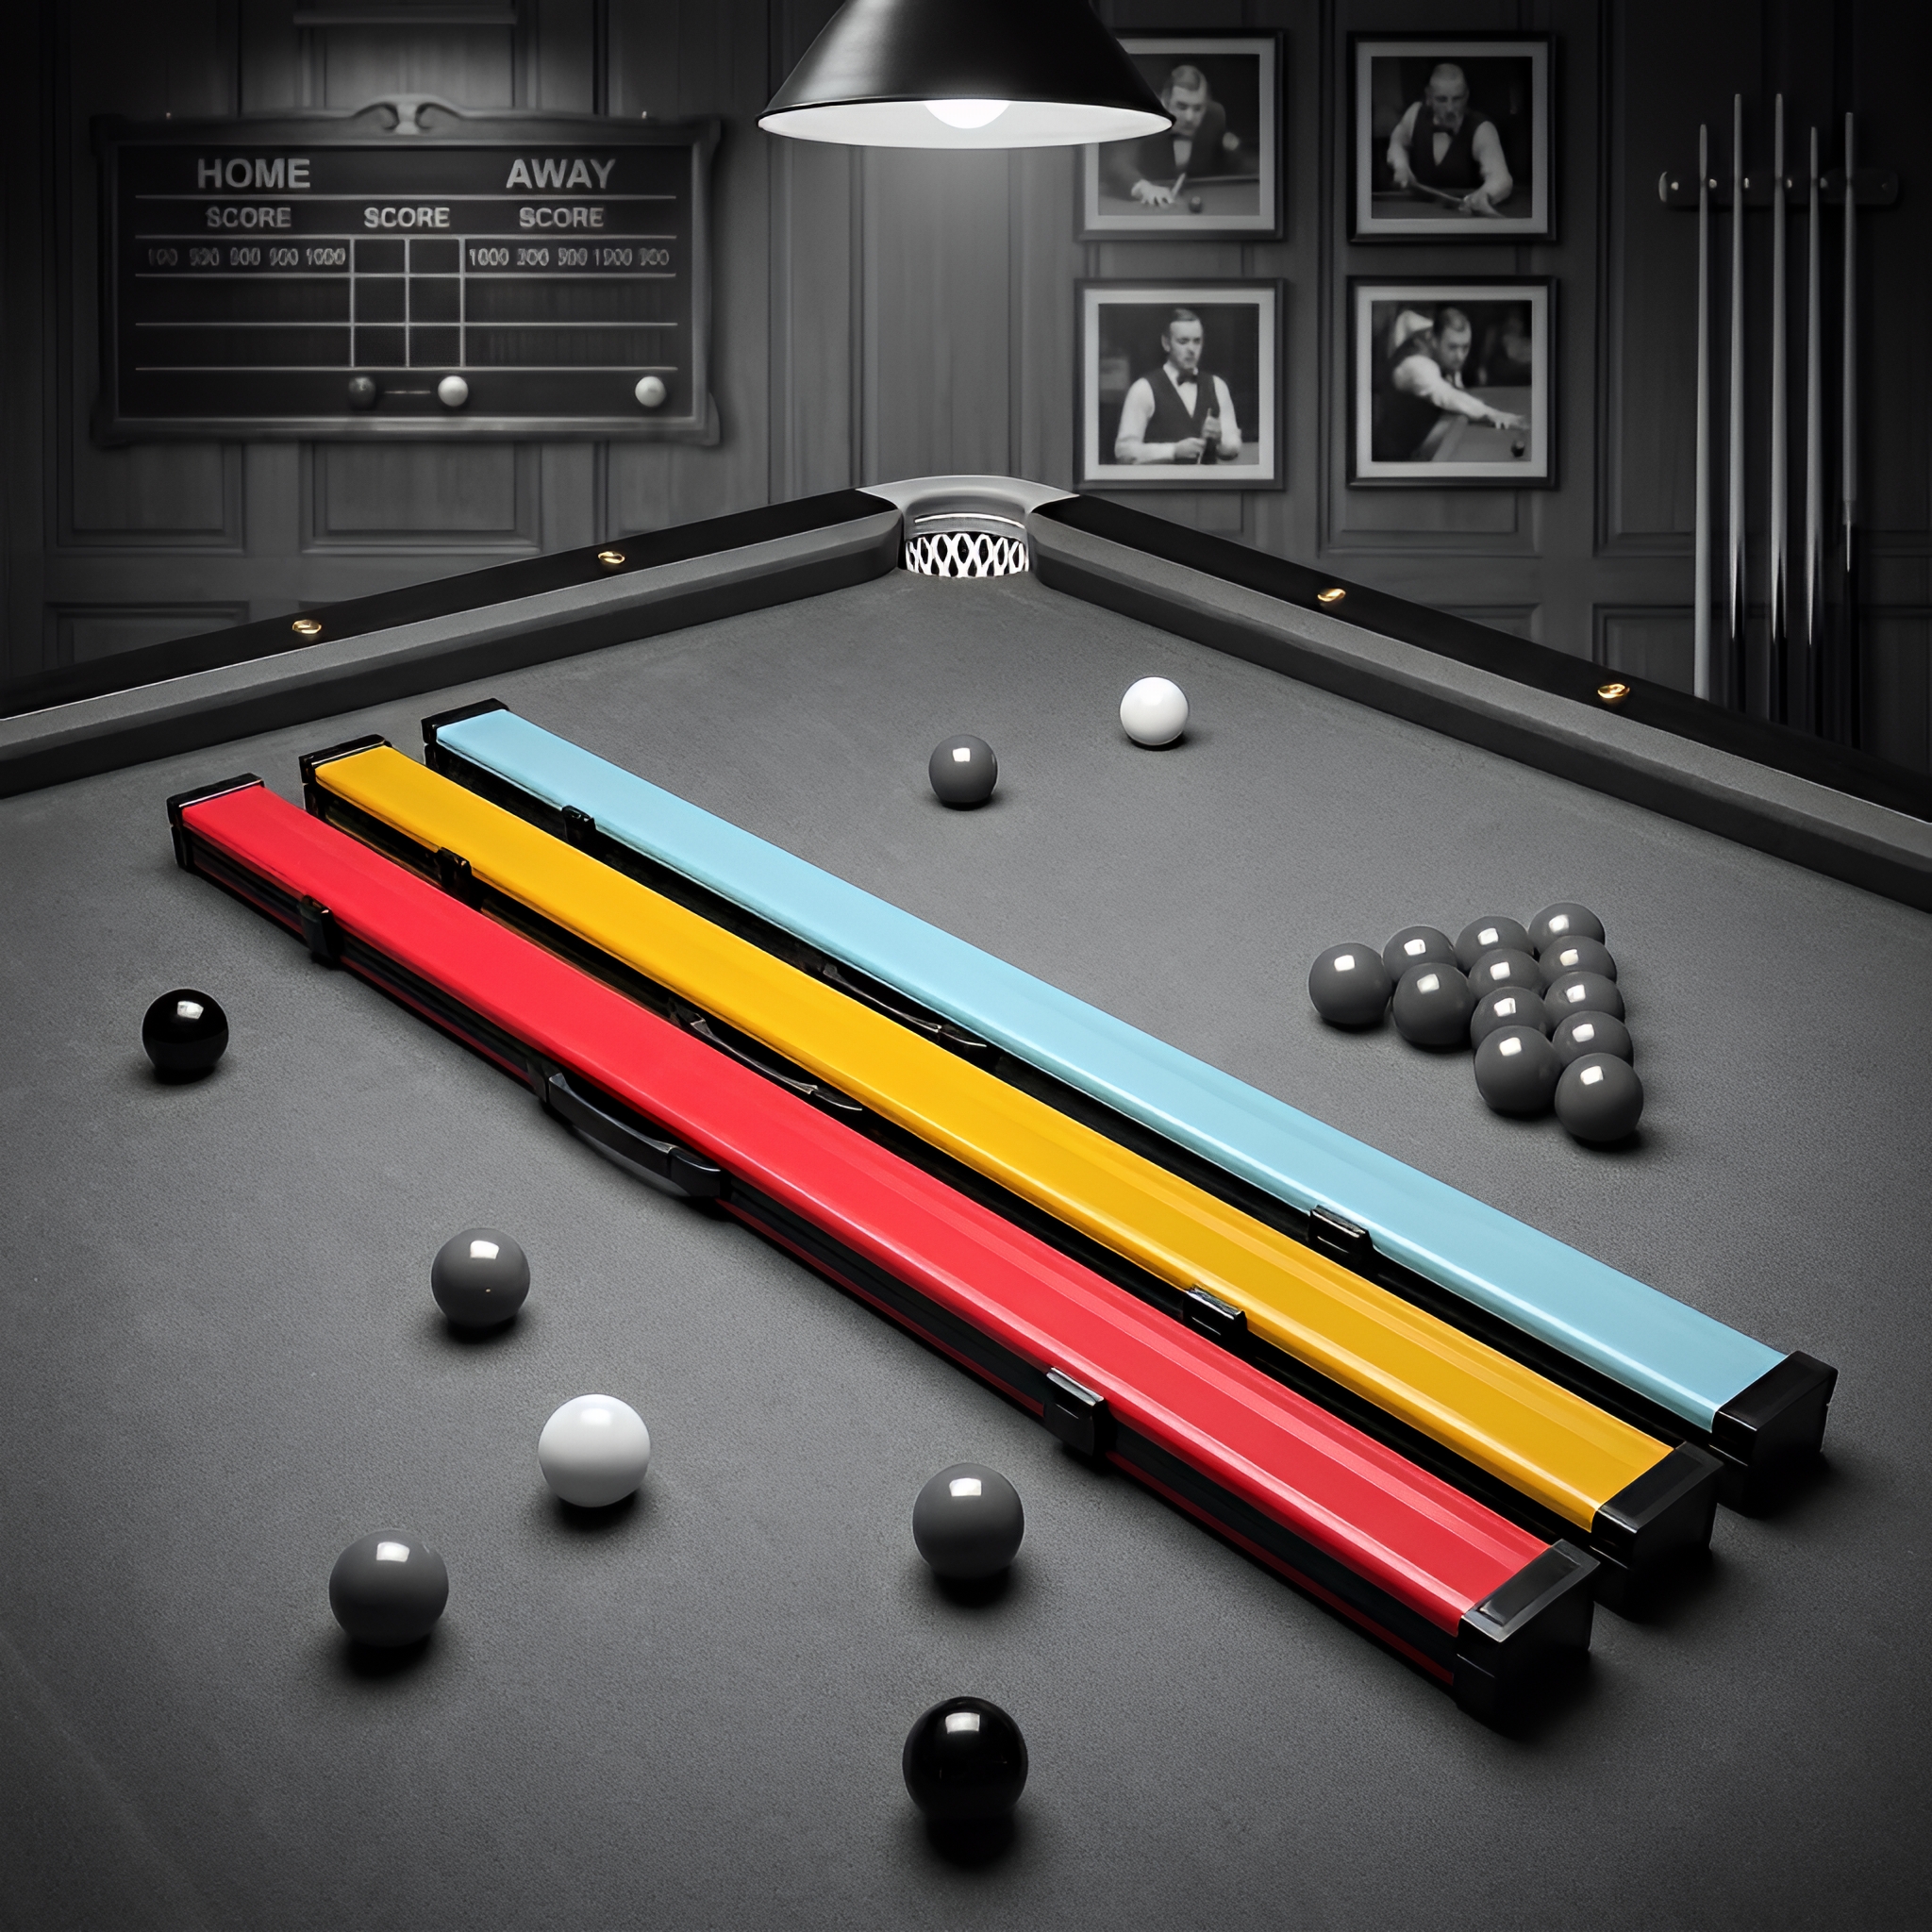
Check where the case supports the tip, shaft, exposed joint and butt. Close it without pressing a section into padding or forcing a latch. A protector can add length or width at the joint, while an extension can require a separate channel. The cue-case selection checklist covers internal length, support, capacity and travel questions in more detail.
For flights, public transport or shipping, also measure the closed case and record its total packed weight. A shorter cue section does not automatically make the complete package acceptable to a carrier, and a case should never sacrifice support just to reduce outside dimensions.
Compare the setup routine, not an assumed performance advantage
Both formats require the cue to be assembled in a clean, supported space. A centre joint places the connection near the middle of the cue; a 3/4 joint places it closer to the grip end. That can change where your hands naturally support the sections during assembly, but neither position tells you how accurately the cue will play.
Use the cue’s normal hand connection only. Keep the sections aligned, avoid sideways load and stop for unexpected resistance, rocking, a new gap or a click. Never use pliers, a wrench, lubricant or added leverage to make a joint seat. The jointed cue assembly guide provides a step-by-step routine for either format.
If possible, compare the complete cues under the same ordinary practice conditions. Keep joint format separate from length, weight, balance point, tip, taper and current condition. A player may prefer one transport format without claiming that it creates better cue-ball control.
Condition matters more than the format label
Request current close photographs of both mating faces, the pin or socket, collars and the fully seated connection. A clean-looking photograph cannot prove normal fit, so also ask whether the cue assembles by hand, seats in its usual position and remains stable during gentle practice movements.
Stop for cracks, crushed edges, damaged threads, embedded debris, corrosion, missing material, unusual resistance, repeated loosening or visible movement. Do not sand, scrape, polish or oil an uncertain joint. Use the snooker cue joint inspection checklist to separate visible evidence from seller claims and playing assumptions.
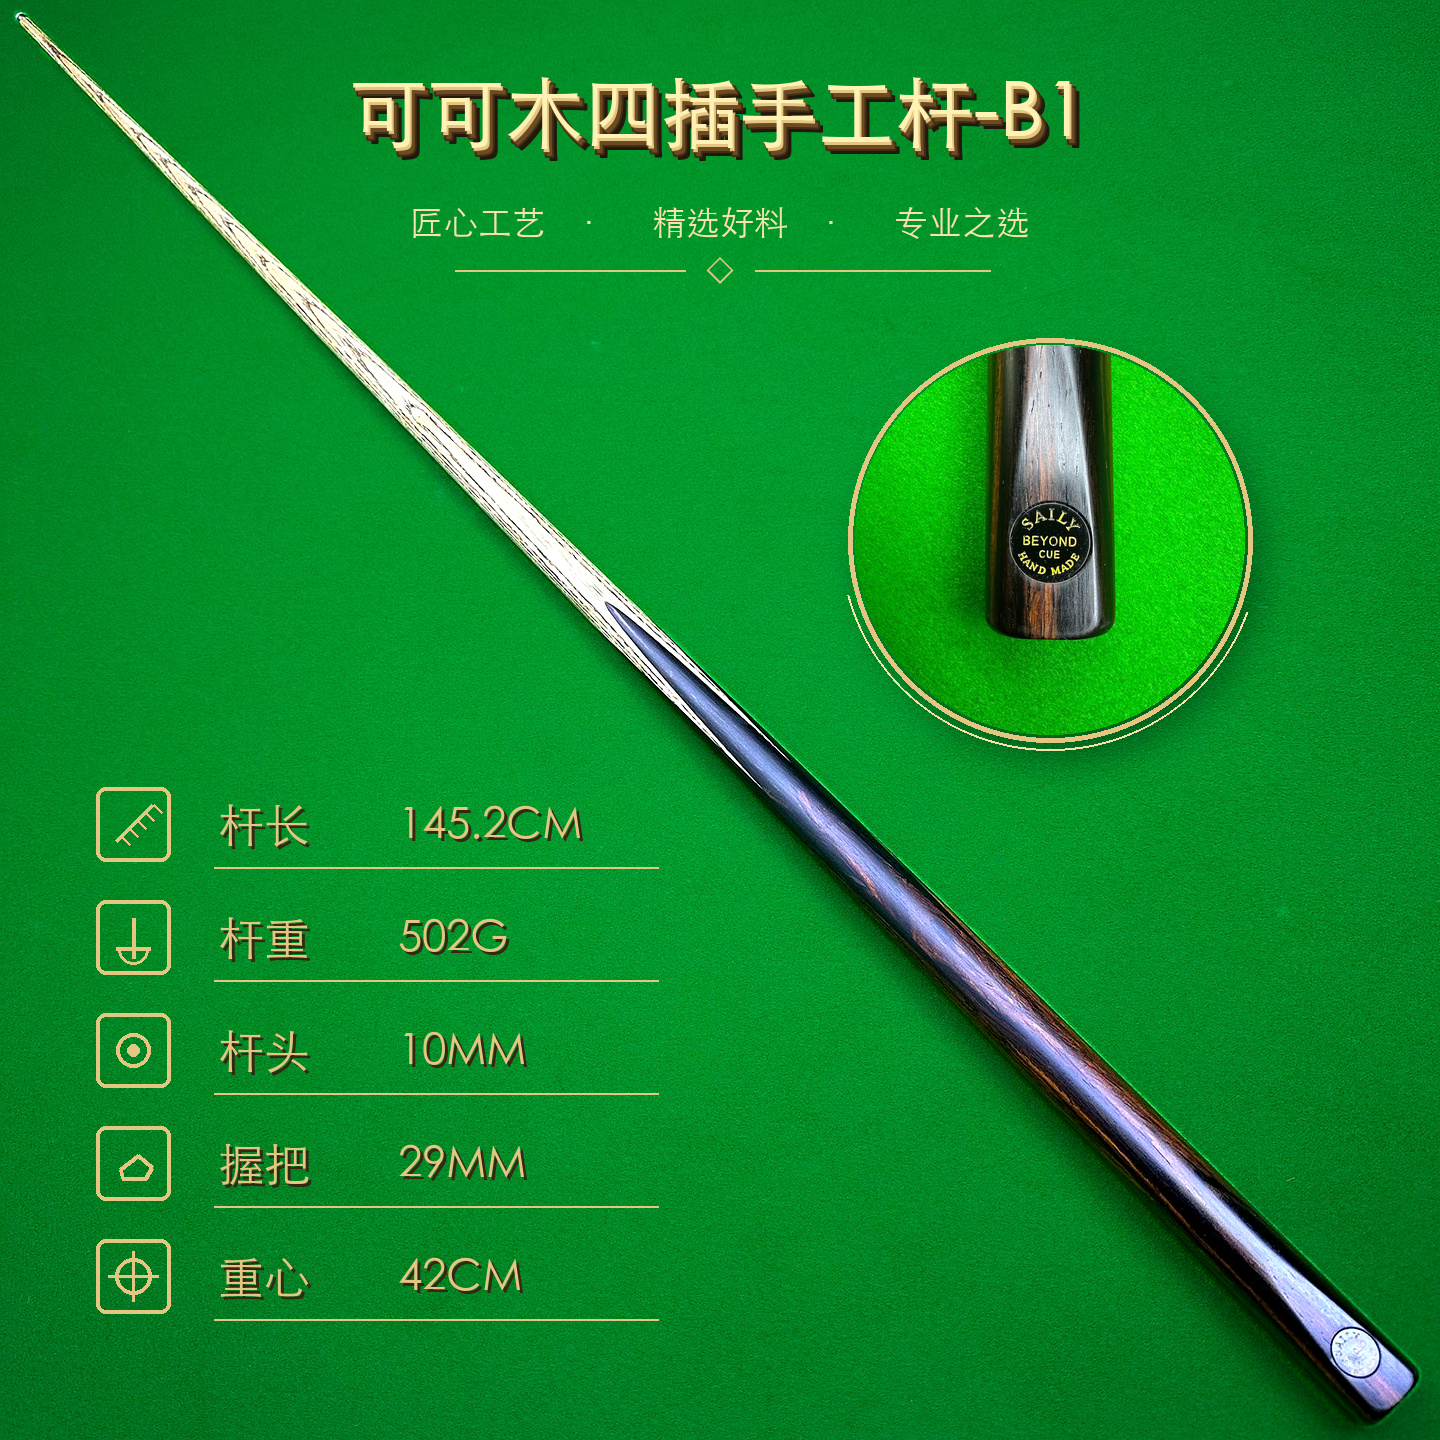
A buyer’s comparison checklist
- Identity: exact cue name, individual reference and current photographs.
- Format: seller-confirmed centre-jointed or 3/4-jointed arrangement.
- Measurements: assembled length plus both separated-section lengths with clear endpoints.
- Joint evidence: separated faces, normal hand fit, seated connection and disclosed repair history.
- Case: usable internal length, supports, closure and space for protectors or extensions.
- Order details: included items, current condition, price, shipping and return terms.
Browse the SAILY CUE catalogue for real individual cue photographs and available measured specifications, then ask for any joint-format or section-length detail that the current record does not state. A careful comparison keeps the label in its proper role: it describes where the cue separates, not how good the cue is.
Centre-jointed vs 3/4-jointed cue FAQ
What is the main difference between a centre-jointed and a 3/4-jointed snooker cue?
The practical difference is where the playing joint separates the cue. A centre joint usually creates two sections closer in length, while a 3/4 joint usually leaves one long shaft section and a shorter butt section. Confirm the actual section lengths because seller terminology and individual cues vary.
Does a centre-jointed cue fit in a shorter case?
It may, but the label alone is not enough. Measure the longest separated section and compare it with the case’s usable internal length, supports and closure. Joint protectors and extensions can also change the stored dimensions.
Is a 3/4-jointed snooker cue better than a centre-jointed cue?
Joint position is not a quality or accuracy ranking. Compare the exact cue’s current condition, measurements, case fit and normal assembly, then make a personal playing assessment instead of assuming one format performs better.
What should I ask a seller before buying either format?
Ask for the exact cue reference, current full-cue and separated-section photographs, assembled and section lengths, joint position, normal hand fit, included case or extension, disclosed repairs, price, shipping and return terms.
SAILY CUE CATALOGUE
Compare the exact cue record
Review real photographs and documented measurements, then confirm joint position, section lengths and case fit before ordering.