
SNOOKER CUE CARE · JOINT PROTECTION
Do You Need Snooker Cue Joint Protectors?
Understand what a protector can do, confirm the exact fit and keep every cue section supported without forcing an accessory.
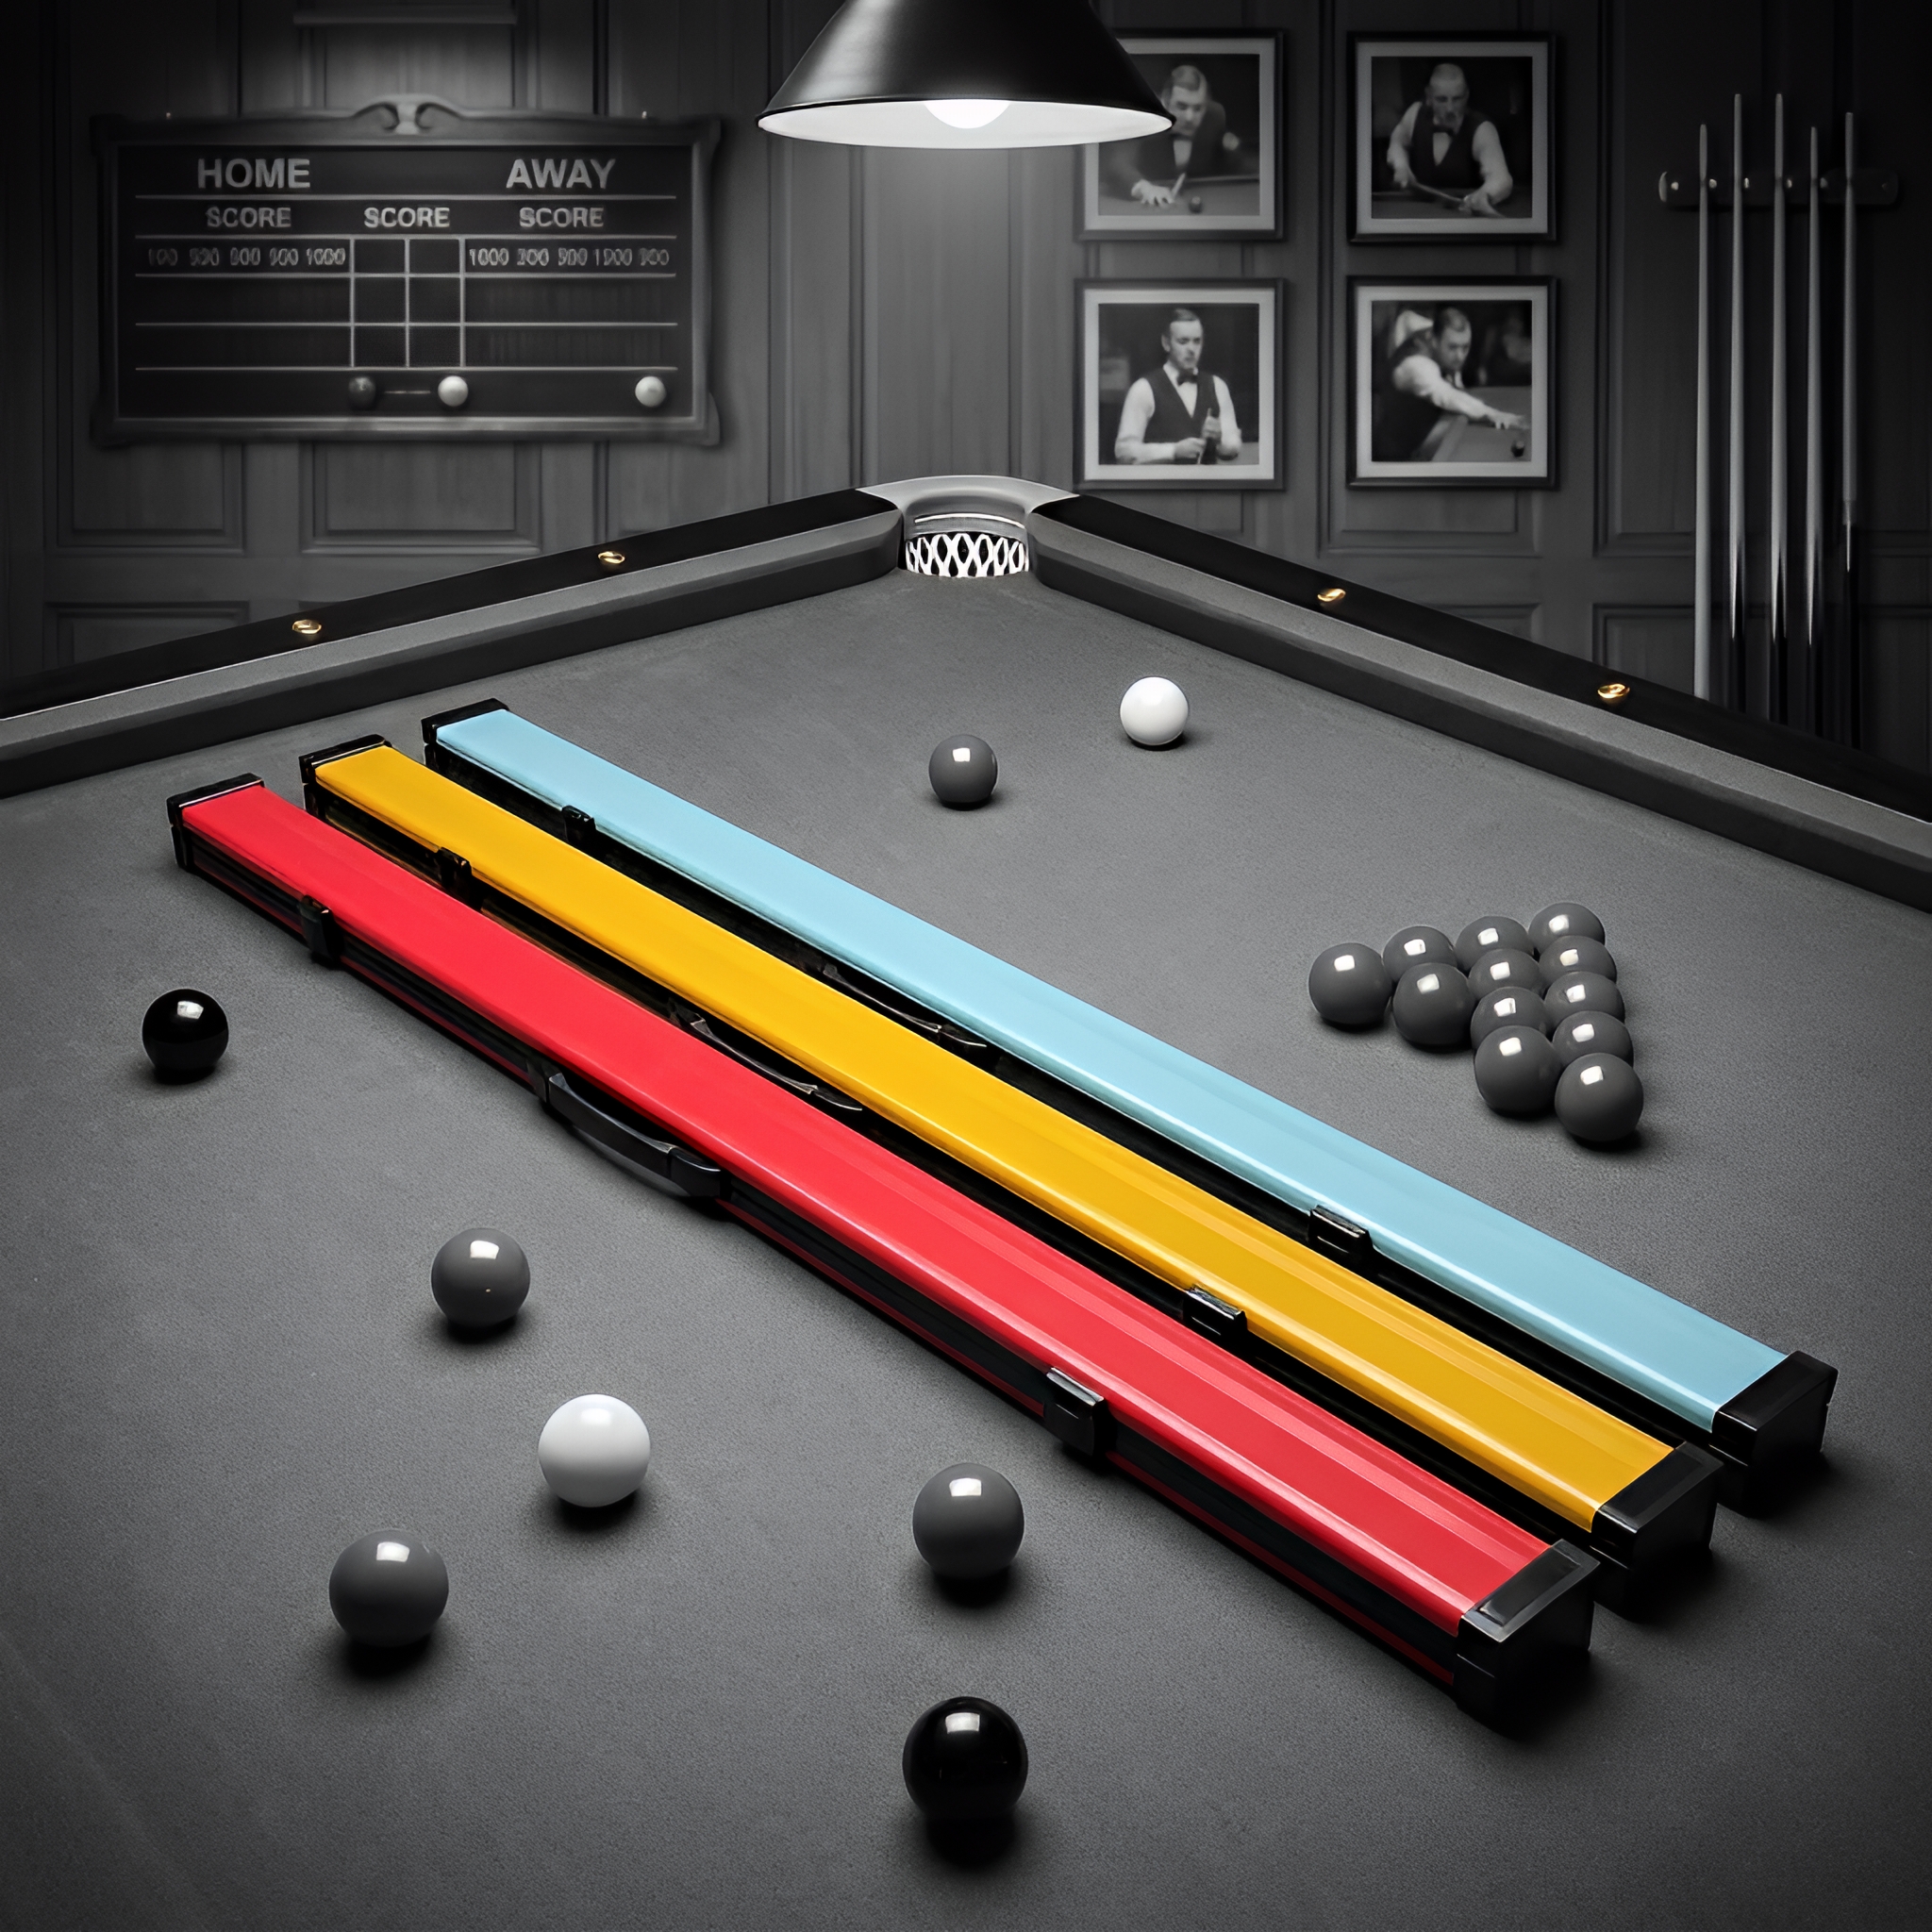
Short answer: a correctly matched joint protector can keep an exposed cue pin, socket or mating face away from loose contact during storage. It is not universal, does not strengthen the joint and cannot repair damage. Confirm compatibility for the exact cue, fit it only by the intended hand method, and make sure the protected sections still sit securely in the case without pressure or rattling.
What a joint protector can—and cannot—do
When a jointed snooker cue is separated, the connection becomes an exposed surface. A suitable protector can create a barrier between that surface and chalk, keys, coins, tools or the edge of another cue section. It can also make the joint easier to identify in a case where several accessories travel together.
The accessory is only one layer of protection. It cannot correct a bent pin, damaged thread, cracked collar, loose insert or poorly fitted case. It does not prove that the assembled cue is straight or that the joint will seat normally. Use the cue-joint inspection guide for condition and fit; treat the protector as storage equipment rather than evidence of performance.
A one-piece cue has no user-separated playing joint to cover. A sectional cue may have a shaft-to-butt connection, an extension fitting or both. These are not automatically the same interface, so first identify which connection the accessory is supposed to protect.
Confirm compatibility with the exact cue
Joint protectors are not safely chosen by colour or a similar-looking metal part. Diameter, thread pitch, usable depth, pin or socket shape, shoulder contact and nearby finish can differ. Even one matching measurement does not establish full compatibility. Ask the cue maker or seller to confirm the exact cue reference and protector pair in writing.
If buying online, request clear close photographs of the separated joint and both sides of the proposed protector. Ask whether it was supplied with that exact cue, whether it attaches by a thread or another documented method, and whether the case has room for the added length. Do not infer inclusion from a background photograph or a series name.
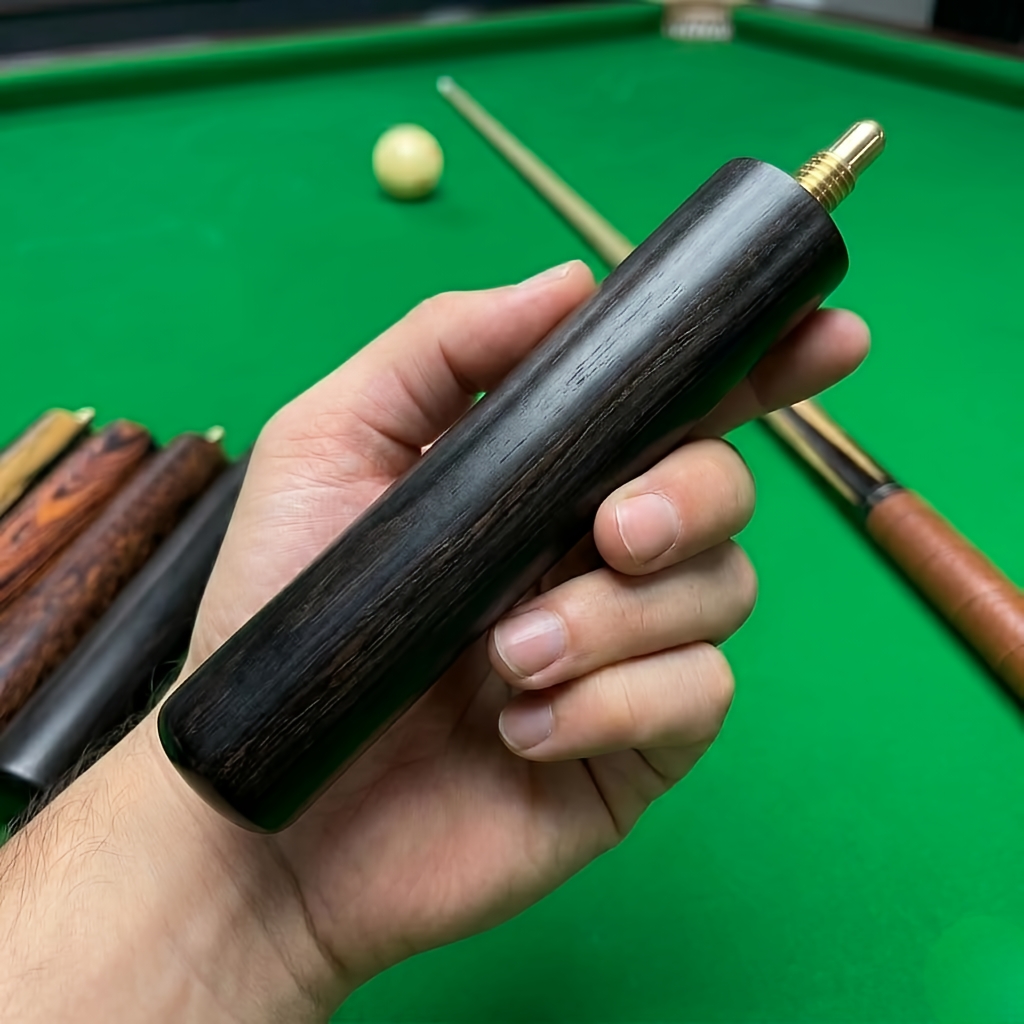
Inspect before fitting the protector
Work over a clean, padded surface with dry hands. Look at the exposed joint face, visible threads or pin, the protector interior and its contact edge. Check for chalk, hard debris, dents, corrosion, cracks, damaged threads or material that could be pressed into the connection.
Remove only loose dry dust with a clean, soft cloth or suitable soft brush. Do not scrape the socket, sand the protector or add oil, grease, wax, polish, adhesive or thread compound unless the maker gives a specific instruction for that exact equipment. An unknown product can trap particles or reach the cue finish.
- Align without sideways load.Support the cue section and present the protector squarely to the connection.
- Start gently by hand.Use the intended attachment method and watch the first turn or fit.
- Stop at abnormal resistance.Binding, cross-engagement, rocking or a new gap is a reason to separate the parts.
- Do not use tools.Pliers or extra leverage can damage a small component before the problem is visible.
The jointed-cue assembly checklist applies the same support-and-stop principles to the playing sections themselves.
Check the case after protectors are fitted
A protector changes the stored length and sometimes the widest point of a cue section. Place each section in its intended channel and close the case gently. The lid should not press on the protector, and the section should not bow, lift or push against the tip. If the case only closes under pressure, change the storage plan rather than removing padding or forcing the latch.
Lift the closed case carefully and listen for movement. A fitted protector does little good if the whole section can slide into a hard end stop. Keep chalk, extensions and maintenance tools in separate compartments. A clean cloth can help organise accessories, but it should not conceal an unsupported joint or damp residue.
Browse the cue cases and bags category as a starting point, then compare the usable internal dimensions with the longest protected section. External case length and a generic “fits snooker cues” label are not enough.
Use a complete plan for travel or shipping
Before travel, photograph the cue, separated sections, joint faces, protectors and packed layout. Record which accessory belongs to which connection. Fit clean compatible protectors normally, then immobilise the sections within a correctly sized case. Do not rely on the protector as the only defence against impact or crushing.
For shipping, the case or inner container still needs support inside a suitable rigid outer package. The snooker cue shipping checklist covers section support, tip and finish protection, cushioning and dispatch evidence. Carrier handling, temperature and external force remain outside the protector’s control, so no accessory can guarantee damage-free arrival.
Joint-protector buying checklist
- Exact cue: record the maker, model or individual reference and the connection being protected.
- Confirmed interface: obtain seller or maker confirmation for the whole fit, not one guessed dimension.
- Current condition: inspect photographs of the cue joint and the protector before attachment.
- Case allowance: measure the protected section and usable compartment length.
- Included items: confirm the number of protector pieces and whether a case or extension is separate.
- Stop conditions: reject force, tools, cross-engagement, unexplained gaps or damage.
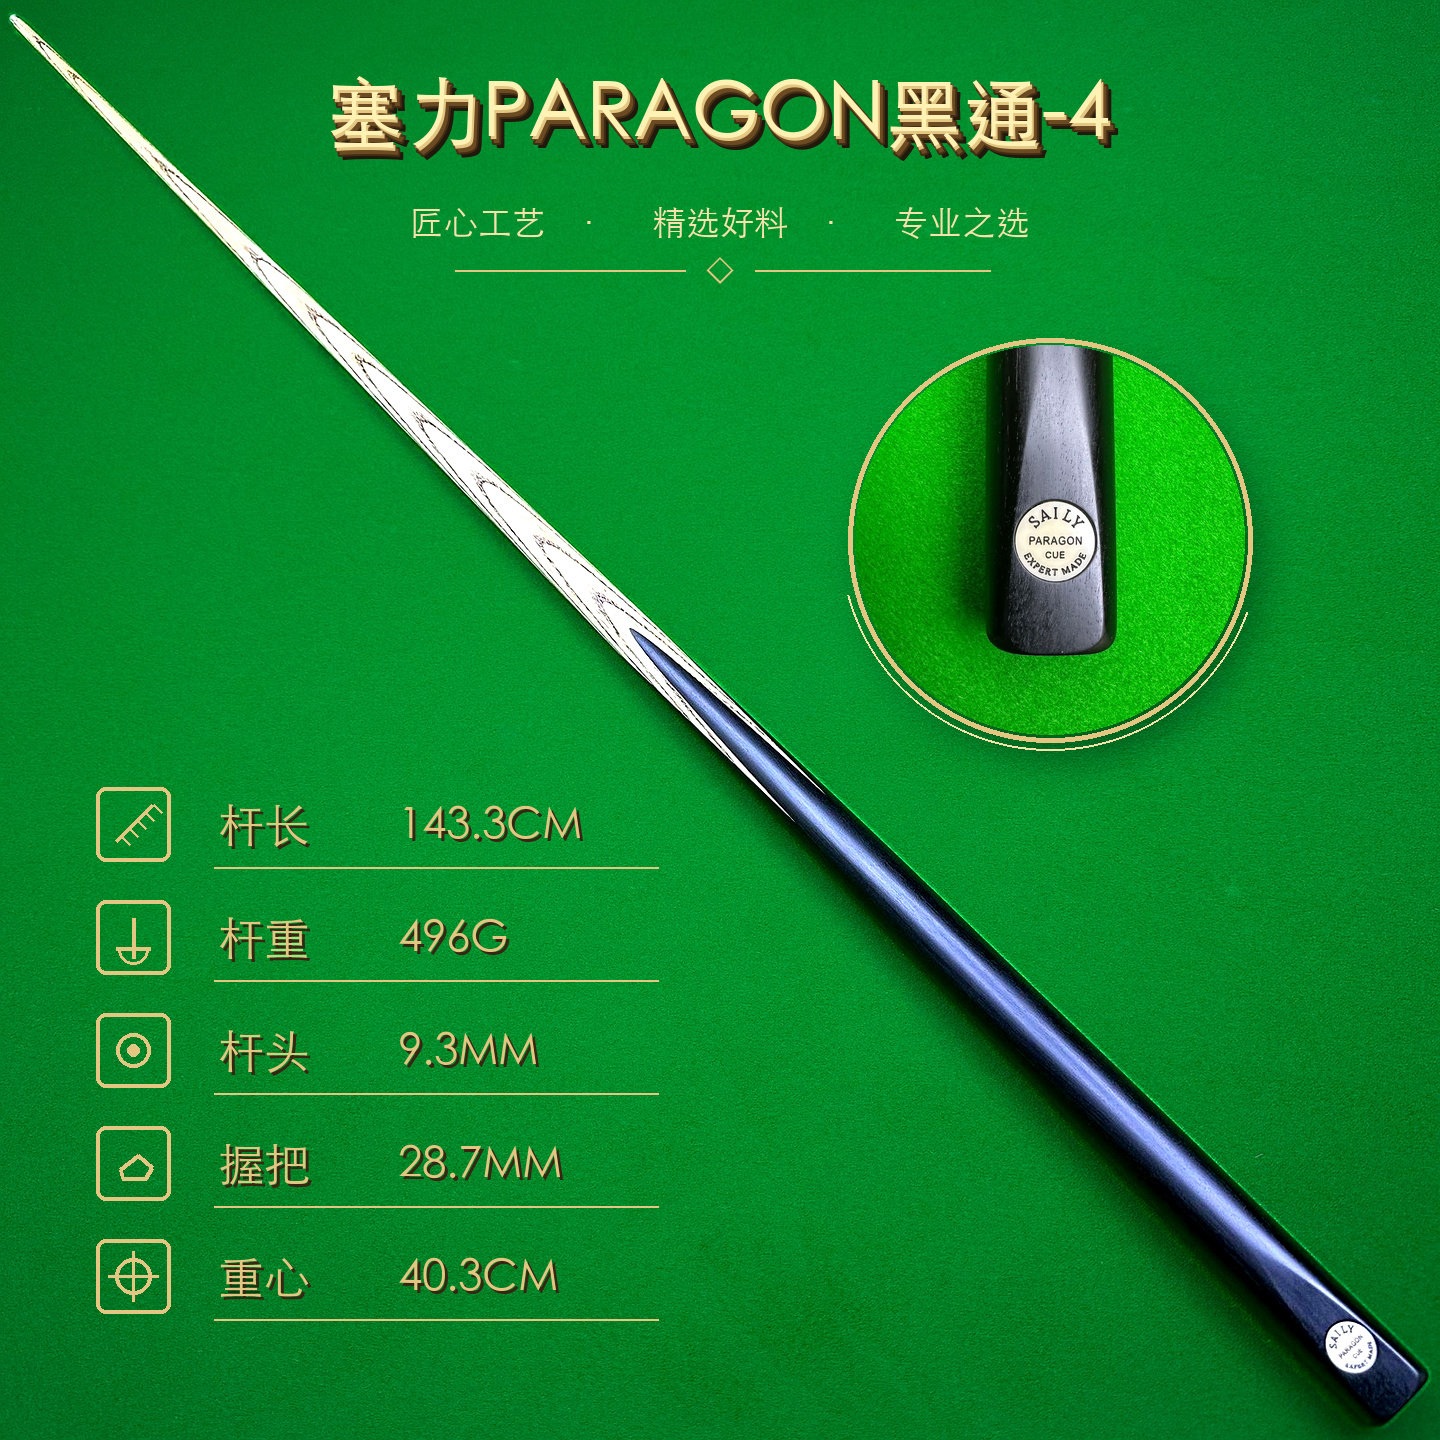
Use the SAILY CUE cue collection to compare real photographs and documented measurements, then request the exact joint and accessory details that are not stated. A protector should follow the cue record; it should never substitute for one.
Snooker cue joint protector FAQ
Do all jointed snooker cues need joint protectors?
No universal rule applies. A protector can help keep exposed faces or threads away from loose contact, but a clean, correctly fitted case compartment may also protect the joint. Follow the maker’s guidance for the exact cue.
Are snooker cue joint protectors universal?
No. Diameter, thread, depth, shape and the surrounding face can differ. A protector that looks similar may still be incompatible, so confirm the exact cue and fitting before purchase.
How tight should a joint protector be?
It should attach in the normal hand method intended for that exact protector and cue. Stop if it binds, rocks, cross-engages or needs tools; do not force it to a guessed torque.
Can a joint protector repair a loose or damaged joint?
No. It is a storage accessory, not a repair. Cracks, bent parts, damaged threads, looseness or unusual resistance should be inspected by an experienced cue professional.
SAILY CUE COLLECTION
Protect the exact cue, not a generic label
Review real cue photographs and measurements, then confirm the joint and protector fit for the individual cue before purchase.