SNOOKER CUE CARE · BUTT CLEANING
How to Clean a Snooker Cue Butt Without Damaging the Finish
Use the least aggressive method first, identify the surface you actually have and stop before a routine wipe becomes an irreversible finish repair.
Short answer: confirm the exact cue and finish if you can, support the cue on a clean padded surface and begin with a soft, dry, lint-free cloth. Use light lengthwise passes on a small area, inspect as you go and stop for cracks, lifted finish, loose inlays, colour transfer or unknown damage. Do not soak, sand, aggressively polish or guess with household cleaner, oil or wax.
Identify what needs cleaning
“Dirty” can describe loose chalk, normal hand residue, a sticky patch, a change in sheen or actual damage. The butt may include a finished wood surface, painted or sealed areas, decorative inlays, rings, a wrap, a joint collar or a separate extension interface. Those parts are not automatically made or finished the same way.
Look at the butt in bright, diffuse light and rotate it slowly. Note whether the mark sits on the surface, catches a cloth, transfers colour or follows a crack, gap or lifted edge. Photograph the cue before deeper work. If the maker, seller or cue technician supplied care instructions, confirm that they apply to this exact cue rather than a similar-looking model.
Keep the butt question separate from the shaft question. The snooker cue shaft cleaning guide covers the shaft’s different surface and stop rules; do not transfer an unverified shaft product to the butt.
Prepare a low-risk workspace
Work above a clean padded table where the cue cannot roll onto the floor. Wash and dry your hands, remove rings and use a fresh cloth with no polish, oil, grit or detergent already on it. Keep chalk, drinks and tools away from the cleaning area.
Support the cue close to the section being wiped, but do not clamp, twist or place pressure on an inlay, wrap or joint. For a jointed cue, separate sections only in the normal way and keep the joint faces clean and dry. If the joint itself is the concern, use the snooker cue joint inspection guide instead of forcing a cleaning routine.
Clean the butt with a dry, gentle sequence
- Test one quiet area.Use a clean corner of the cloth with light pressure. Confirm that loose residue transfers without changing the sheen or colour.
- Wipe in the cue’s lengthwise direction.Use smooth passes instead of scrubbing one spot. Turn the cue gradually so the cloth reaches the circumference without dragging across an edge.
- Move to clean cloth.When chalk or residue appears, change to a clean section. Reusing a dirty section can rub grit back into the finish.
- Inspect rings and inlays separately.Do not push cloth into a gap or lifted edge. A decorative part that moves, catches or looks cloudy is a stop condition.
- Finish dry.Give the surface one final light pass, then store the cue in a clean, correctly supported case.
A dry cloth is a conservative starting point, not a promise that every mark will disappear. If the cloth does not remove the concern, preserving the evidence is safer than chasing a uniform shine.
Avoid unverified cleaners and finish changes
Do not assume that water, alcohol, household spray, furniture polish, oil, wax or disinfectant suits a snooker cue butt. A product may soften, haze or stain an unknown finish, migrate under an inlay or leave a residue that changes the feel. Never soak the cue or spray directly onto it.
Sandpaper, abrasive pads, blades and hard polishing can remove material or alter the finish. They are not cleaning shortcuts. A polished patch can hide the original condition and make later assessment harder. Do not add oil because the wood looks pale, and do not increase pressure because a patch feels sticky.
If exact maker guidance confirms a particular product and method, follow that instruction precisely and test only where the guidance allows. Otherwise, ask a cue technician before introducing moisture or chemicals.
Know when to stop
Stop immediately for a crack, lifted or cloudy finish, loose inlay, open seam, dent, unexpected colour transfer, exposed material, chemical contact or unknown repair. Stop as well when dry wiping leaves a sticky area or the cloth catches. These signs may indicate repair or refinishing rather than removable dirt.
Share dated photographs, the exact cue identity, known care instructions and any product already used with an experienced cue technician. Do not test a questionable finish with hard shots, heat or more rubbing. A clean-looking butt is not proof that its structure or joint is sound.
Build a simple after-play routine
After play, remove loose chalk and hand residue with a dry cloth before placing the cue in its case. Inspect the butt, wrap, joint collar and ferrule briefly, and keep chalk and hard accessories in separate compartments. For the case itself, follow the snooker cue case cleaning checklist rather than putting a dirty or damp cue into a clean case.
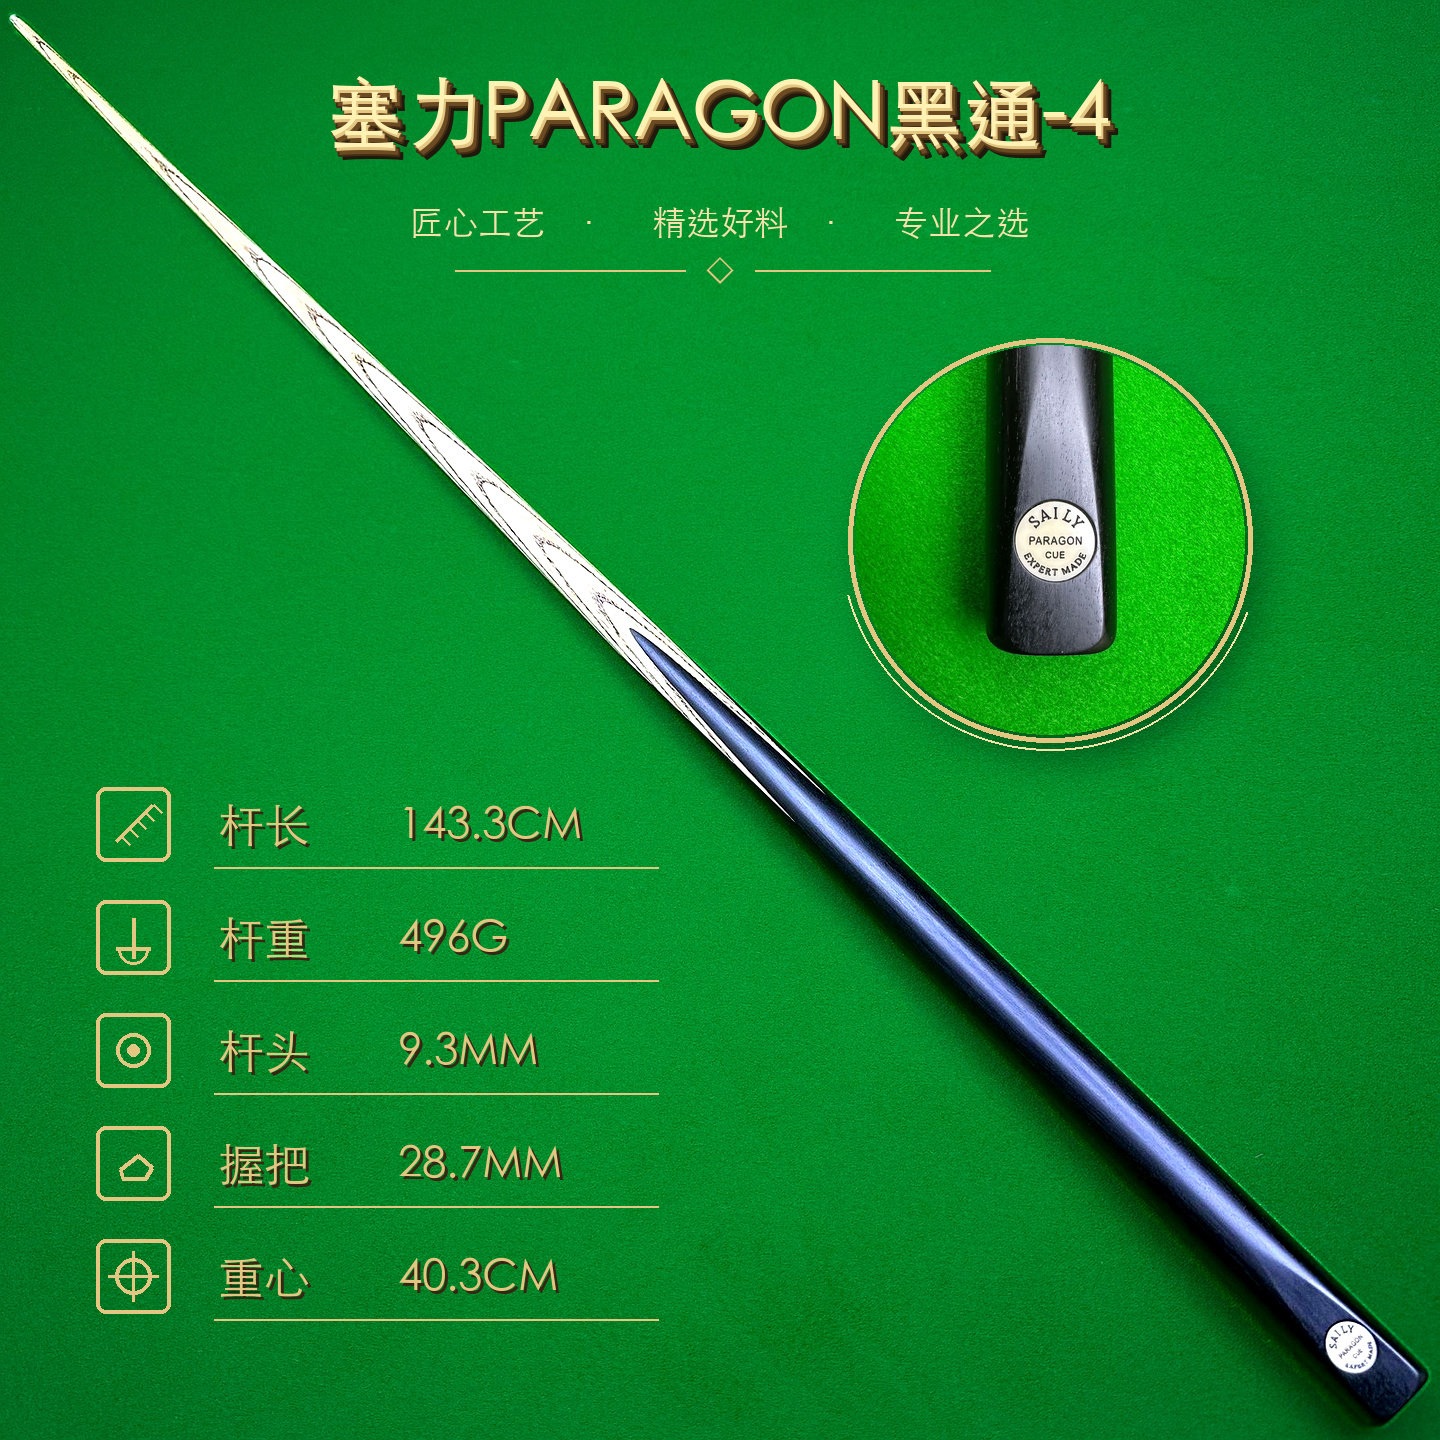
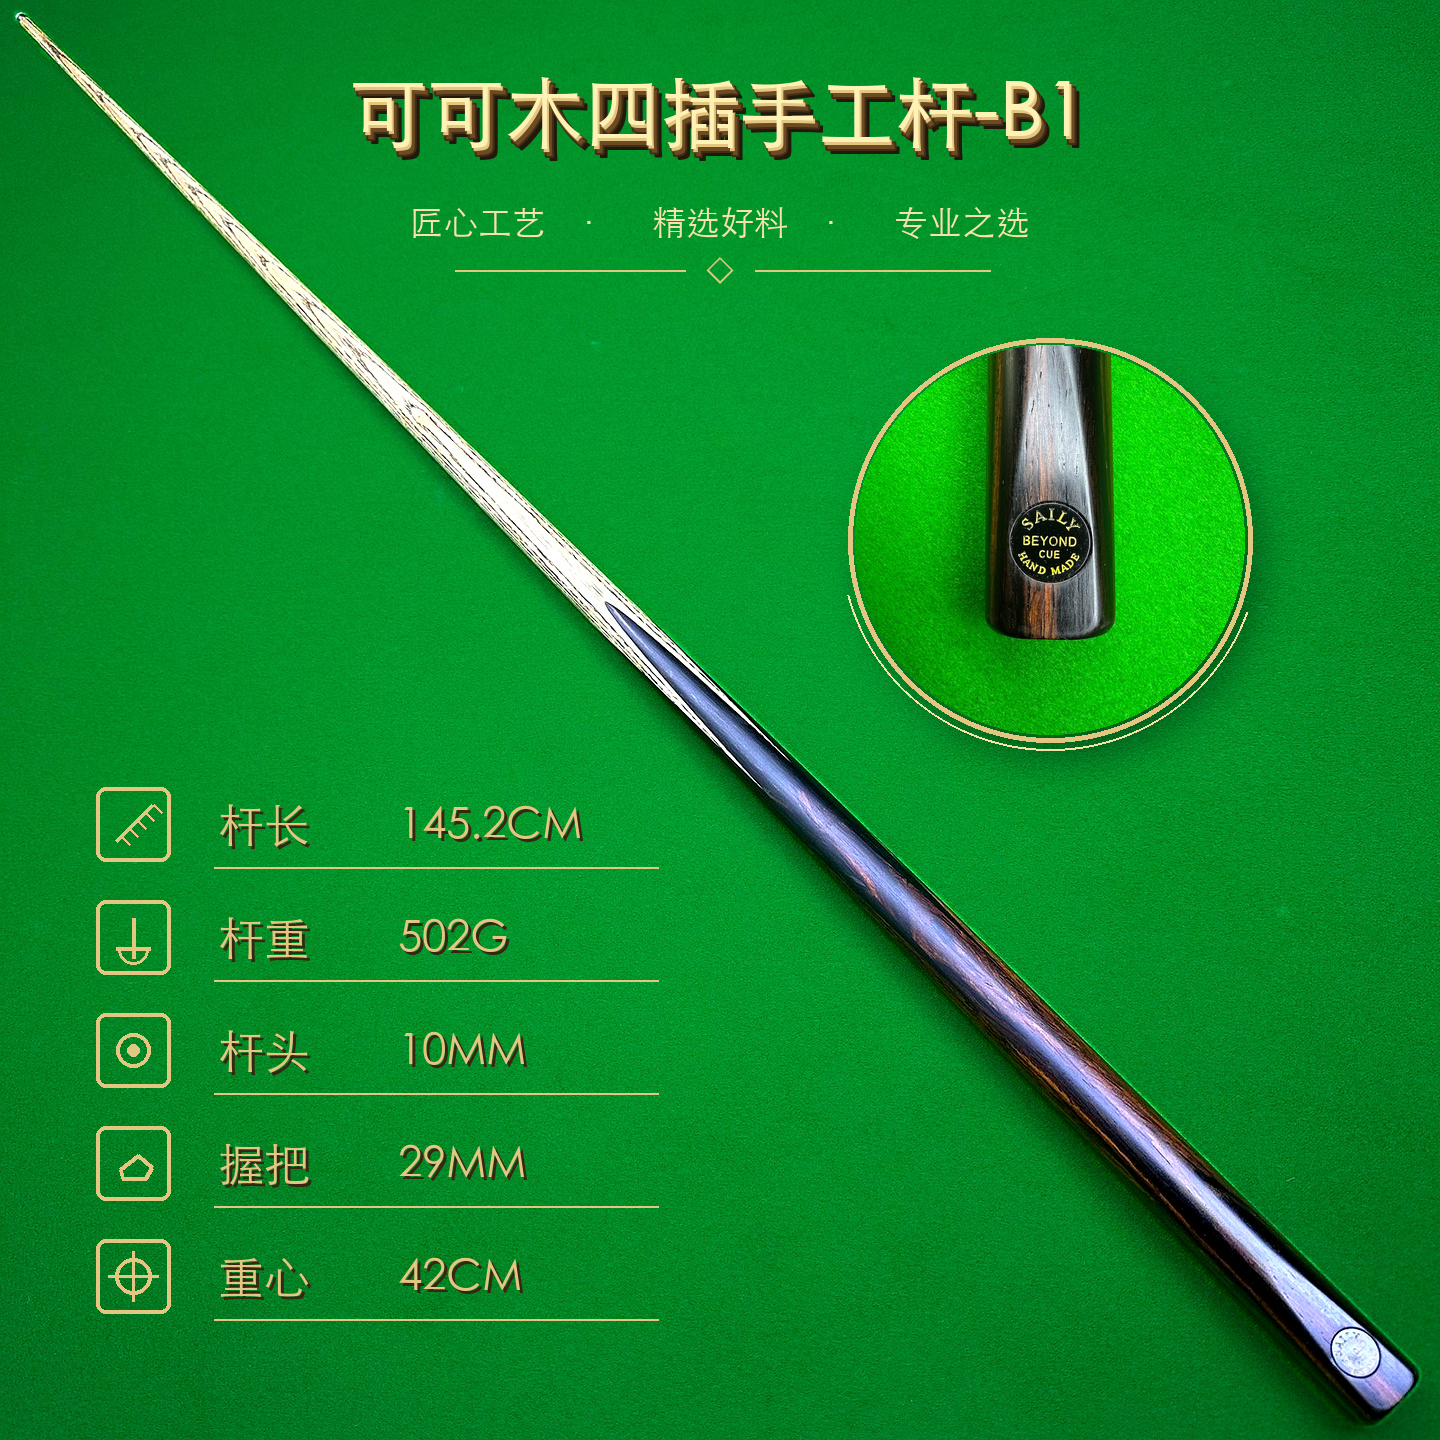
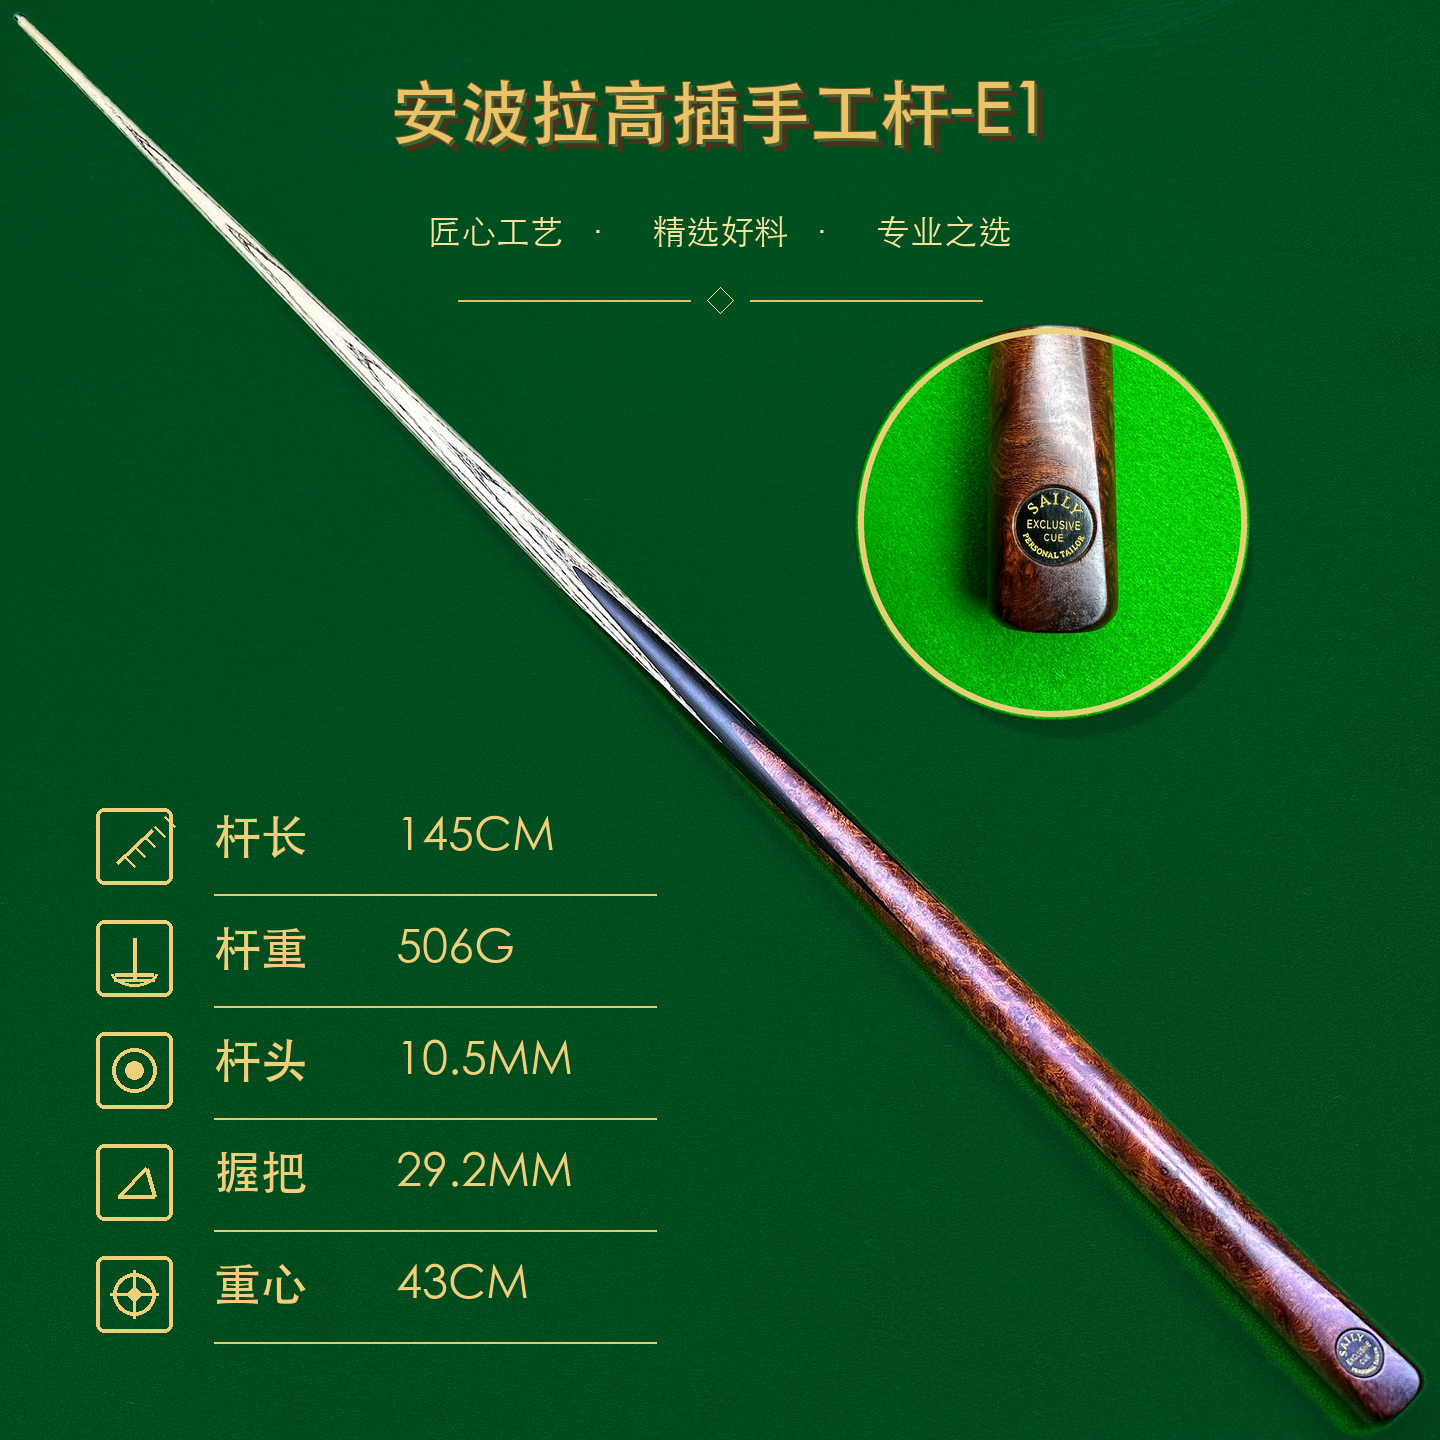
Use condition, not a fixed polishing calendar, as the trigger for deeper assessment. Keep a dated full-cue photograph and note any new mark before attempting work. The SAILY CUE collection shows individual cue references with real photographs and documented measurements, an evidence-first habit that helps distinguish a normal finish from a new change.
Snooker cue butt cleaning FAQ
What is the safest way to clean a snooker cue butt?
Identify the exact cue and finish if possible, then begin with a clean, soft, dry, lint-free cloth and light pressure. Work on a small area first and stop if the cloth catches, colour transfers or the finish changes.
Can I use furniture polish or oil on a cue butt?
Do not assume that furniture polish, oil, wax, alcohol or household cleaner is suitable. Finishes and previous repairs vary. Use a product only when the maker or an experienced cue technician confirms it for that exact surface and method.
How do I clean a sticky snooker cue butt?
First remove loose residue with a dry cloth and inspect the area in good light. A sticky feel may be residue, a finish change or damage. Do not scrub harder or add liquid; stop and seek cue-specific advice if dry cleaning does not resolve it.
When should I take a cue butt to a technician?
Stop for cracks, lifted or cloudy finish, loose inlays, dents, exposed material, unknown chemical contact, unexpected colour transfer or any mark that does not safely identify as loose residue. A technician can distinguish cleaning from repair or refinishing.
SAILY CUE COLLECTION
Protect the finish you already have
Review real cue photographs and documented specifications, then match any care method to the exact butt and its known finish.