
SNOOKER CUE CARE · SHAFT SURFACE
How to Check a Snooker Cue Shaft for Dents and Raised Fibres
Locate and document a surface change before a small mark becomes an unnecessary cleaning or repair experiment.
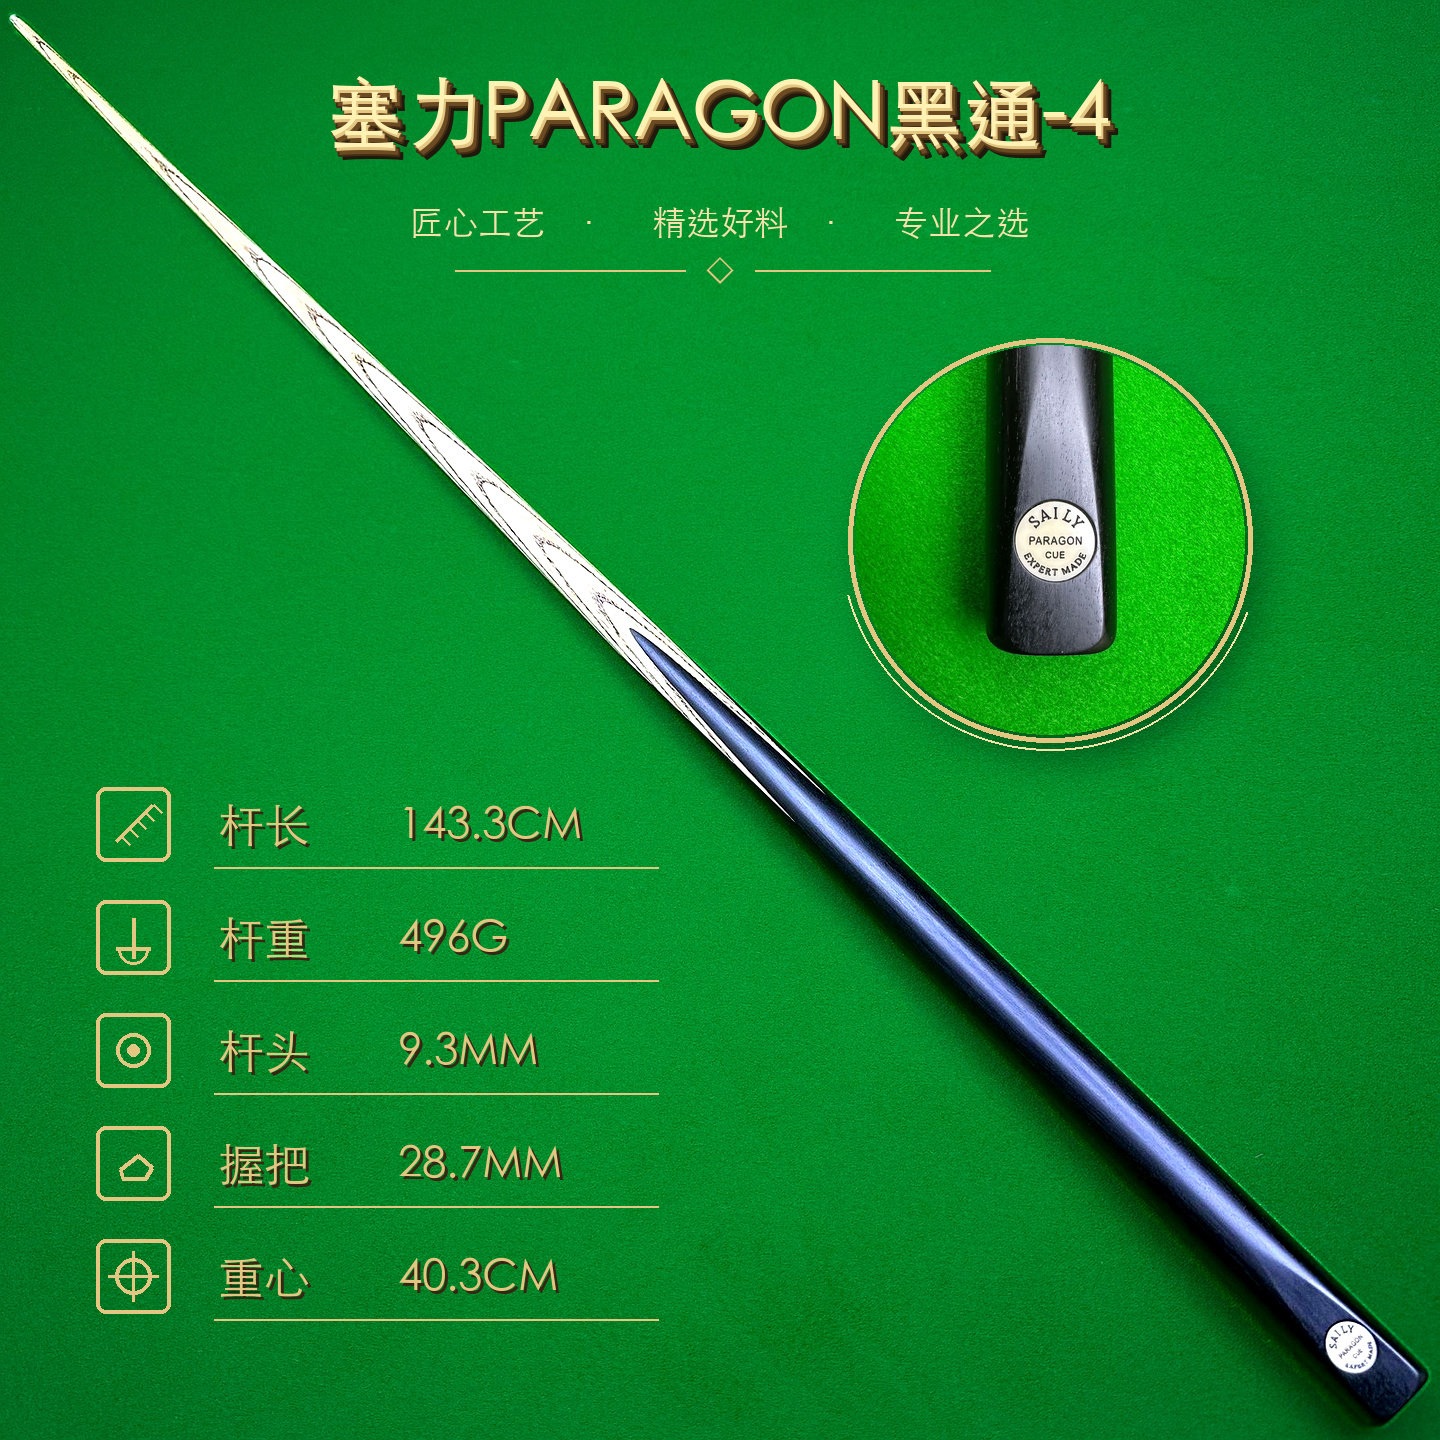
Short answer: identify the exact cue, support it on a clean padded surface and inspect the dry shaft in bright diffuse light. Rotate it slowly and view the same short area from several angles. Use a clean soft dry cloth with light pressure only to remove loose surface dust; stop if the cloth or skin catches. Record the location and photographs. Do not steam, wet, sand, fill or hard-burnish the area without guidance for that exact cue.
Separate a local dent from three different problems
A player may call any new resistance a “dent,” but the first task is classification, not repair. Loose chalk or hand residue can sit on the surface. A sticky-feeling section can change the bridge-hand glide without showing a depression. A whole shaft can raise a straightness concern even when one local patch is smooth. A dent or raised fibre is a smaller, located surface question.
Ask when you first noticed it and whether the cue experienced a specific contact, delivery journey or storage event. Do not infer hidden damage from one shadow. Check the same physical spot more than once before labelling it.
Use the sticky-shaft troubleshooting guide when resistance changes with hands, chalk, cloth or room conditions. Use the cue-straightness check when the concern follows the length of the cue rather than one small surface area.
Prepare a clean, low-risk inspection
Work indoors on a stable table with a clean padded layer. Remove loose accessories and keep hard tools, chalk and drinks away. Wash and dry your hands so the check does not add residue. Do not assemble or separate a joint unnecessarily if the concerned section can be inspected safely as it is.
Use bright diffuse light rather than one harsh point. A movable lamp can help you change the viewing angle without bending the cue. Prepare a clean soft dry lint-free cloth and a phone or camera for evidence. The goal is to observe, not to polish the surface until the mark disappears.
If the cue has just arrived, preserve the parcel, seller photographs and current condition before wiping anything. The after-delivery inspection checklist explains how to keep the item identity, packaging and visible condition together before use or repair.
How to inspect a cue shaft surface step by step
- Confirm the exact cue.Keep its name, individual reference and current full-length photograph with the check.
- Locate the area.Note its approximate distance from the tip, ferrule or joint without marking the shaft.
- Rotate slowly.Turn the supported shaft and watch how the highlight changes across the same short section.
- View from several angles.Compare along the shaft and across it instead of relying on one photograph.
- Use the cloth lightly.Make one gentle pass to remove loose dust; stop immediately if it catches.
- Compare nearby surface.Observe whether the change is isolated or continues into a crack, lifted fibre or altered finish.
Do not press a fingernail, blade, ruler edge or hard tool into the mark to measure depth. Do not flex the shaft as a test. Touch alone cannot tell you the material history, finish, moisture exposure or correct repair method.
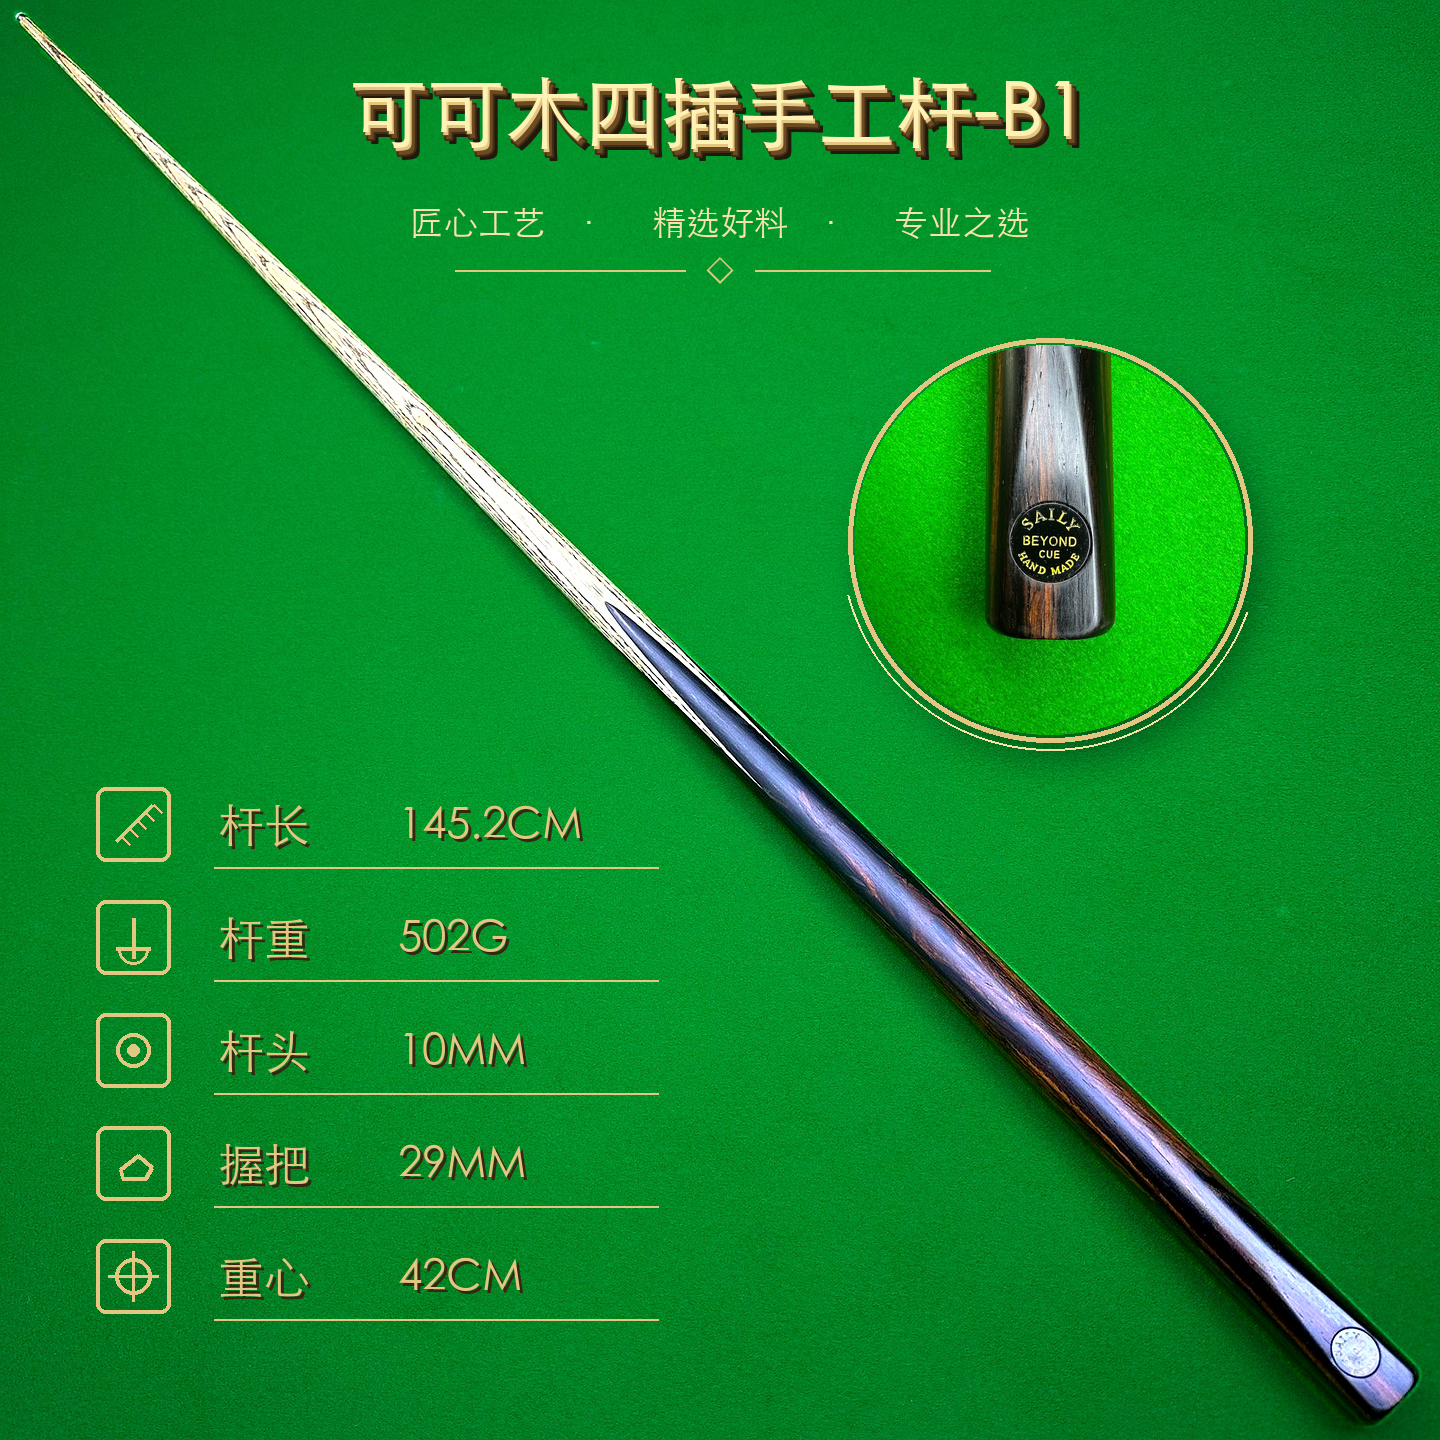
Make a record another person can assess
Take a full-cue photograph, a mid-distance image that locates the area and two or more close views under similar light. Include a removable ruler beside—but not pressing against—the shaft when scale matters. Record the date, cue reference, approximate location, what the cloth did and whether the surface changed since the previous check.
A useful note is descriptive: “short local reflection change 28 cm below the ferrule; clean dry cloth passes without catching; no visible crack; unchanged after 24 hours.” Avoid conclusions such as “compressed ash” or “finish failure” unless the maker or a technician inspecting the actual cue confirms them.
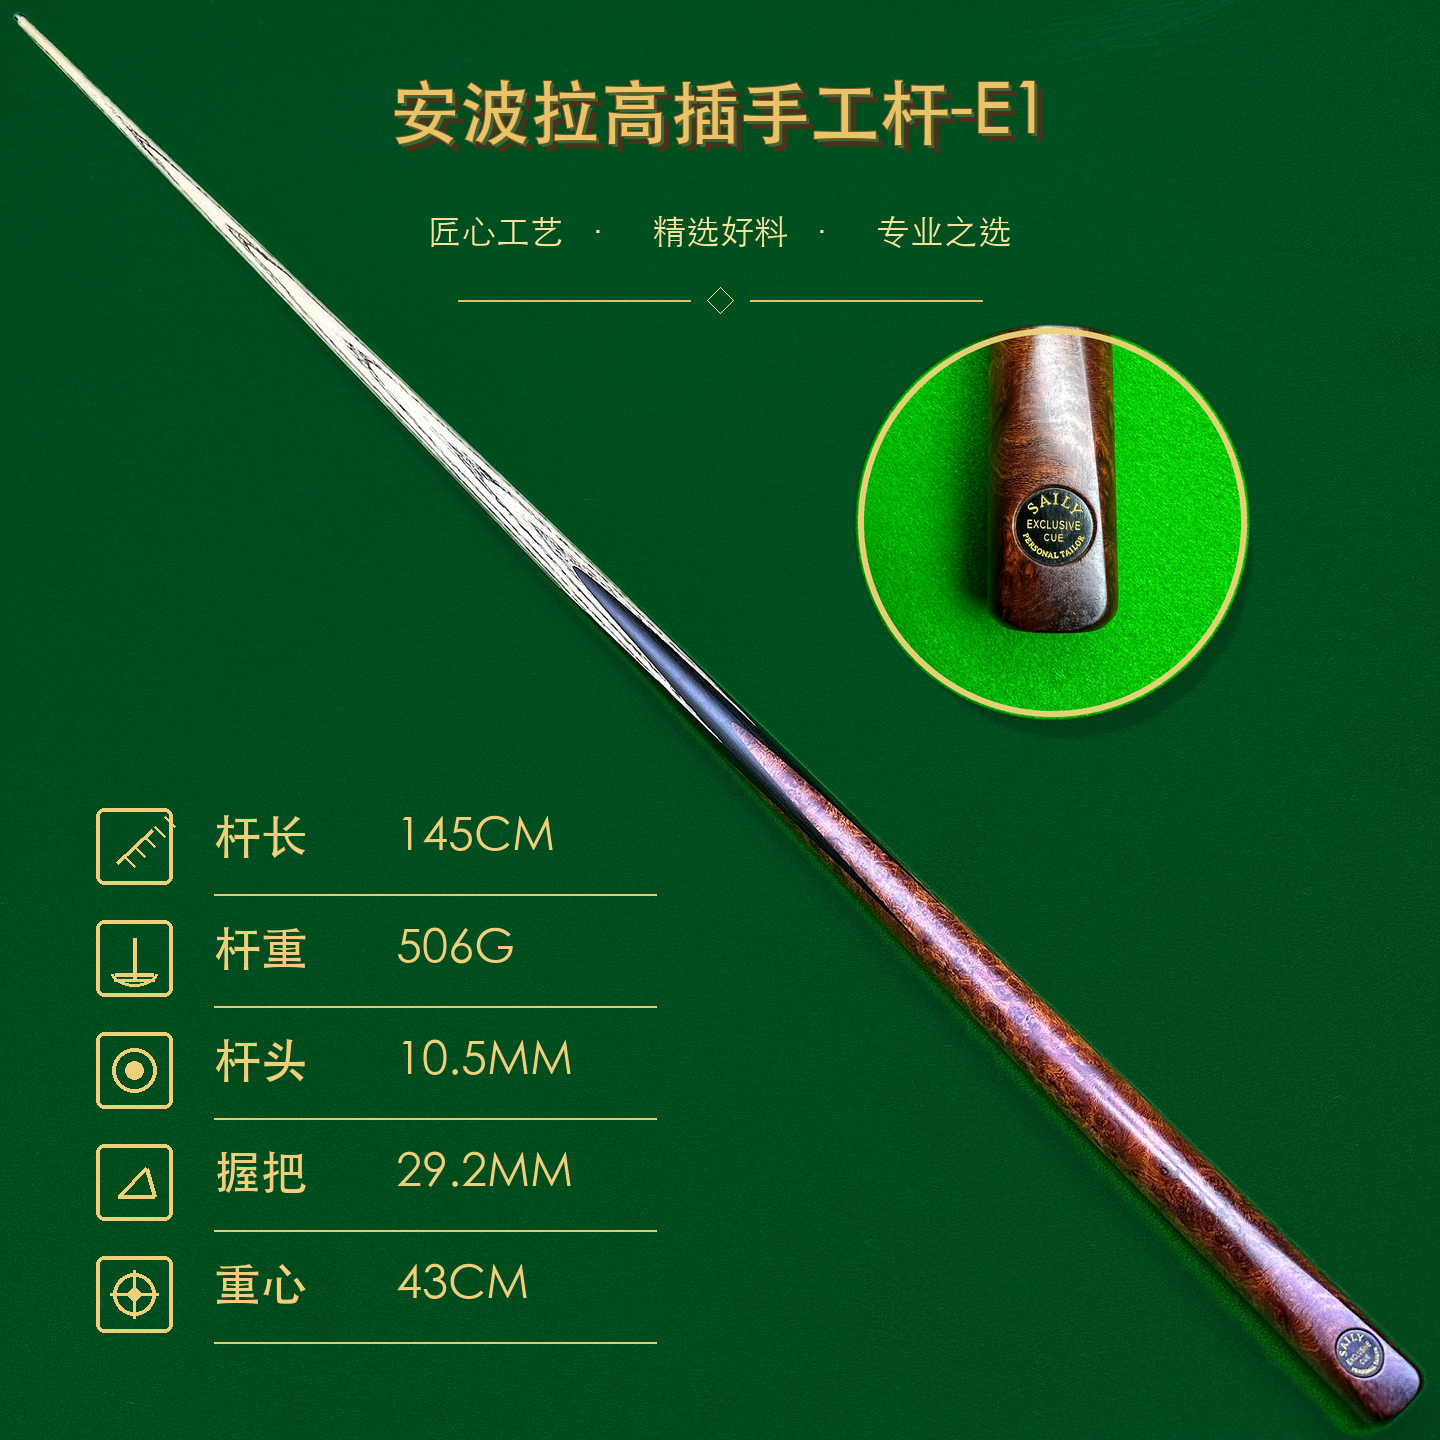
When buying online, ask for current close photographs and a written condition statement for the exact cue. Browse the SAILY CUE English cue collection to see how real photographs, individual references and measurements stay connected; those records do not replace a current surface check.
Do not turn inspection into an accidental repair
Internet advice may propose steam, water, oil, wax, filler, burnishing or sandpaper. None is a universal first step for an unidentified surface change. Moisture and heat introduce new variables. Abrasives remove material and may alter the finish, shaft diameter or taper. Filler or hard burnishing can hide evidence that a cue technician needs to see.
For loose dust and ordinary dry care, follow the conservative sequence in the safe shaft-cleaning guide. If a maker provides an exact method for the identified cue, follow that method without increasing pressure, product amount or contact time.
Do not keep testing the mark with repeated hard strokes or impacts. Playability, accuracy and value cannot be established from the dent alone, and a repair should not be judged by whether one ball was potted afterward.
Stop for catches, cracks, splinters or rapid change
Stop wiping and playing if skin or cloth catches, fibres lift, a splinter is visible, a line opens, the finish changes, the shaft shows a sharp edge or the area changes quickly. Protect the section from further contact and ask the maker, seller or an experienced cue technician to inspect the evidence and, when needed, the actual cue.
Also stop if you cannot tell whether the issue is residue, a dent, a raised fibre or a crack. Uncertainty is not a reason to try a stronger treatment. A technician can decide whether the surface should remain untouched, be monitored or receive cue-specific work.
The conclusion may simply be “documented and stable.” That is useful. A careful condition record avoids inventing a defect, preserves evidence for a seller or repairer and keeps reversible care separate from irreversible modification.
Snooker cue shaft dent FAQ
How can I tell if a snooker cue shaft has a dent?
Inspect one clean, dry shaft in diffuse light, rotate it slowly and compare the same area from several angles. A local shadow, change in reflection or repeatable catch may identify a surface change, but photographs and touch cannot establish its depth or repair method.
Is a dent the same as a warped cue?
No. A dent is a local surface question; straightness concerns the shape of the complete cue or section along its length. Inspect and record them separately.
Should I steam or sand a dent out of a cue shaft?
Do not improvise. Heat, moisture and abrasives can change an unknown wood surface, finish or dimensions. Ask the maker or an experienced cue technician to assess the exact cue before any irreversible treatment.
Can I keep playing with a raised fibre on the shaft?
Stop if the area catches skin or cloth, splinters, opens, changes quickly or affects safe cue movement. Protect the cue from further contact and obtain cue-specific advice before play or repair.
SAILY CUE COLLECTION
Keep condition tied to the exact cue
Review real product photographs, individual references and documented measurements, then request current evidence when a local shaft mark matters.