
CUE BUYING · CONDITION CHECK
How to Check If a Snooker Cue Is Straight Before You Buy
Use several practical checks before payment: a slow roll, careful sighting, joint inspection and clear evidence from an online seller.
Short answer: roll each section slowly on a clean, flat surface, sight along the shaft and butt from more than one angle, inspect the joint when assembled correctly, and request clear evidence from the seller. These are practical screens, not a permanent guarantee of straightness.
Start with realistic expectations
“Straight” describes what you can reasonably observe at the time of inspection. Wood can respond to temperature, humidity, storage and transport, so no honest home check can promise that a cue will never move. A cue may also show a small visual variation that does not affect your decision, while movement near a joint may deserve closer inspection.
Do not rely on an unsupported tolerance or a claim of “perfectly straight.” The useful goal is to find visible bends, unstable sections, joint problems or missing seller information before you pay.
Separate the question of straightness from the question of playability. A cue can be well maintained and comfortable in your hand without matching another player’s preferred balance or finish. Conversely, a beautiful cue still deserves the same condition checks. Write down what you observe instead of making a decision from one dramatic photograph.
Method 1: Use a slow-roll check
A slow roll is a screening method, not a laboratory test. Place the cue on a clean, level surface. For a two-piece cue, inspect the shaft and butt separately first. Roll one section slowly with light, even pressure and watch the tip, ferrule and butt cap as they rotate.
Look for a repeated rise-and-fall pattern, a gap that opens and closes, or a section that wobbles instead of rotating smoothly. Roll in both directions and repeat more slowly. A fast roll can hide movement, while pressing down can make the cue flex or jump.
Watch one small area at a time. Start near the tip and ferrule, then move your attention through the centre of the shaft and finally toward the handle and butt cap. Marking the visual location of a concern helps you describe it accurately to a seller. If the movement disappears when you change direction, repeat the check before drawing a conclusion.
Know what the slow roll cannot show
The surface may not be perfectly flat, and grain, splices, finish seams or reflections can create a false impression. If the result is unclear, ask for a second video on a known flat surface or request a qualified inspection. Assemble the cue only as the maker intends; a joint that is not seated can make an otherwise sound section appear misaligned.
Method 2: Sight along the shaft and butt
Hold the cue at eye level in even light. Keep your head still and look from the butt toward the tip, then reverse the direction. Move the cue slowly while checking whether a bend appears in the same place from different angles.
Pay attention to the ferrule, middle of the shaft, handle transition and joint. These are separate sections, so a straight-looking shaft does not prove that the butt is straight. Gloss, grain and decorative splices can look wavy under strong studio lighting; unedited daylight photographs are often easier to judge.
Use a plain background behind the cue when possible. A door frame, table edge or window line can give your eye a stable reference, but do not treat a background line as a measuring instrument. Change your viewing height slightly and see whether the same area still appears to move. If the impression changes completely, lighting or reflection may be responsible.
Method 3: Inspect the joint and assembled alignment
The joint faces should meet cleanly and close fully without visible rocking or a gap. Check for dirt, damage, cross-threading or signs of repair. Ask whether the pin and insert are original and whether the cue has had joint work or refinishing.
With the cue assembled correctly, sight along its complete length again. Do not twist aggressively to test the joint; excessive force can damage threads or finishes. If the seller cannot show the joint clearly, treat that as missing evidence rather than assuming it is sound.
Look at the joint from the side as well as from the end. The collars should meet evenly, and the shaft should not appear to leave the centre line immediately after the connection. A tiny cosmetic mark is not automatically a structural problem, but a gap, rocking fit or damaged thread needs an explanation before purchase.
Method 4: Ask an online seller for useful evidence
Request a slow-roll video of the shaft and butt separately, a second view of the assembled cue, and clear photographs of the tip, ferrule, joint and butt cap. Also ask about repairs, refinishing, unusual storage, actual length and weight, and the return policy if the cue does not match the listing.
Ask the seller to keep the camera fixed and use a straight, uncluttered background. A quick pan, wide-angle lens or hidden joint is difficult to evaluate. A transparent seller can explain what was checked without promising that the cue can never change.
Ask when the video was recorded and whether the cue had just arrived from another climate. Request the same view in natural light if the listing uses heavy colour grading. You can also ask the seller to rotate the cue slowly while the camera stays still, rather than moving the camera around the cue.
A practical pre-purchase sequence
- Read the full listing.Note condition, repairs, measurements and return terms.
- Check each section.Use a slow roll and sight along the shaft and butt from both directions.
- Check the assembled cue.Seat the joint correctly, then inspect the complete alignment.
- Save the evidence.Keep photographs, videos and seller messages before payment.
A lower price does not compensate for unknown condition. If reasonable questions go unanswered, wait for better evidence or choose a seller with a clear return process.
Keep the inspection in context
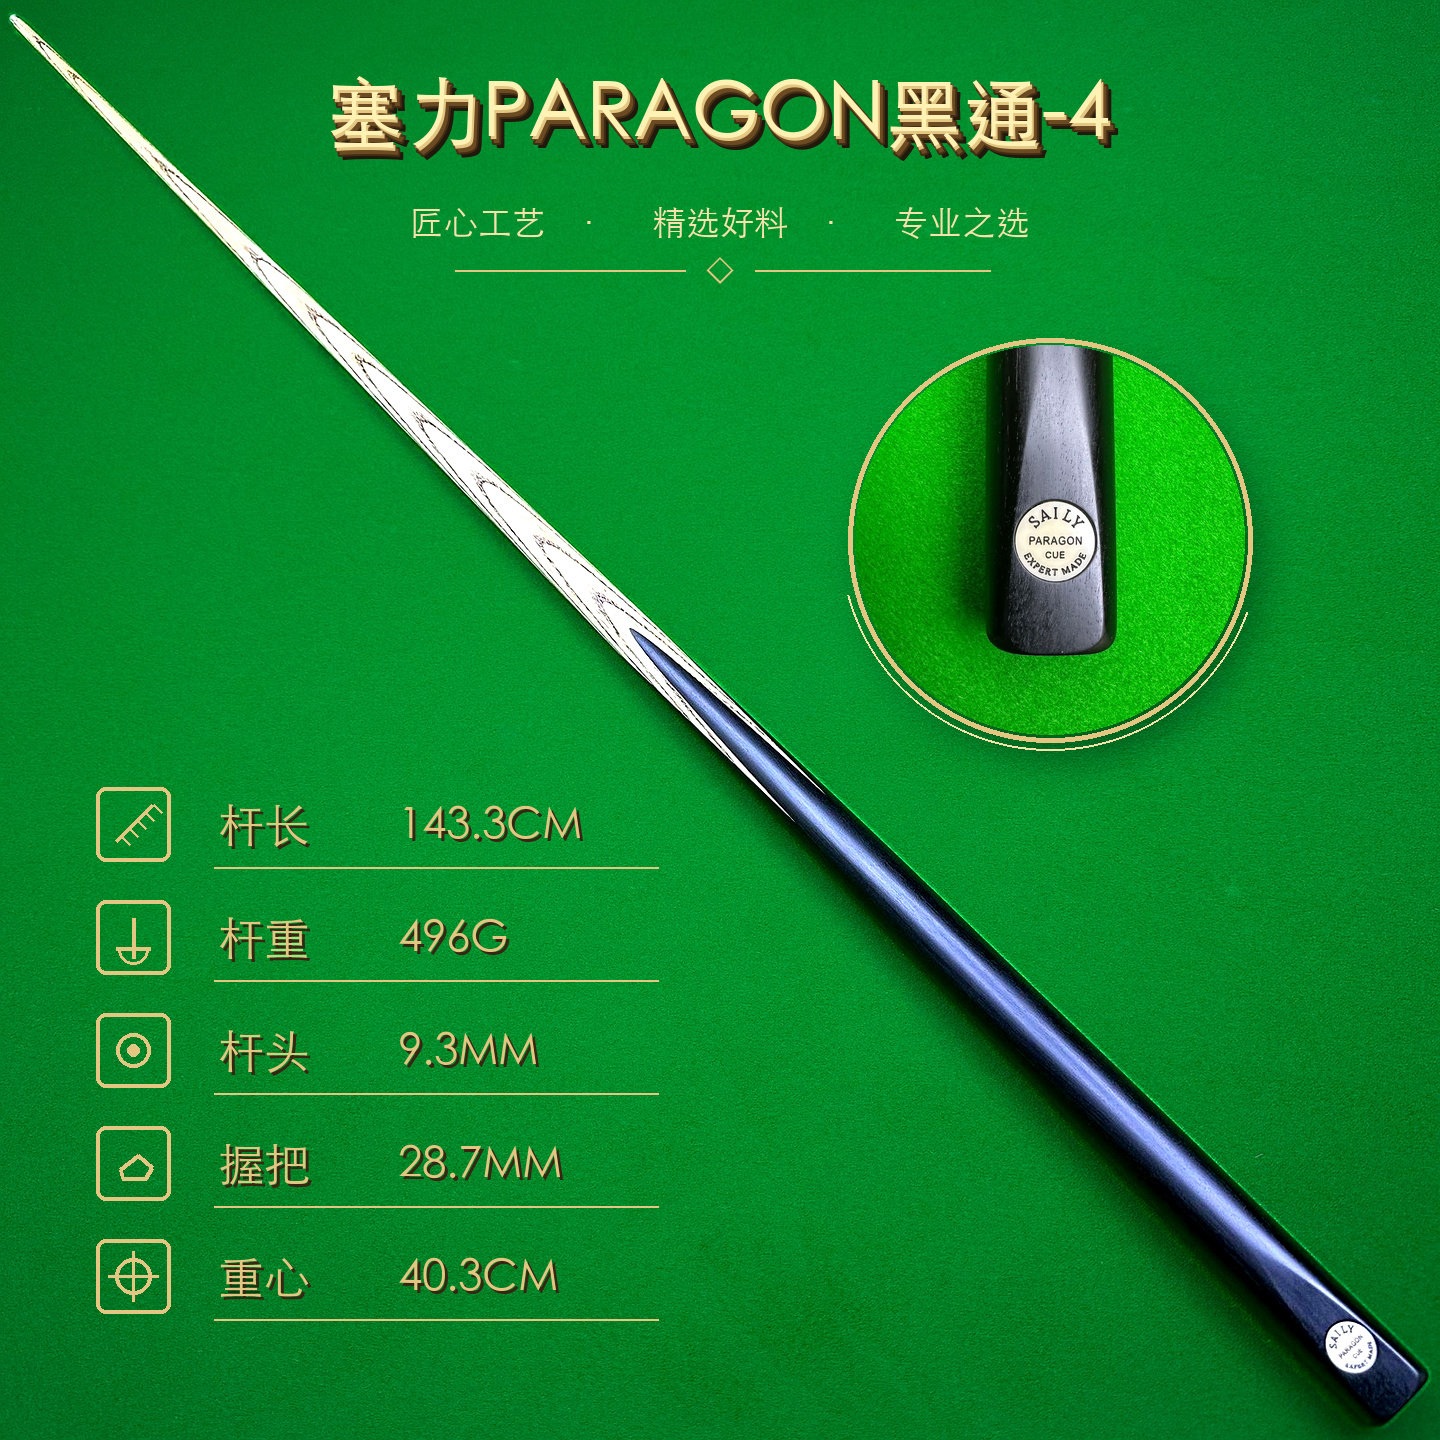
When comparing cues, consider length, weight, tip size and balance alongside condition. A straight cue that is the wrong length or uncomfortable weight may still be the wrong choice for you. Read the snooker cue selection guide for those playing specifications, then browse the English cue catalogue and review a documented example such as the SAILY CUE Paragon Ebony No. 4.
After purchase, save the original photographs and use the snooker cue care guide for supported storage, gentle cleaning and safer transport.
Snooker cue straightness FAQ
Can I prove a snooker cue is perfectly straight at home?
No. Home checks can identify obvious movement or alignment concerns, but they cannot prove a permanent, perfect condition. Use several observations and ask for an appropriate return option.
Is a slow roll enough to check a cue?
No. It is one useful screening method. Combine it with sighting, joint inspection and clear seller evidence. Surface flatness, lighting and camera angle can all affect what you see.
Should I reject a cue if I see any movement?
Not automatically. First repeat the check on a flat surface and inspect the same area from another angle. If movement is consistent, ask the seller for an explanation or qualified assessment before buying.
What should I ask an online cue seller?
Ask for separate and assembled slow-roll videos, joint and tip photographs, repair history, actual measurements, storage information and the return policy. Avoid relying on an unsupported “guaranteed straight” statement.
SAILY CUE COLLECTION
Compare real cue photographs and measurements
Browse individual English cue listings and ask for the evidence you need before choosing.