
SNOOKER CUE SELLING · PHOTO CHECKLIST
How to Photograph a Snooker Cue for an Online Listing
Build a clear visual record of the exact cue, its measured specifications, included parts and current condition before a buyer has to ask.
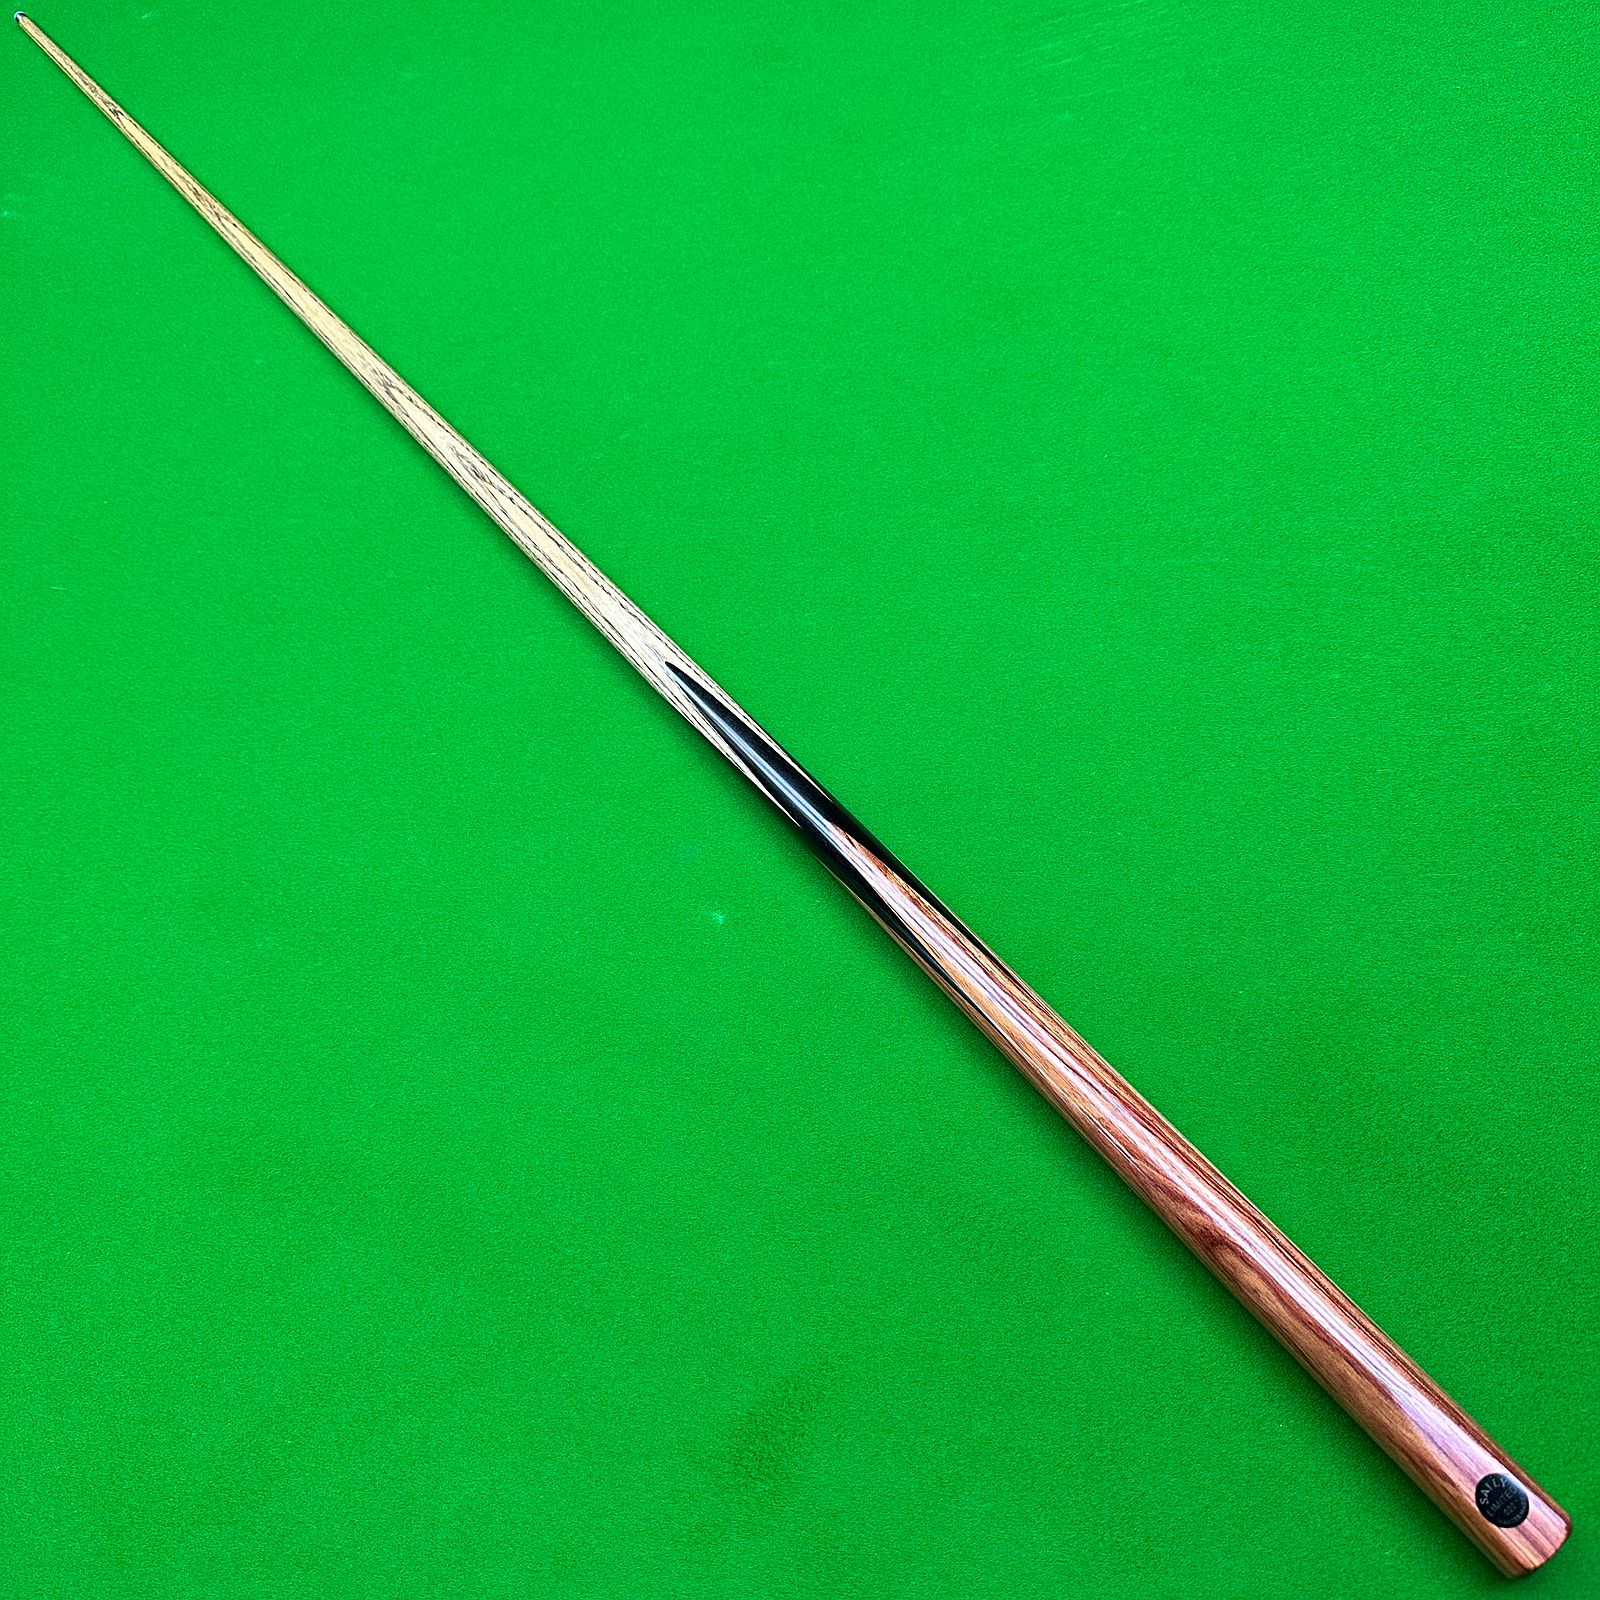
Short answer: photograph the exact cue in soft, even light against a plain background. Include a full-length view, both sides where practical, the tip and ferrule, shaft, splice or decoration, joint faces, butt and every identifying mark. Add separate photographs of measured length, weight, tip diameter, butt diameter and balance point only when those readings were taken from the pictured configuration. Show scratches, dents, repairs and included accessories directly. Keep the original files, avoid beauty filters and make no claim that a photograph proves straightness, wood species, craftsmanship or playing performance.
Prepare the cue without changing its condition
Use clean hands and support the cue over a padded surface. Remove loose dust with a soft, dry cloth, but do not sand, polish, oil or reshape anything merely for the listing. A buyer needs evidence of the cue as it is now. If the tip, ferrule, joint or finish may be damaged, record it before any repair changes the evidence.
Choose bright, diffuse daylight or a pair of soft lights that do not create a hard reflection along the shaft. A plain cloth or neutral wall helps the cue remain visible. Green cloth is familiar and provides contrast for many finishes, but colour accuracy matters more than a dramatic background. Turn off filters, portrait blur and automatic effects that can soften an edge or alter wood colour.
Clean the phone or camera lens, hold the camera steady and check the first image at full size. If engraved text, a badge or the tip edge is not readable, move closer for a second detail photograph instead of enlarging a blurred file.
Make the full-cue photograph useful
Lay the complete cue where it is fully supported and frame both tip and butt without cutting them off. Keep the camera as square to the background as practical. A steep angle can make one end appear larger, while a very wide lens can bend straight lines near the frame edge. Step back and use a moderate camera setting rather than pushing the cue into the corners.
Take one clear view of the assembled playing configuration, then rotate the cue and photograph another side. For a jointed cue, add one image of all sections arranged in order. If a mini-butt, telescopic extension or case is part of the sale, show it beside the cue and state exactly what is included. The post-delivery inspection checklist gives buyers a compatible tip-to-butt order for checking what arrives.
A full-length picture can show overall proportions and obvious features, but it cannot prove that a cue is perfectly straight. Perspective, background lines and lens distortion can create or hide an apparent curve. The cue straightness inspection guide explains why several observations and careful wording are more useful than one photograph or a rolling claim.
Photograph the details that identify the exact cue
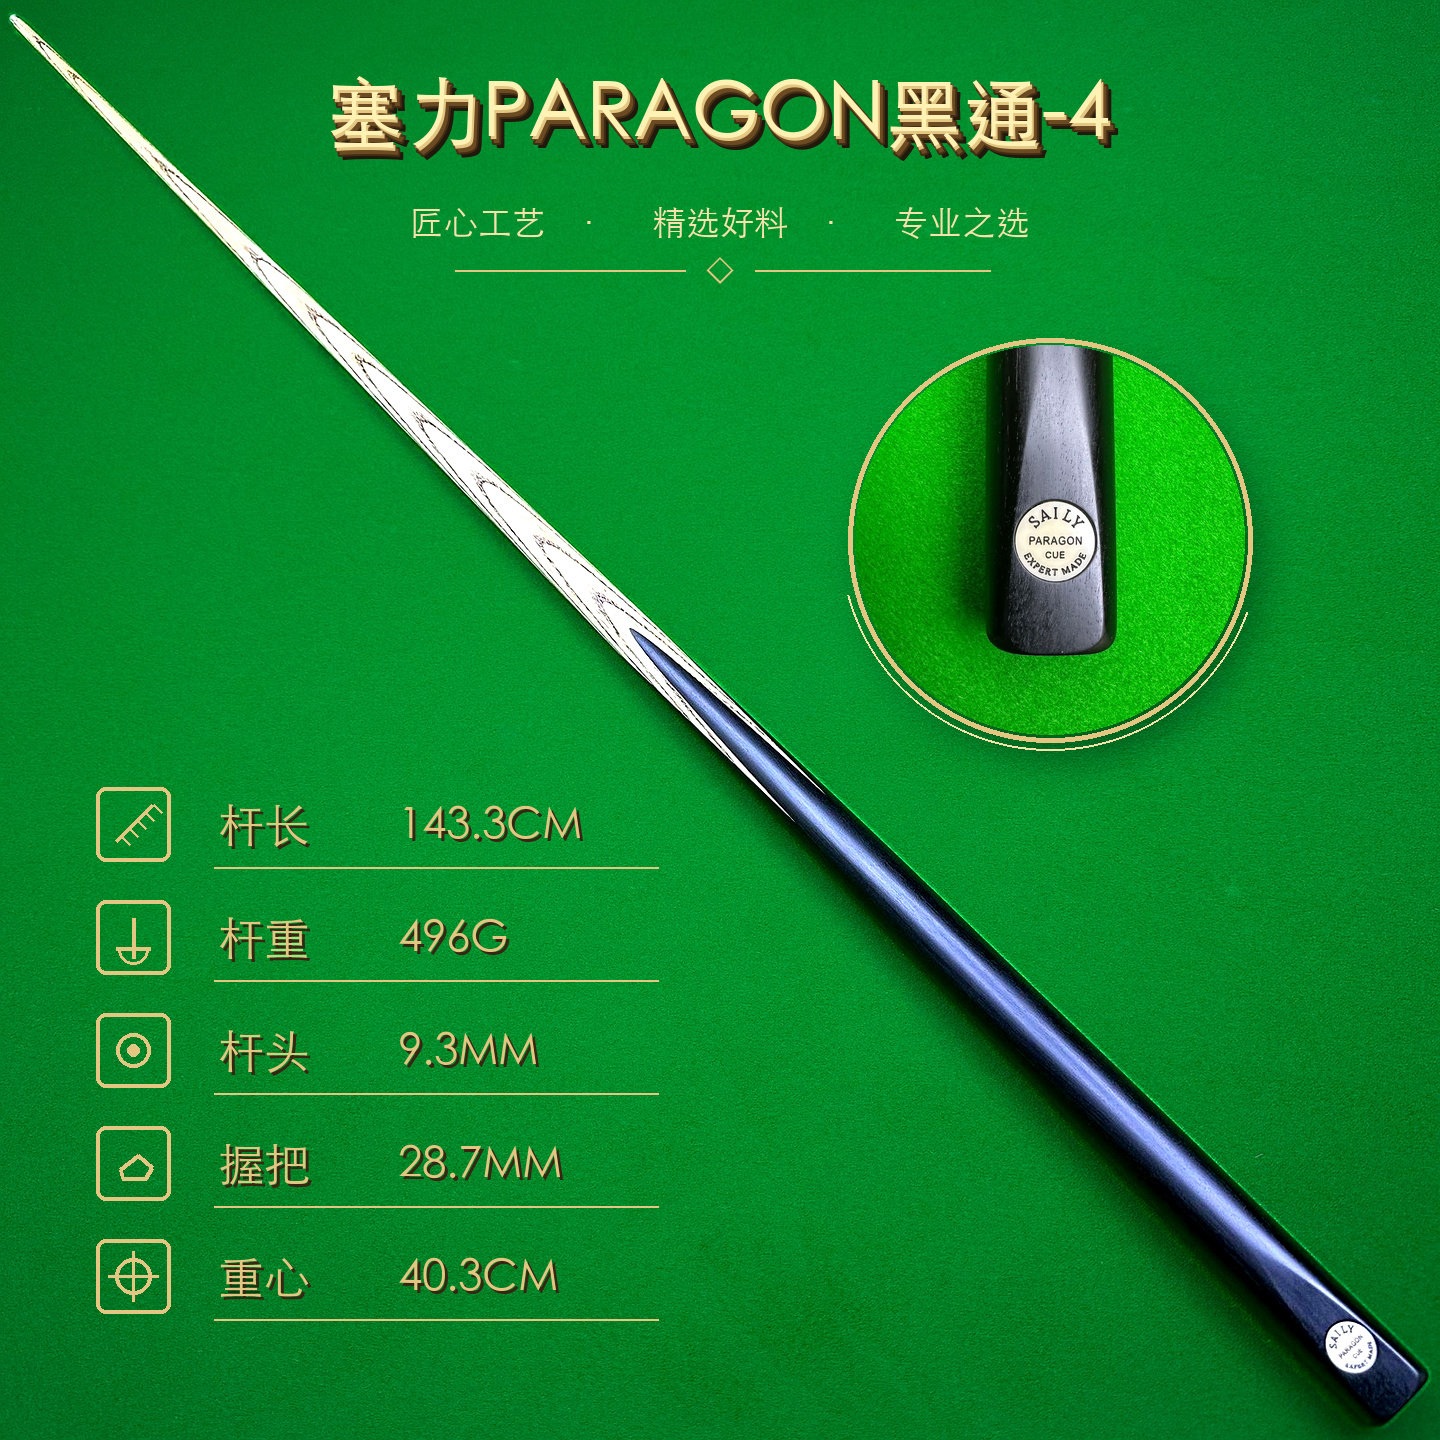
Include a readable image of the maker mark, badge, signature, serial number or seller reference that is physically present. Do not infer a model or production date from appearance alone. If there is no identifying mark, say so and use your own stable listing reference to connect the photographs, measurements, messages and parcel.
Show the tip and ferrule from the side and above, the shaft grain or surface from several positions, the splice or decorative work, the joint exterior and mating faces, the butt end and any bumper or extension fitting. With a one-piece cue, note that there are no joint faces to photograph. With a jointed cue, assemble it gently by hand and never force the connection for the sake of a picture.
Keep the exact cue in every frame. Mixing a close-up from another example of the same series destroys the evidence chain. The SAILY CUE collection uses individual references, real photographs and measured fields so an overseas buyer can connect one record to one physical cue.
Show condition instead of describing it vaguely
Photograph every visible scratch, dent, finish mark, gap, chip, repair or uncertain area in context and close-up. First show where it sits on the cue, then add a sharper detail. Use a ruler only as a scale reference when it can rest nearby without touching or damaging the surface. Do not hide a mark under glare, crop it away or retouch it.
Neutral language protects both parties. Write “small finish mark 18 cm from the butt” rather than guessing that it is harmless, recent or caused by transport. A photograph may document visible condition, but it cannot establish internal structure, material species, repair quality or future durability. If a component moves, separates or appears unsafe, stop handling the cue and obtain an appropriate assessment.
Match every measurement to the pictured setup
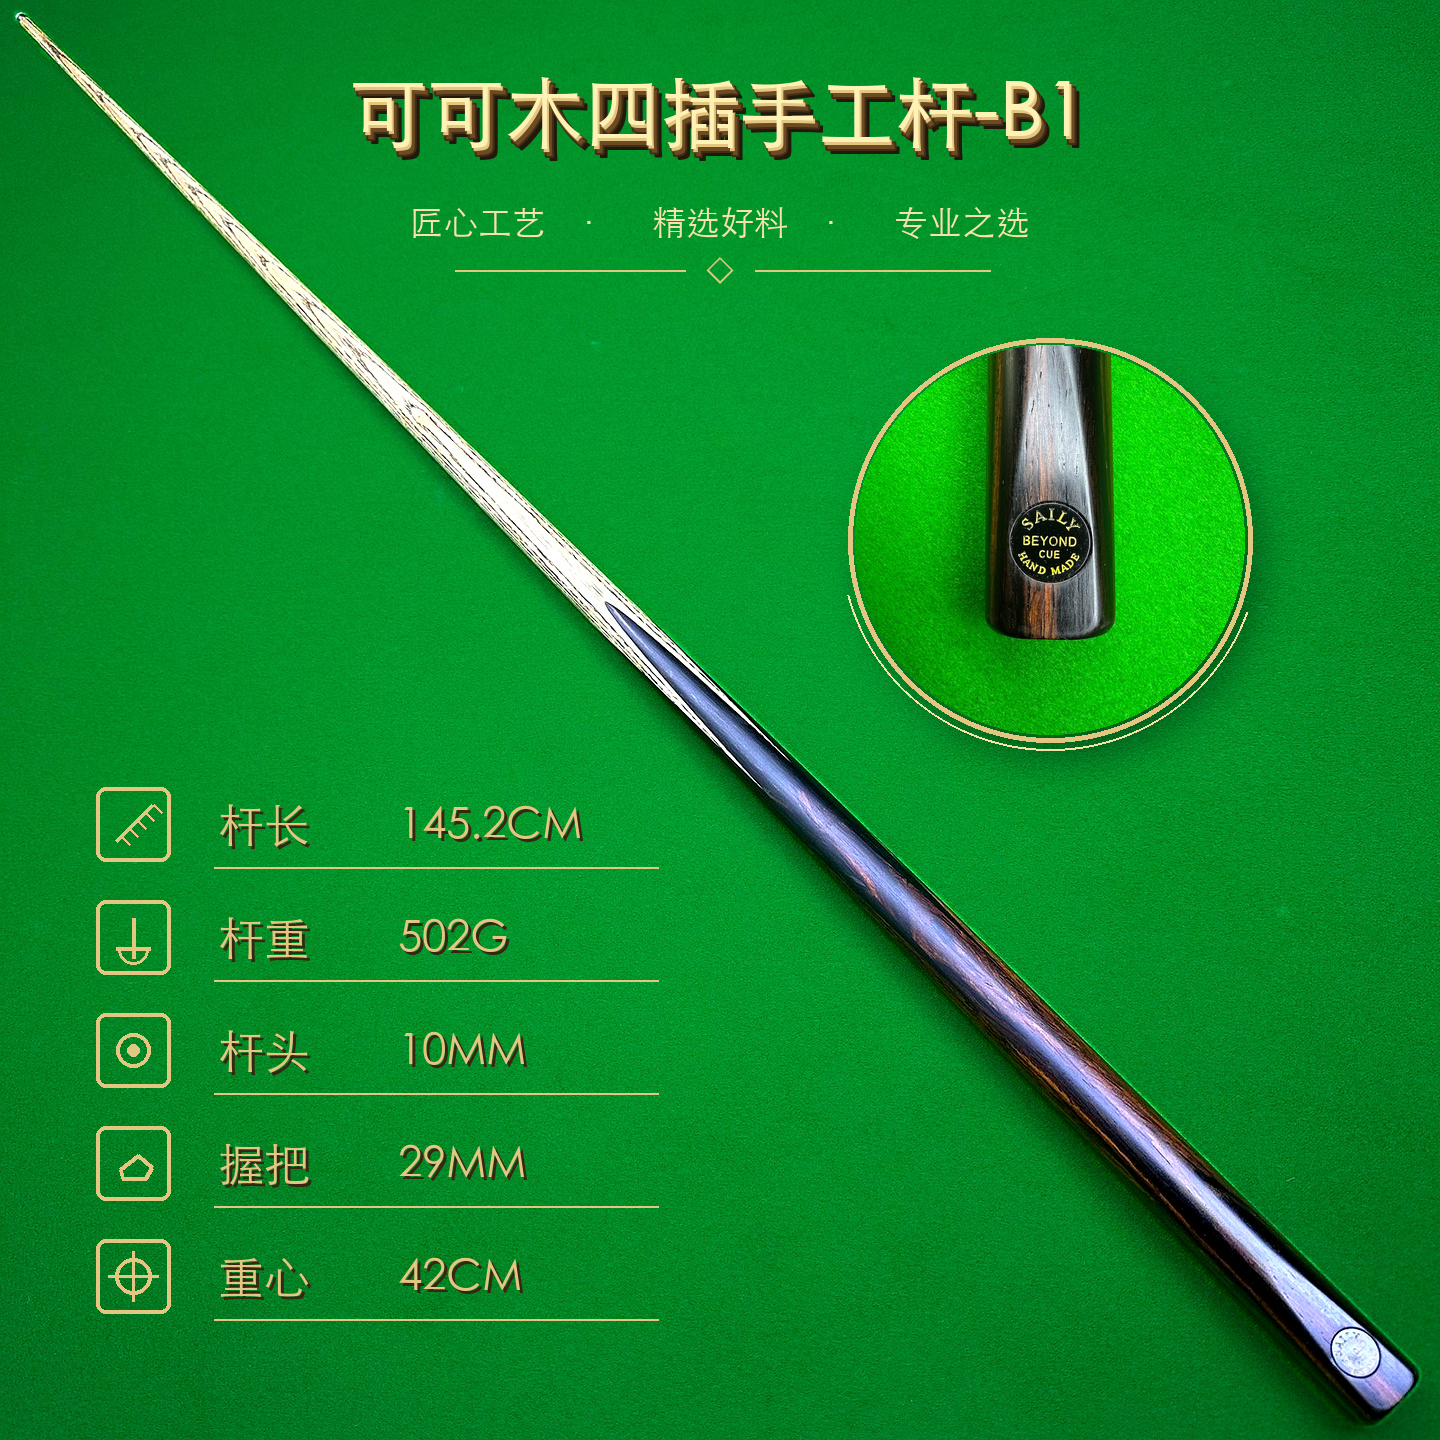
Buyers commonly compare overall length, total weight, tip diameter, butt diameter and balance point. Record whether the cue was assembled, which extension was fitted and which units were used. Do not combine the weight of one setup with the length of another. If a value is copied from an old listing rather than measured now, label its source instead of presenting it as a fresh reading.
Take a separate evidence photograph for each important measurement where practical. The scale display should be readable, the tape should reach the stated endpoints, and calipers should touch lightly without compressing the tip or marking the cue. The guide to reading snooker cue specifications explains how configuration, reference point and units keep comparisons meaningful.
A measured specification is not a quality score. Weight does not describe balance by itself, tip diameter does not identify tip hardness, and a material name does not guarantee performance. Keep the listing factual and let the buyer compare complete records.
Preserve the original files and listing history
Keep the original, uncropped photographs in a folder named for the cue reference and date. Export smaller copies for the listing if needed, but avoid heavy sharpening, colour filters, background replacement or edits that remove condition. If you adjust exposure or white balance, compare the result with the cue under the same light and keep the original alongside it.
Before publishing, check the sequence as a buyer would: whole cue, identity, components, condition, measurements and included accessories. Add accurate alt text that describes what each image shows rather than repeating a sales slogan. Confirm the currency, availability, shipping scope and return or inspection terms in text; a photograph cannot replace those details. The online cue buying checklist shows the questions this evidence should answer.
Finally, save a copy of the live listing and the exact image set. If the cue is serviced, damaged or sold later, create a new dated record rather than silently replacing the earlier evidence. Clear photography does not guarantee a sale, but it gives an overseas buyer a fair basis for asking specific questions.
Snooker cue listing photography FAQ
How many photos should a snooker cue listing include?
Use enough photographs to show the whole cue, its identifying marks, each component and every relevant condition detail. The exact number matters less than complete, non-repetitive coverage.
Can one full-length photo prove that a cue is straight?
No. Camera angle, perspective and lens distortion can mislead. Use several neutral views and describe only what the photographs show; invite the buyer to ask for additional evidence.
Should I edit the photographs before posting them?
Basic cropping and exposure correction are reasonable if they do not hide condition or change colour. Keep the original files and avoid filters, heavy sharpening, background replacement or retouching that alters the cue.
What should I photograph on a jointed cue?
Show the assembled cue, each section, both mating faces, the joint fully engaged and any extension or case included. Never force a connection merely to make a photograph.
SAILY CUE COLLECTION
See how one cue record stays specific
Review real cue photographs, individual references and measured fields before building your own evidence-first listing.